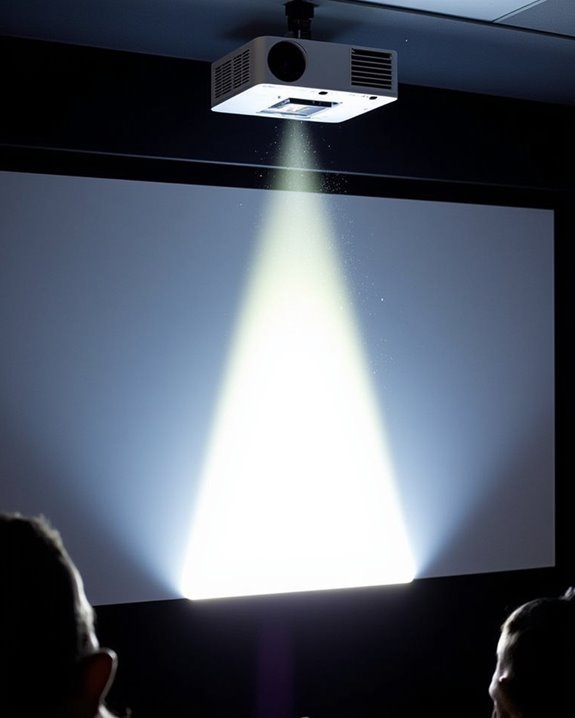
When considering the most advantageous spot for your galaxy projector, you’ll want to focus on both room selection and the physical setup to guarantee ideal visual clarity and coverage. You should place the projector on a stable, flat surface or securely wall mount it at eye level, directing the lens toward a smooth, light-colored wall or ceiling for minimal distortion and even light distribution. To further refine your experience and avoid common projection pitfalls, let’s examine what comes next.
Key Takeaways
- Place the projector in the center of a square or rectangular room for even star coverage and minimal distortion.
- Use a flat, light-colored ceiling or wall as the projection surface for the clearest and brightest visuals.
- Position the projector at eye level or slightly above on a stable, unobstructed surface for optimal alignment.
- Minimize ambient light by using the projector in a dark or dimly lit room to enhance projection visibility.
- Ensure a clear projection path free of furniture, curtains, or other obstacles for consistent and immersive effects.
Choosing the Ideal Room for Your Galaxy Projector
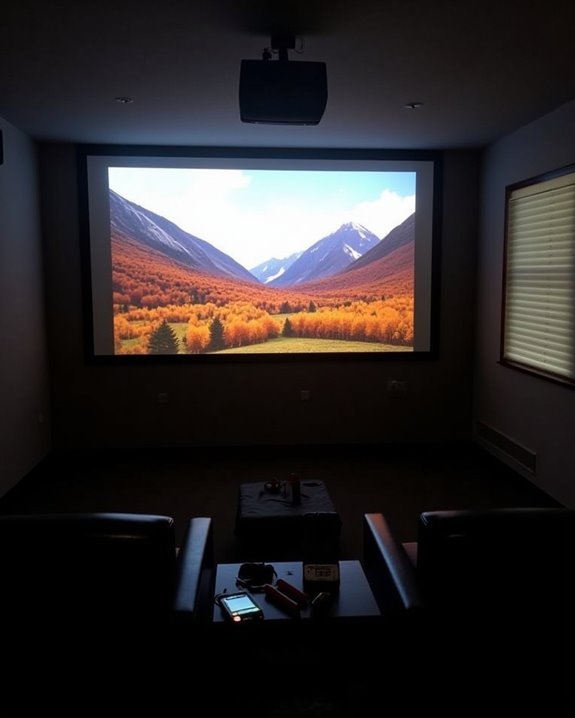
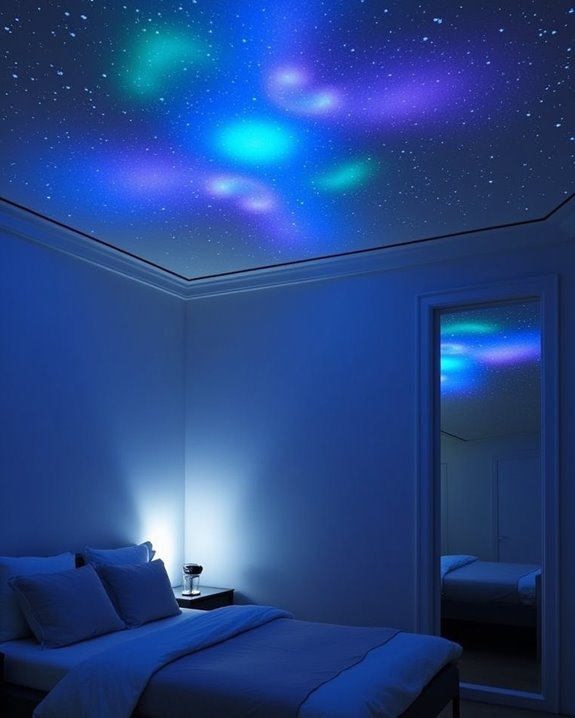
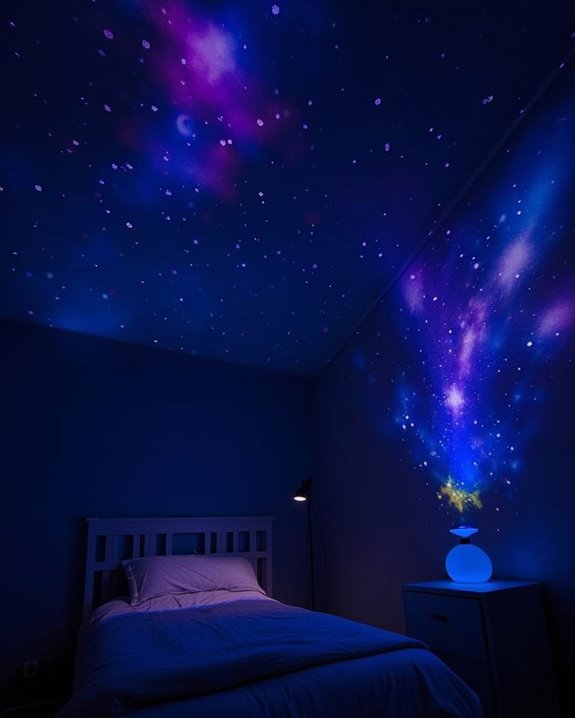
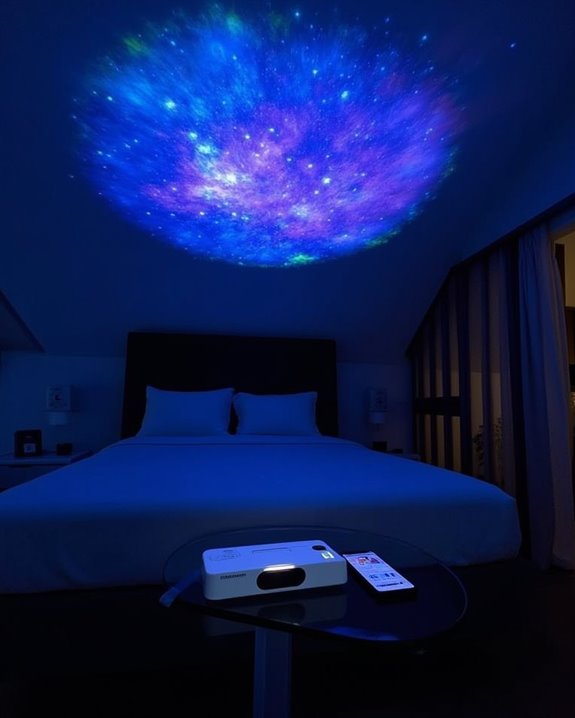
When you’re selecting the ideal room for your galaxy projector, it’s important to contemplate several factors that can considerably impact the overall visual experience. Room shape is essential, as square or rectangular spaces permit even distribution of the projector’s beam, while irregularly shaped rooms may cause uneven light coverage and diminish clarity. Additionally, larger rooms with high ceilings will allow for broader projection, simulating a more immersive starry night effect and reducing image distortion. Choosing a room that can accommodate a projection distance of 15 to 30 feet will help maintain optimal image sharpness and clarity. Wall color is another significant consideration—white or light-colored walls reflect the projector’s visuals more effectively, ensuring that stars and nebulae appear vivid and well-defined, whereas dark or patterned walls can absorb or distort the projected images. When choosing your setup, keep in mind that room ambient light affects how visible the projected cloud and star effects are, with darker rooms enhancing the projector’s performance. Finally, selecting a room with minimal obstructions and ample open wall space will optimize your projector’s impact.
Central vs. Corner Placement: What Works Best
Although both central and corner placements offer distinct advantages, choosing the most suitable location for your galaxy projector largely depends on the balance between image quality and room constraints. Central placement provides superior projection alignment, ensuring consistent illumination, minimal distortion, and better control over brightness and color balance across the entire room. This method often allows for easier access to controls and requires less keystone correction, preserving image resolution. A key benefit of central placement is that it enables advanced smart home integration, allowing for optimal use of app and voice control features for personalized automation and dynamic effects. Additionally, central placement facilitates stable positioning with options for tripod compatibility and adjustable stands for versatile setups. However, central mounting considerations include needing clear, open space and potentially more elaborate installation. On the other hand, corner placement is ideal for maximizing space efficiency in smaller rooms and can utilize more cost-effective mounting solutions. Yet, it may introduce increased vignetting and image distortion, requiring careful adjustments and potentially sacrificing overall projection quality for convenience.
Adjusting Height and Angle for Maximum Coverage
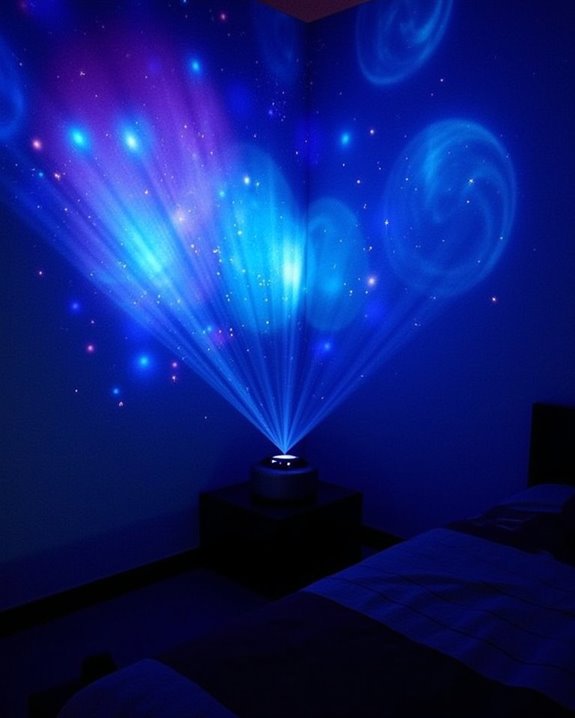
To achieve maximum coverage with your galaxy projector, it’s crucial to carefully adjust both the height and the angle of the device, as these factors directly impact image size, clarity, and overall room illumination. When adjusting height, position the projector to match your intended projection surface—placing it lower for ceiling displays or aligning it with the screen’s bottom edge for front projection to prevent image distortion. Be mindful not to set the projector too high, as this can cause overheating or uneven projection. Using a projector screen with the appropriate aspect ratio can also enhance image clarity and viewing experience. Understanding and setting the proper throwing angle is equally important; a 0-degree throwing angle, where the projector is parallel to the screen, minimizes distortion. Adjust the throwing angle strategically to avoid obstacles, maintain image alignment, and guarantee the entire room receives the best coverage. For optimal performance, use the Keystone adjustment feature to correct any horizontal or vertical misalignment that may occur when the projector is not perfectly centered.
Optimizing Projection Distance and Focus
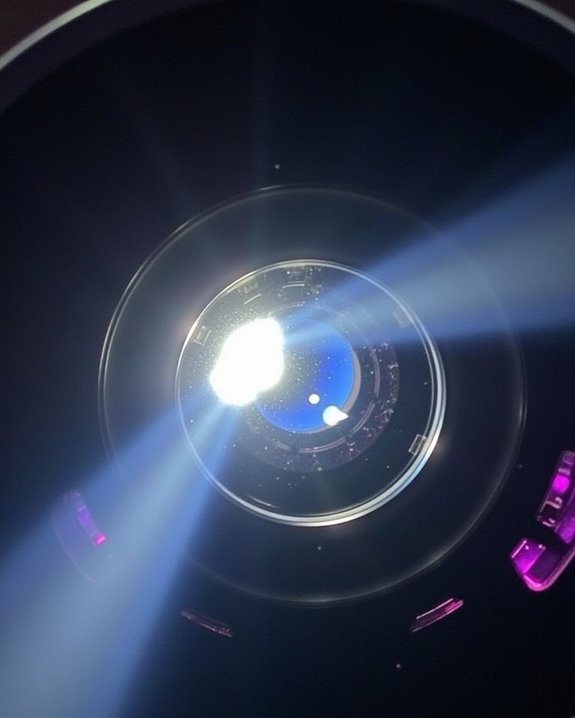
Finding the ideal projection distance and achieving sharp focus are key steps in maximizing your galaxy projector’s performance, especially after you’ve set the right height and angle. To optimize image size, use your projector’s throw ratio—short throw models need less space, such as the Freestyle 2nd Gen requiring just 8.7 inches for a 100-inch image. Consult throw distance and aspect ratio calculators to match your room’s dimensions and ensure the image fits your desired area. Adjust the focus ring for image clarity, and consider screen materials that enhance sharpness and brightness. For advanced setups, color calibration tools help maintain vivid, accurate colors, while audio integration ensures that sound complements the visual experience. Throw distance and image size are interdependent, so adjusting your projector’s position or zoom will directly affect how large and clear your projection appears. Always check your projector’s minimum and maximum distance limitations for best results.
Managing Light and Enhancing Room Ambiance
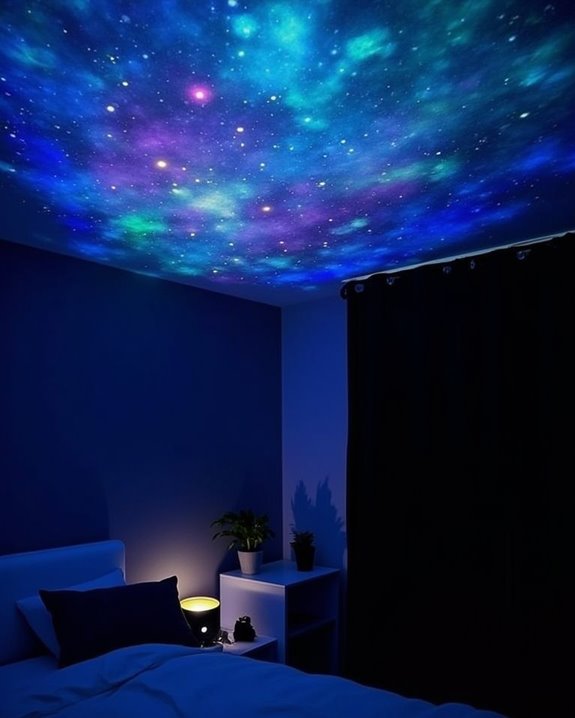
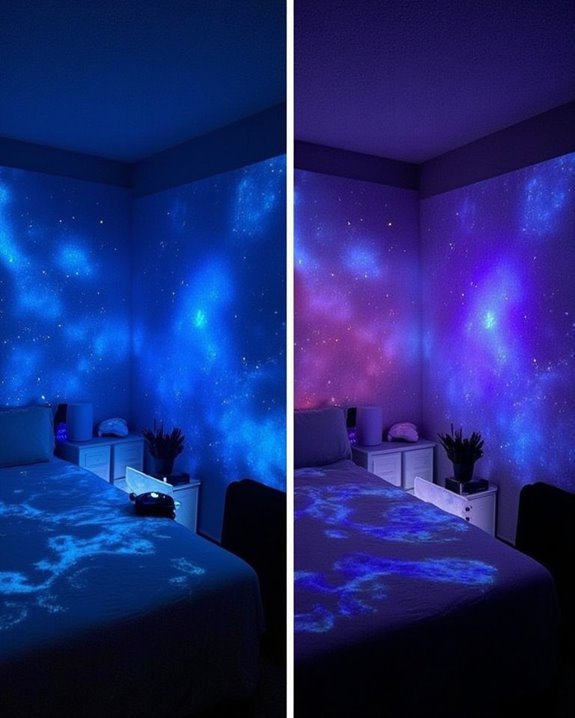
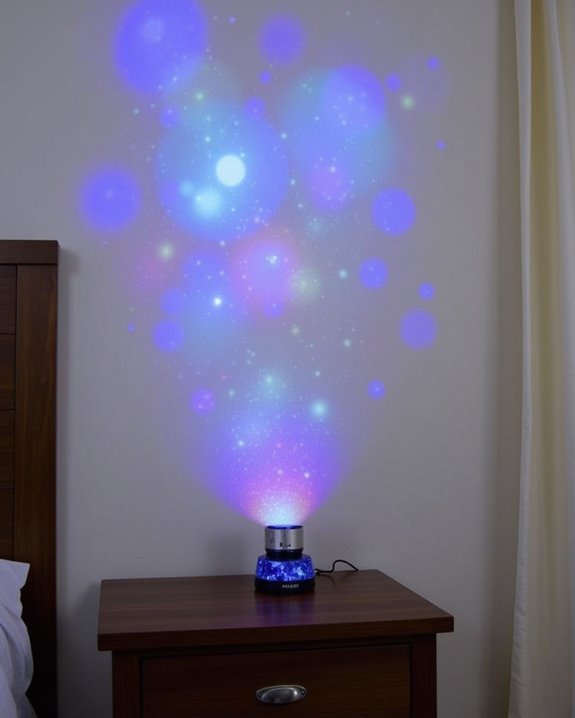
When setting up your galaxy projector, managing light sources and enhancing room ambiance are essential steps for creating a truly immersive starry night effect, as proper lighting control can make a significant difference in the clarity and vibrancy of your projections. Begin by using the projector’s controls or app features to adjust brightness, cycle through lighting modes, and implement color matching so the projected effects harmonize with your room’s decor or mood. To optimize projection, focus on obstruction removal by clearing furniture and clutter that could block light paths and diminish effect uniformity. Placing the projector on a stable surface is important for both safety and optimal light distribution, as it reduces the risk of accidents and ensures consistent projection across your ceiling or walls. Placing the projector away from windows and direct sunlight, and using darker wall colors, will further enhance visual contrast and impact. Experiment with laser and LED lighting to achieve either sharp stars or dreamy nebula effects, depending on your preference.
Practical Tips for Stable and Safe Setup
After you’ve managed your lighting and set the right ambiance, it’s important to focus on the practical aspects that keep your galaxy projector stable and safe throughout use. Selecting a secure location, ensuring proper wall mounting, and practicing effective cable management will help you achieve *ideal* performance and longevity. Pay close attention to surface stability, environmental hazards, and electrical considerations as you arrange your setup.
- Choose a flat, sturdy table, shelf, or projector stand—avoid soft or uneven surfaces that may cause wobbling or tipping.
- Consider wall mounting for additional security, especially in homes with pets or children, to minimize accidental disturbances.
- Implement cable management by using clips or ties, and keep cords away from walkways to prevent tripping hazards.
- Utilize anti-slip mats or pads beneath the projector to reduce vibration and sliding, supporting stable operation.
When positioning your projector, ensure unobstructed line of sight to the projection surface in order to maintain clear, uniform visuals and prevent unwanted image distortion.
Leveraging Technology for Customization and Control
Although basic setup guarantees your galaxy projector operates safely, leveraging modern technology opens a much wider range of customization and control possibilities. By utilizing features such as remote control and app integration, you can adjust brightness, projection speed, and color schemes without leaving your seat. Many models support smart app integration, allowing seamless smartphone or tablet connectivity for managing 360° rotation, infinite color options, and custom scenes. Remote control functionality enables you to switch between static and moving effects or adjust light output instantly. Voice control and Bluetooth connectivity further enhance usability, letting you stream music or set self-timer modes via simple commands. As projectors advance, expect more sophisticated app features, smart home compatibility, and refined hybrid LED and laser technologies for sharper, brighter projections in any setting. With the inclusion of timer functions that allow the projector to automatically turn off after a set period, you can optimize your sleep environment and ensure energy efficiency.
Frequently Asked Questions
Can I Use a Galaxy Projector Outdoors or Only Indoors?
You can use a galaxy projector for both indoor use and outdoor placement, but you’ll need to check if your model’s weather-resistant and durable enough for outside. Remember, outdoor projections aren’t as visible in bright environments.
Will the Projector Work on Textured or Patterned Walls?
You’ll find that wall textures and patterns can hurt projector compatibility, making images look blurry or distorted. It’ll work, but you won’t get the best results unless you use smooth, light-colored, and plain surfaces.
Is It Safe to Leave the Projector Running Overnight?
You can safely leave your galaxy projector running overnight if you follow safety precautions like using sleep timers and ensuring proper ventilation. Just make sure it doesn’t cause sleep disruption or overheat, especially if children are around.
How Do I Clean and Maintain My Galaxy Projector?
You don’t want your galaxy projector turning into a dusty relic! Use these cleaning tips: always wipe with a soft cloth, avoid chemicals, and schedule maintenance routines. Never disassemble or spray water—keep your cosmic lightshow flawless!
Are Galaxy Projectors Safe for Children’S Bedrooms?
You’ll find galaxy projectors are generally safe for children’s bedrooms if you prioritize child safety and choose models with safe materials, adjustable brightness, and approved projector features. Always supervise young kids, especially with lasers or flashing lights.