Suppose you’re setting up a projector in a conference hall, placing it exactly 10 meters from the screen; at this distance, you need to consider the throw ratio, which directly determines the image width, typically yielding a display between 5.5 and 8.8 meters wide depending on your projector’s specifications. Selecting the appropriate aspect ratio, such as 16:9 for presentations or movies, ensures content fits correctly without distortion, while accounting for resolution will help maintain image clarity at larger sizes. To achieve the best results for your space, it’s essential to match these technical factors with your room’s dimensions and intended use, but several other variables can influence your final setup.
Key Takeaways
- The optimal image width at 10 meters depends on the projector’s throw ratio; for example, a 2.0 throw ratio yields a 5-meter-wide image.
- Match the projector’s aspect ratio (e.g., 16:9 or 2.35:1) to your screen and content for the best viewing experience.
- High-resolution projectors (Full HD or 4K) are recommended to maintain image sharpness over large screen sizes at 10 meters.
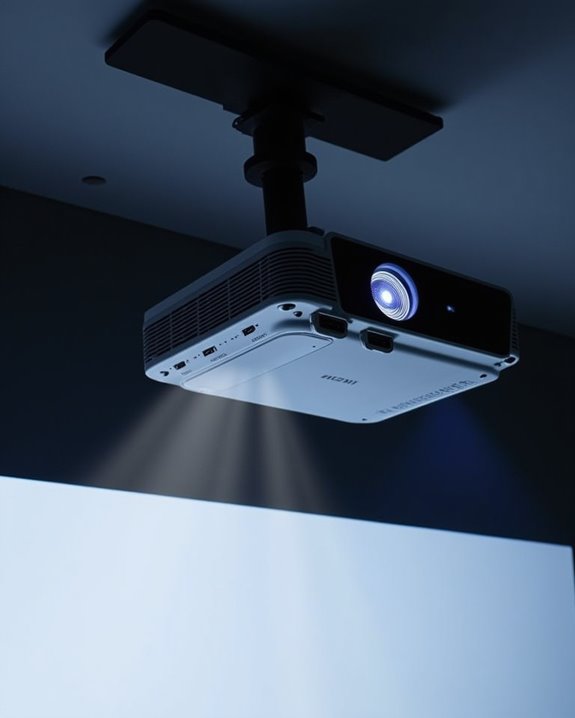
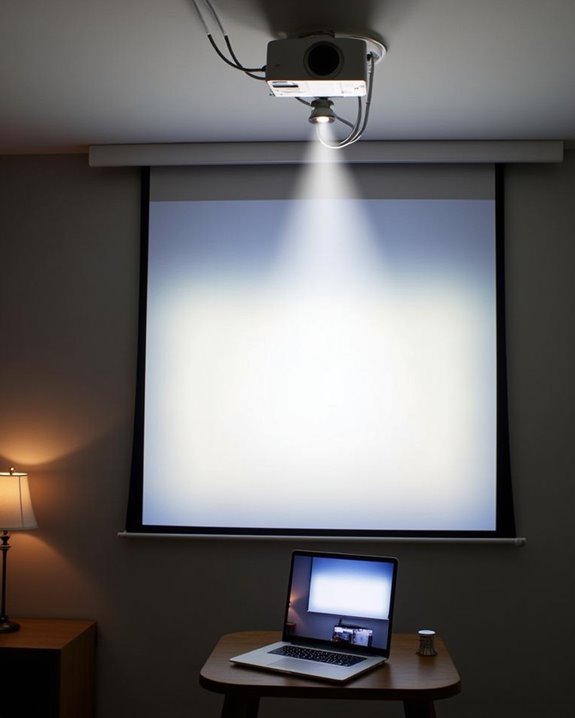
- Proper mounting and placement—usually ceiling-mounted and aligned with the screen—prevent distortion and ensure image clarity.
- Use screen size calculators and the projector’s zoom range to precisely adjust image dimensions based on room size and viewing distance.
Understanding Throw Ratio and Its Impact on Image Size
When you’re setting up a projector, understanding the concept of throw ratio is vital because it directly determines how large your projected image will be from any given distance. Throw ratio is calculated by dividing the distance from the projector to the screen by the width of the projected image. A smaller throw ratio, such as 0.5 to 1.0, allows you to achieve a larger image at a shorter distance, making it ideal for confined spaces, whereas a higher throw ratio requires more distance for the same image size. Selecting the correct throw ratio helps prevent lens distortion and guarantees that the image remains sharp and clear. Additionally, considering factors like ambient lighting and room dimensions is essential, as these influence both image visibility and overall viewing quality. Projector placement can be optimized by using the throw ratio formula to anticipate the maximum screen size achievable at a set distance. It is also important to match the projector’s brightness level with the room’s ambient light to maintain image clarity and color accuracy.
Calculating Image Width at a 10-Meter Projection Distance
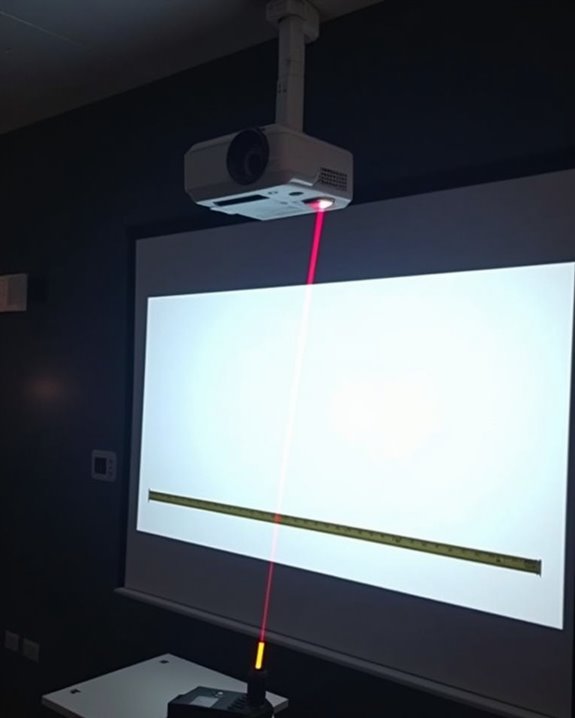
To determine the most suitable image width when your projector is set 10 meters from the screen, you’ll want to use the throw ratio formula, which divides the throw distance by the projector’s throw ratio (IW = TD / TR). For example, if your projector’s throw ratio is 2.0, the image width will be 5 meters (10 / 2.0 = 5). Adjusting the zoom lens changes the throw ratio, allowing you to fine-tune the image width without moving the projector. Keep in mind, lens distortion can affect image edges, so precise color calibration is important to maintain accurate color representation across the screen. Many modern projectors also include auto-focus and keystone correction features to simplify setup and ensure image clarity at various distances. Online projection calculators can help you compare models and account for these variables, ensuring you achieve an ideal, distortion-free image width. It is important to note that throw distance and image size are interdependent, meaning that increasing the distance between the projector and the screen will proportionally increase the size of the projected image.
Choosing the Right Aspect Ratio for Your Needs
Although choosing the right aspect ratio might seem straightforward, it’s essential to take into account how each format serves a specific purpose and affects your viewing experience. If you’re planning for home cinema, you’ll likely want a widescreen format like 2.35:1 for a truly immersive effect, but general entertainment benefits from the versatile 16:9 aspect ratio, which matches most modern projectors and media. Business or educational presentations often use 16:10, providing extra vertical space for documents and slides. When selecting your aspect ratio, you must match your projector and screen to prevent image distortion, and consider how color calibration and ambient lighting will impact the clarity and vibrancy of your projected image, especially when projecting over a 10-meter distance, where uniformity is fundamental. The aspect ratio expresses the proportional relationship between the width and height of your image or screen—so choosing the right one directly shapes the size and feel of your projection. Additionally, ensuring your projector’s brightness meets at least 1000 ANSI lumens is crucial for maintaining image quality at this distance in typical home environments.
The Role of Resolution in Maintaining Image Quality

Since resolution directly determines how sharp and detailed your projected images appear, it’s crucial to understand how this specification impacts overall image quality, especially when your projector is set 10 meters from the screen. Higher resolutions—such as Full HD or 4K UHD—provide more pixels, which means greater clarity and reduced pixel visibility on larger screens, particularly important at longer distances where lower resolutions can produce visible pixelation. Maintaining color accuracy also depends on resolution, since more pixels help display subtle gradients and fine details more faithfully, enhancing the realism of images and video. Additionally, the quality of a projector’s optics influences how well resolution is utilized; minimizing lens distortion ensures that sharpness and color integrity are preserved edge-to-edge, maximizing the visual impact at this distance. Matching device output to native resolution is recommended for presentations and web content to ensure optimal clarity, as this alignment helps prevent scaling artifacts and preserves the intended image sharpness even when projecting over significant distances.
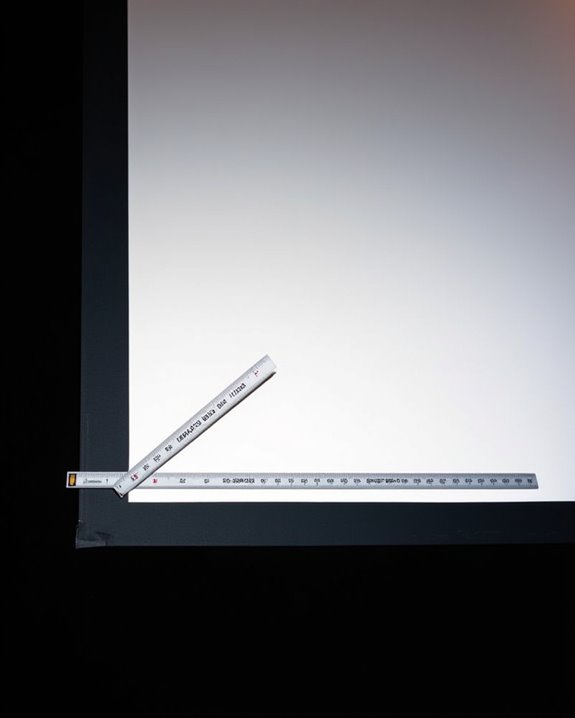
Using Screen Size Calculators for Accurate Measurements
When you’re aiming to determine the most suitable image size for a projector positioned 10 meters away, using screen size calculators is an essential step for achieving precise measurements that match your room and equipment specifications. These calculators let you input the throw distance, desired aspect ratio, and screen format, then calculate exact width and height using the Pythagorean theorem, so you’ll quickly find the ideal diagonal measurement. Many tools, like those on ProjectorScreen.com, account for both metric and imperial units, ensuring compatibility with your setup. Factoring in ambient lighting and color calibration, these calculators also help optimize viewing distance and brightness, allowing you to balance visual clarity with room conditions. Some calculators also include features for comparing different screen sizes and aspect ratios, which helps users visualize and select the best option for their space. Ultimately, such tools simplify technical decisions, ensuring your projector delivers accurate, high-quality images.
Projector Zoom Capabilities and Image Adjustment
While selecting the best image size for a projector set 10 meters from the screen, it’s important to understand how zoom capabilities influence image adjustment and quality. Optical zoom allows you to alter image size by physically moving lens elements, preserving sharpness, color accuracy, and resolution, which is vital when projecting across longer distances or in rooms with variable ambient lighting. Most projectors offer a zoom range, such as 1.2x to 1.7x, enabling you to fine-tune image size without repositioning the unit, therefore supporting flexible installations. In contrast, digital zoom simply enlarges pixels through software, often causing pixelation and reducing clarity—especially problematic for professional or home theater uses where image quality and color fidelity are priorities. Optical zoom maintains clarity during zoom and allows you to adapt image size precisely to your space and needs. Always prioritize optical zoom for best results.
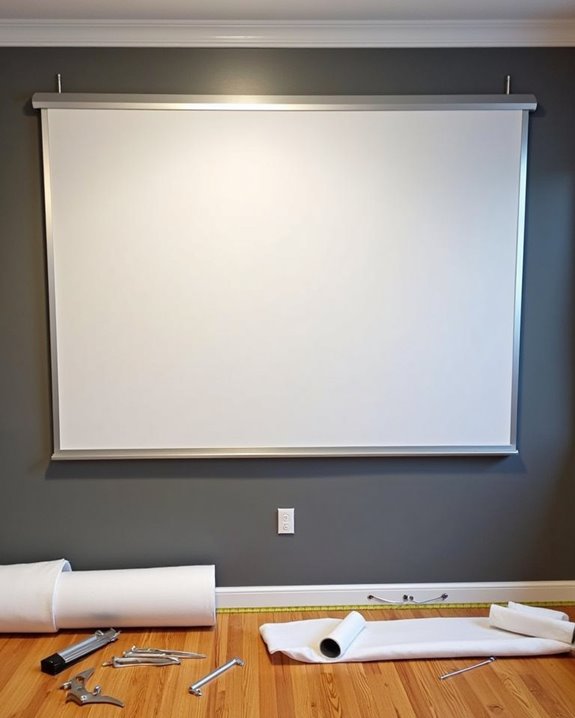
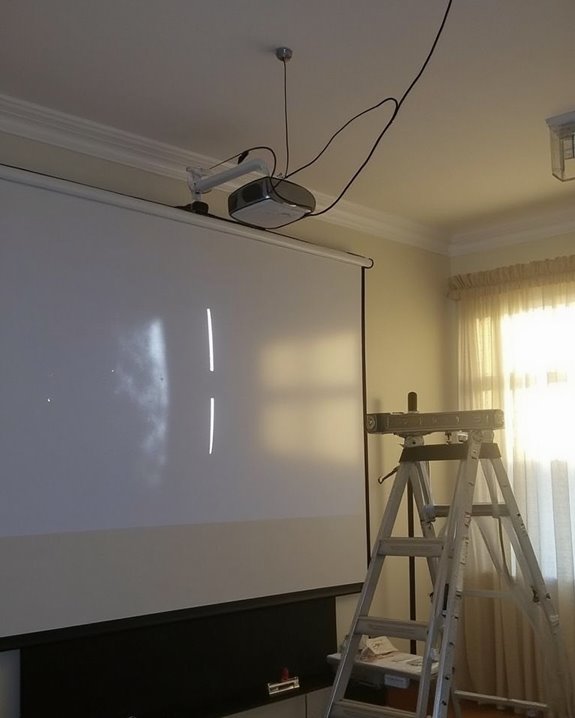
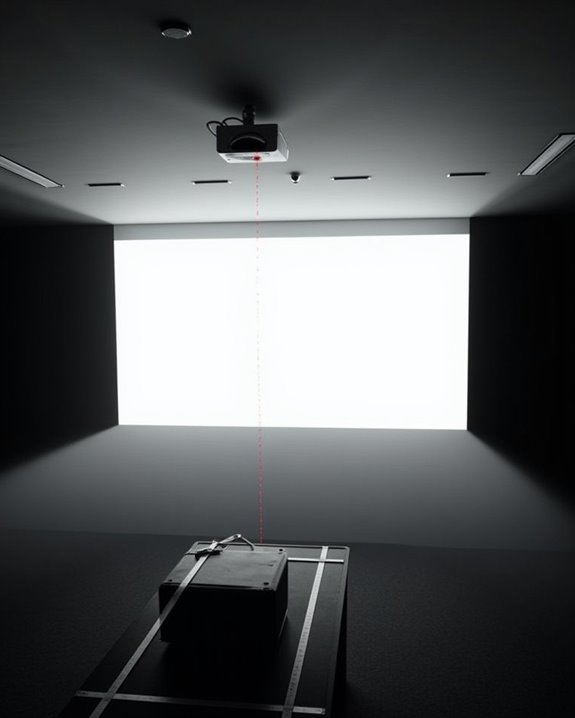
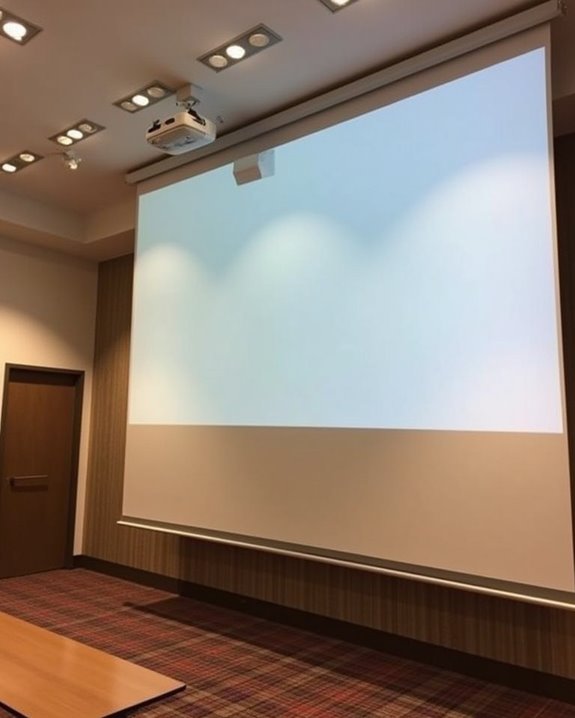
Optimizing Projector Placement and Mounting Options
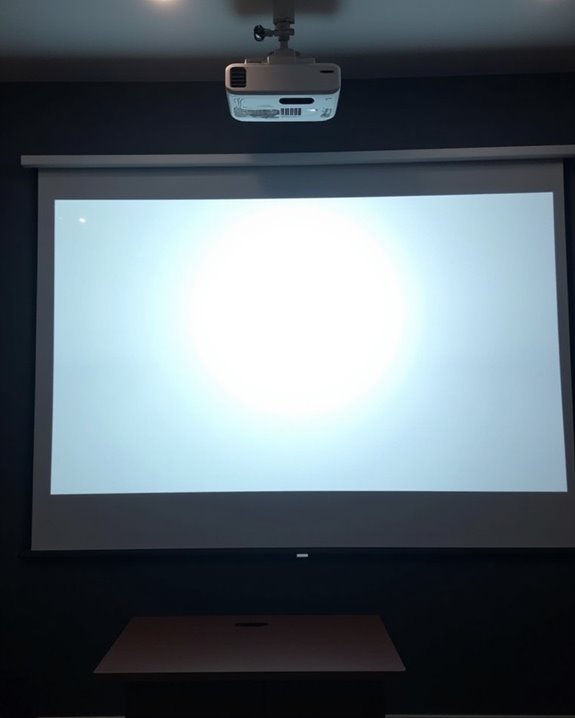
Although choosing the right projector is essential, optimizing its placement and selecting the correct mounting option are just as critical for achieving the best image quality at a 10-meter distance. You’ll need to carefully determine the mounting height—ideally around 13 inches above the screen—to limit keystone distortion and maintain sharp, square images. Ceiling mounts are often preferred for their flexibility and ability to reduce room clutter, but make sure the structure can support your projector’s weight. Consider room lighting as well; if ambient light is significant, pairing your projector with an ALR or high-gain screen can help boost image clarity. Effective cable management is necessary at longer distances to prevent signal loss, so plan for high-quality, appropriately rated cables when finalizing your projector’s mounting location. For secure installation, ensure that you have a strong ceiling support in place, ideally coordinated during initial construction or retrofitted between joists if needed.
Balancing Screen Size With Room Dimensions
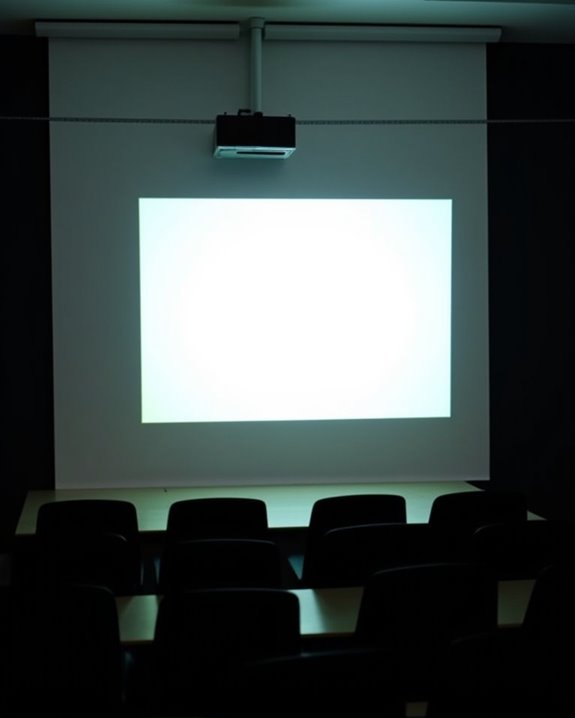
Since the size of your room directly influences the maximum screen you can install, it’s important to take into account both the available wall space and the distance between viewers and the screen before selecting a screen size. Begin by measuring your room’s width and length, factoring in seating arrangements and ensuring that speaker placement won’t obstruct the screen or affect audio quality. Use a projector throw ratio—such as 1.13:1 for a 100-inch screen at 8.2 feet—to estimate the achievable image size at a 10-meter distance. Consider field-of-view standards like THX’s 36° to 70° guideline for comfort. Additionally, assess ambient lighting conditions, as excessive light can diminish image clarity, making it essential to manage windows or install blackout curtains for an best viewing experience. To further refine your setup, utilize screen size calculators to determine the precise dimensions that best match your room and viewing preferences.
Selecting Screen Material for Enhanced Viewing
Selecting the right screen material is a critical step in maximizing your projector’s image quality, especially when projecting over a 10-meter distance, as different materials can markedly affect brightness, color accuracy, and contrast. You’ll need to weigh screen material durability alongside ambient light considerations, as environments with uncontrolled lighting benefit from high contrast gray or ambient light rejecting (ALR) materials, which help maintain deep blacks and vibrant colors. Matte white screens offer versatility and accuracy in controlled environments, while glass beaded options enhance brightness but may introduce hotspots if not properly aligned. For long-term use, select materials known for resisting wear and maintaining performance, such as CineWhite® ISF for uniform brightness and wide viewing angles. When choosing your screen, remember that screen material choices impact reflectivity, brightness, and overall viewing experience, so be sure to match the screen’s properties to your projector’s lumens, viewing angles, and intended use to achieve ideal results.
Common Mistakes to Avoid With Long-Throw Projections
While the quality of your screen material greatly shapes the final image, long-throw projections come with their own set of challenges that can undermine even the best equipment. One common mistake is choosing a screen size that doesn’t match the room, which can reduce comfort and image effectiveness, especially when the projector is placed 10 meters away. Always calculate throw distance accurately, considering the projector’s throw ratio and room dimensions. Don’t ignore the impact of ambient light; insufficient projector brightness or incorrect screen gain can cause washed-out images. Inconsistent screen height or improper mounting may disrupt viewing angles. Additionally, failing to perform remote calibration can result in suboptimal focus or keystone correction, and neglecting power consumption and cooling can lead to overheating or unstable performance, affecting your projection’s longevity. To further avoid problems, proper placement of the screen—such as ensuring the bottom edge is 24-36 inches from the floor—helps reduce neck strain and ensures a more comfortable viewing experience.
Frequently Asked Questions
How Does Ambient Light Affect Projected Image Size and Brightness?
When ambient light increases, you’ll notice reduced image visibility, diminished contrast, and the need for brightness adjustment. You must balance image size and projector lumens to overcome light interference and maintain a clear, vibrant projected image.
Can I Use Curved Screens With a 10-Meter Projector Distance?
You can definitely use curved screens from 10 meters away. You’ll enjoy curved screen advantages like better immersion and less edge distortion, but don’t forget curved screen limitations—standard projectors may need calibration to avoid image distortion or focus issues.
What Audio Solutions Work Best for Large Projection Setups?
You know what they say—“sound makes the picture.” For large projection setups, you’ll want high audio quality, proper speaker placement, a subwoofer, and possibly surround sound. Don’t forget to calibrate everything for the best effect.
How Do Temperature Changes Impact Projector Performance Over Long Distances?
You’ll notice that temperature changes can cause thermal expansion, which may affect your projector’s alignment and focus. Maintaining temperature stability is essential, as overheating can reduce image clarity, brightness, and overall performance during long-distance projections.
Are There Wireless Options for Connecting Sources to a Distant Projector?
You’ve got plenty of wireless connectivity options—like AirPlay, Miracast, and Chromecast—that make connecting sources to a distant projector easy. Just check your projector’s source compatibility to make certain seamless streaming from your devices.