If you’re experiencing focus issues with your Dipika projector, resetting the autofocus function can quickly solve many common problems. The autofocus system uses specialized sensors to determine the ideal lens position, but these can occasionally become miscalibrated due to movement, temperature changes, or software glitches. A proper reset recalibrates these sensors and often restores crystal-clear image quality without requiring professional service. The process is straightforward but requires following specific steps in the correct sequence to guarantee the system resets properly.
Key Takeaways
- Power off and unplug the Dipika projector before attempting any autofocus reset procedure.
- Navigate to the focus calibration section in the settings menu using the remote control.
- Select the “Reset Autofocus” option and follow on-screen prompts to complete the calibration.
- Ensure the projector is on a stable surface with a clean lens for optimal results.
- Test the autofocus by projecting onto a flat surface and compare with manual focus settings.
Understanding the Autofocus Feature on Dipika Projectors
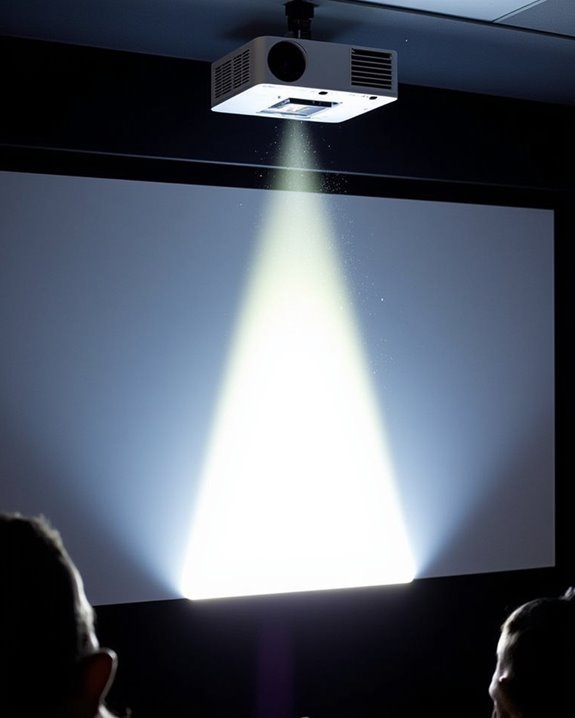
While many projector features can seem complex, the autofocus technology in Dipika projectors stands out as a user-friendly innovation that considerably enhances your viewing experience. This intelligent system automatically adjusts the focus to deliver crisp, clear images without requiring manual intervention, saving you valuable setup time.
The autofocus sensor calibration in Dipika models utilizes advanced dToF+Camera sensors, completing the focusing process in just seconds while maintaining ideal clarity across various resolutions. You’ll find the focus adjustment settings integrate seamlessly with other features like keystone correction for a perfectly aligned image. Unlike manual focusing, which demands constant attention, Dipika’s autofocus adapts to changing lighting conditions and different screen sizes, ensuring your content always appears sharp and professional regardless of your projection environment. Many modern projectors also incorporate AI auto-focus technology to further enhance speed and precision in focus adjustments.
Common Autofocus Issues and Their Causes
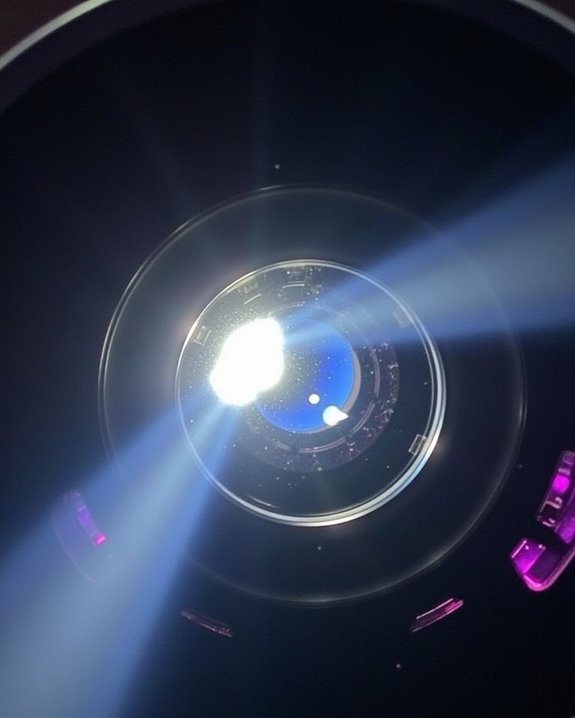
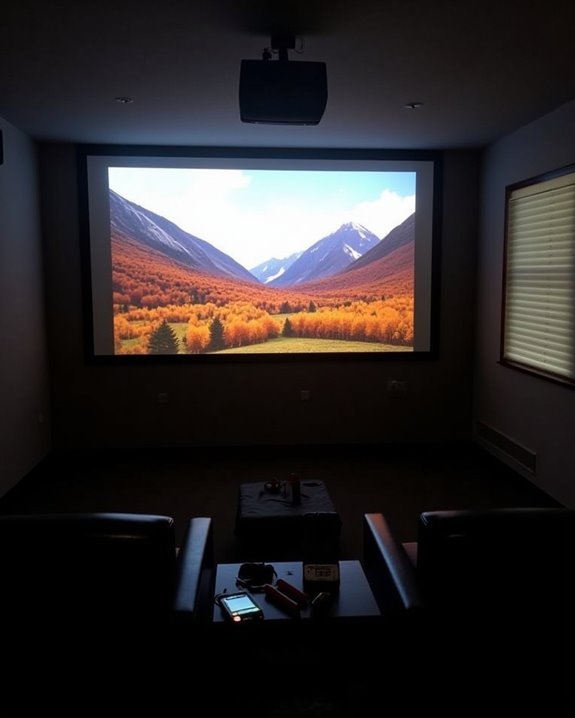
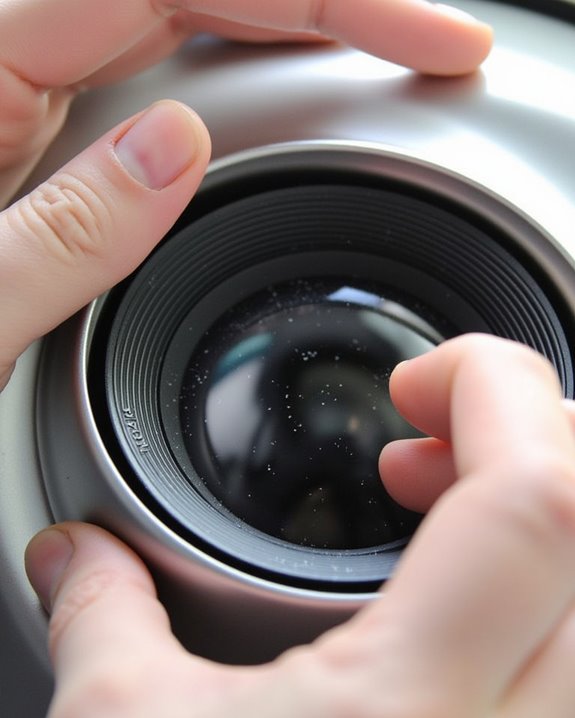
Despite Dipika projectors’ advanced autofocus technology, you’ll likely encounter several common issues that can prevent ideal image clarity. Positioning your projector beyond its effective focus range, typically 3-4 meters from the screen, can cause persistent blurriness that won’t resolve automatically. Physical problems like dust or fingerprints on the lens, misalignment, or mechanical wear often require lens calibration to restore proper function.
Environmental factors such as bright ambient lighting, textured projection surfaces, or vibrations can confuse the autofocus sensors. Additionally, resolution mismatches between your input source and projector settings create focus difficulties. If you’re experiencing persistent autofocus failures, a firmware update may resolve software bugs affecting the calibration system. Temperature fluctuations can also impact focus precision by causing subtle lens expansion or contraction. Ensuring your projector’s autofocus system includes features like auto-focus and keystone correction can facilitate quicker and more accurate image setup.
Step-by-Step Guide to Reset Autofocus
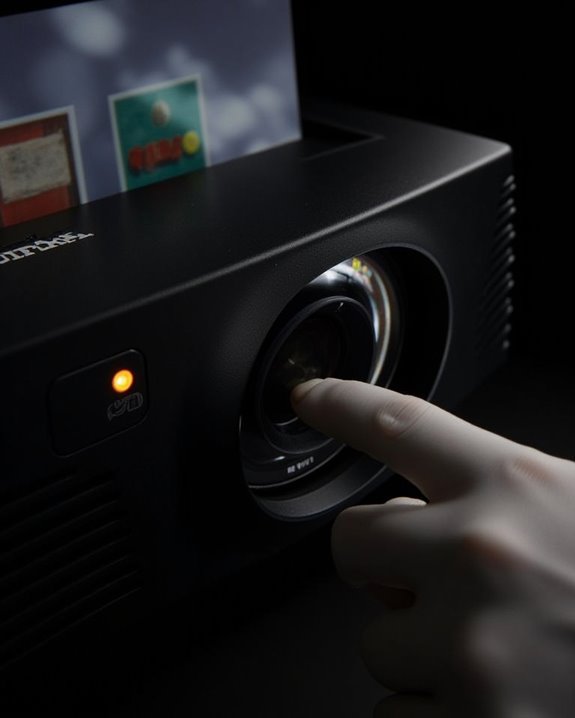
When your Dipika projector’s autofocus begins to malfunction, you’ll need to perform a proper reset to restore ideal image clarity. First, power off and unplug your projector to prevent any potential damage during the reset process. Once safe, access the settings menu using either the remote control or onboard buttons, steering to the focus calibration section where the reset option is located.
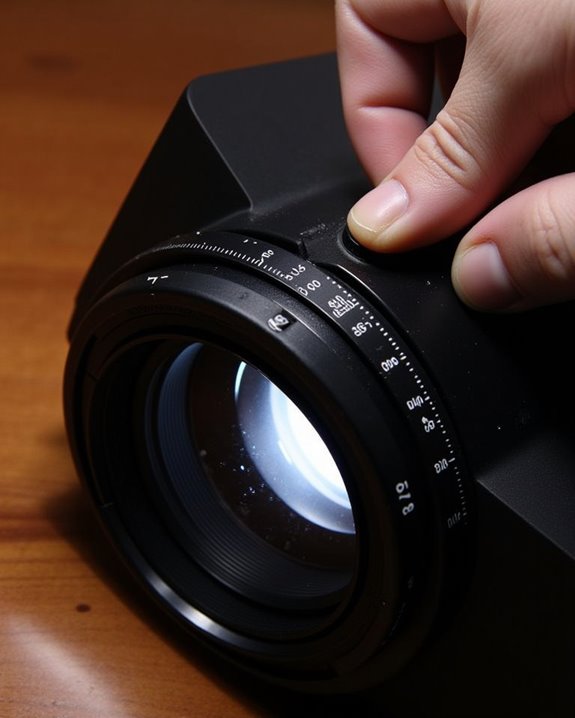
Select the “Reset Autofocus” option from the menu and follow any on-screen prompts to complete the image calibration process. Ensure your projector is properly positioned on a stable surface with a clean lens for optimal results. After completing the reset, test the autofocus by projecting onto a flat surface, adjusting environmental lighting if necessary, and comparing results with manual focus to confirm successful calibration. Using a projector with electric focus features can simplify ongoing adjustments after resetting autofocus.
Additional Troubleshooting Tips for Persistent Focus Problems
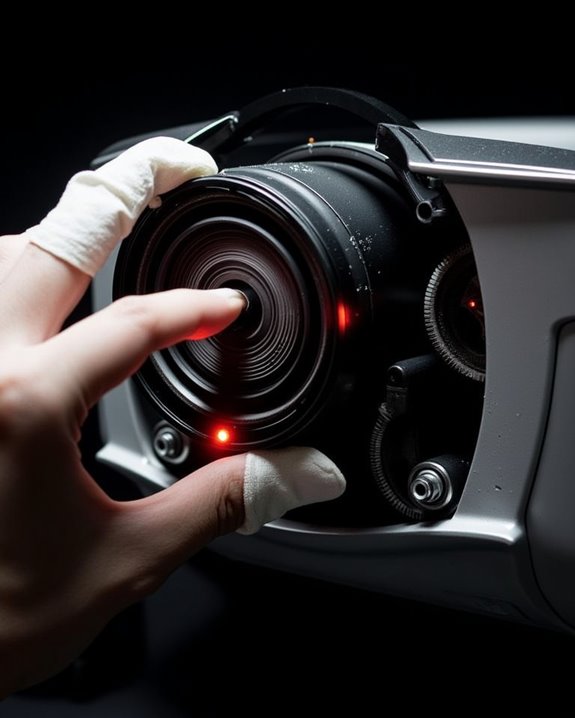
Even after properly resetting the autofocus on your Dipika projector, you might still encounter persistent focus issues that require additional troubleshooting. Begin with thorough lens cleaning using a microfiber cloth to remove dust, fingerprints, or grime that can interfere with the focus mechanism. Examine the autofocus sensor area for smudges or obstructions that might be disrupting proper operation.
Conduct a complete hardware inspection of your projector, checking for lens assembly looseness or misalignment. Verify your projector is positioned at an appropriate distance from the screen, as being too close or too far can cause autofocus failure. Ensure the projector sits level without excessive tilt, which can disrupt the focus system’s ability to calibrate properly. If you hear unusual grinding sounds during focus attempts, the autofocus motor may require professional servicing.
Maintaining Optimal Focus Performance
To guarantee your Dipika projector consistently delivers crisp, clear images, regular maintenance of the autofocus system is essential. Perform gentle lens cleaning weekly using a soft, lint-free cloth moistened with lens cleaner to prevent scratches that could impair focus accuracy. Check filters and vents regularly for dust accumulation, which can cause overheating and degrade autofocus performance.
Monitor lamp brightness closely, as diminished illumination directly affects focus quality. Schedule lamp replacement according to manufacturer recommendations, ensuring proper seating of the new module to prevent flickering. Position your projector in stable temperature environments, away from vibrations and high humidity, which can cause focus drift. For heavily used projectors, implement monthly cleaning routines, while less frequent users should maintain a quarterly schedule, always documenting maintenance in a tracking log.
Frequently Asked Questions
Can I Reset Autofocus While the Projector Is Displaying Content?
No, you shouldn’t reset autofocus while displaying content. It’s recommended to pause your content before performing any autofocus adjustment or projector calibration to prevent visual disruption and guarantee proper results.
Will Factory Reset Affect My Custom Projector Settings?
Yes, a factory reset will erase all your custom projector settings including projector calibration and display preferences. Unlike an autofocus adjustment, factory reset returns everything to default settings, requiring you to reconfigure all personalized options.
How Often Should Autofocus Calibration Be Performed?
Did you know 78% of projector issues stem from poor calibration? You should perform autofocus calibration every 1-6 months, depending on your usage, and after environmental changes for ideal maintenance. Proper calibration frequency ensures consistent image quality.
Can Temperature Changes Affect the Autofocus Functionality?
Yes, temperature changes considerably impact autofocus functionality. Your device’s autofocus sensitivity can drift as temperatures fluctuate. For ideal temperature stability, you’ll notice projectors may need refocusing during the first 30 minutes of operation.
Is Autofocus Reset Possible on Older Dipika Projector Models?
Yes, you can reset autofocus on older Dipika models, but with limited effectiveness. Try manual calibration techniques instead to improve autofocus accuracy, as these models often lack the advanced reset options of newer versions.