The humble projector, like a portal between worlds, brings images to life on a grand scale without requiring fancy equipment. You’ve probably wondered if you can create this magic without a magnifying glass, and the answer is yes. While traditional projectors rely on sophisticated optics, you can construct a functional projector using everyday household items like cardboard boxes, smartphones, and creative light manipulation techniques. The principles behind these DIY approaches reveal fascinating aspects of light physics, and they’ll transform how you think about home entertainment possibilities.
Key Takeaways
- Use eyeglass lenses or old projector lenses as alternatives to magnifying glasses for focusing light onto a projection surface.
- Create a simple box projector with two holes: one for viewing and one for light entry, lined with black paper inside.
- Try water-based projection by positioning a light source behind a water-filled fishbowl to refract light.
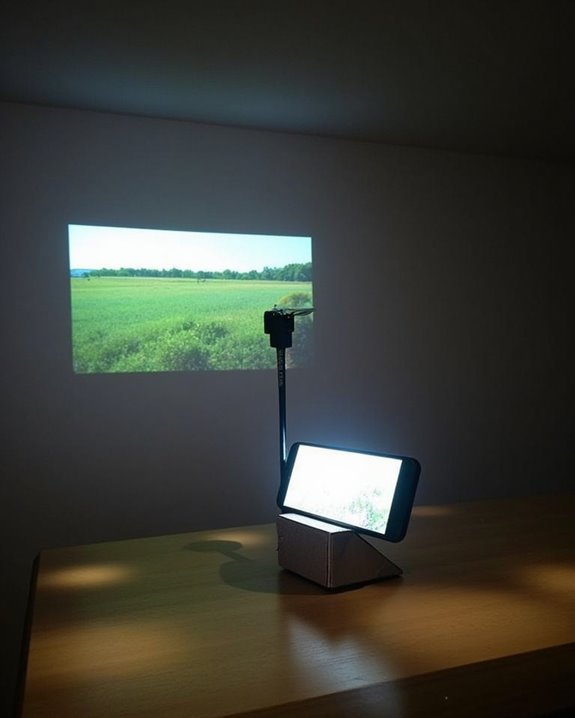
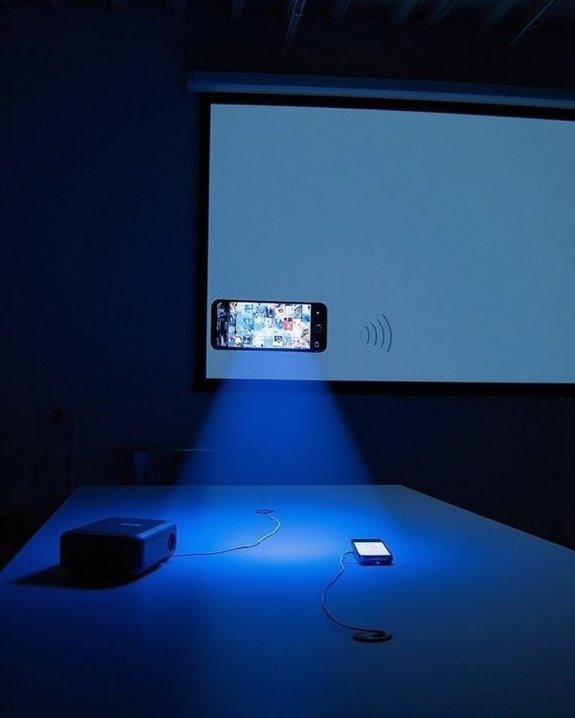
- Repurpose smartphone flashlights as light sources and position them at optimal distances for clear image projection.
- Construct lens triplets from clear plastic or glass materials mounted in cardboard or 3D-printed holders.
Understanding Projector Basics and Lens Alternatives
When you’re looking to build a projector without a magnifying glass, it’s essential to understand the fundamental components that make projection possible. A basic projector consists of a light source, a lens, and a display surface, with the lens being responsible for focusing light and creating properly oriented images.
Instead of traditional magnifying glasses, you can repurpose projector lenses, weak positive eyeglass lenses, or even create a DIY lens triplet. The focal length of your chosen lens will determine both projection distance and image size. Proper lens alignment is vital for clear image production, requiring careful positioning of components. Old projector lenses, like the PJ325v with its 275mm to 325mm focal length range, can be adapted using common materials such as ABS pipes or 3D-printed mounts. These alternatives offer varying field angles, allowing you to customize the size of your projected image. For enhanced viewing quality in home setups, integrating a display with high peak brightness can significantly improve image clarity.
The Cardboard Box Projector: Materials and Assembly
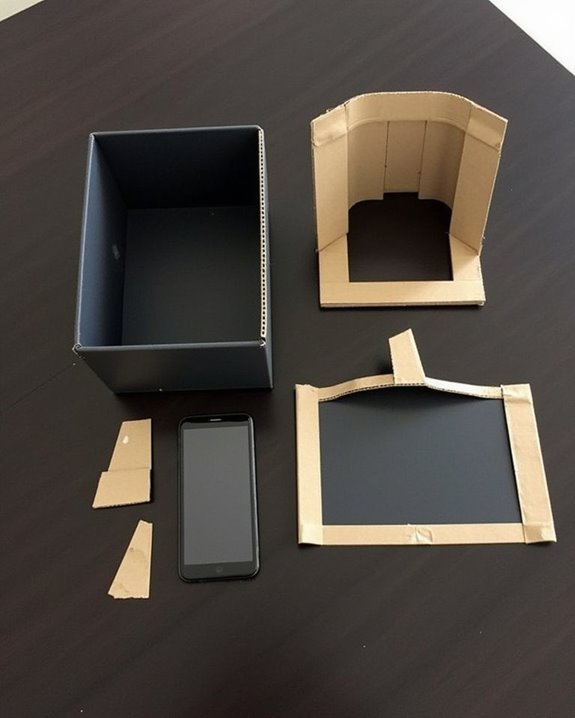
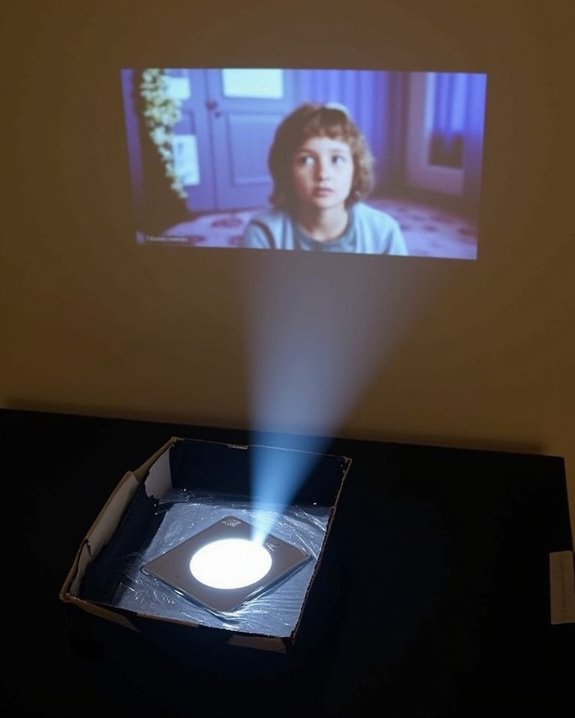
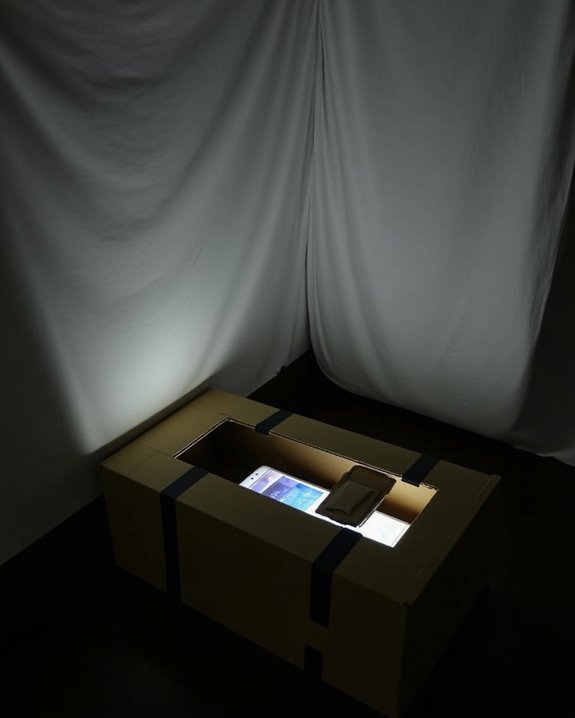
The cardboard box projector stands out as one of the most accessible and budget-friendly ways to create your own projection system without a magnifying glass. Unlike historical devices that required expensive glass elements, today’s DIY projectors leverage basic color theory principles through simple materials: a cardboard box (shoe box or longer), scissors, duct tape, aluminum foil, and pins or thumbtacks.
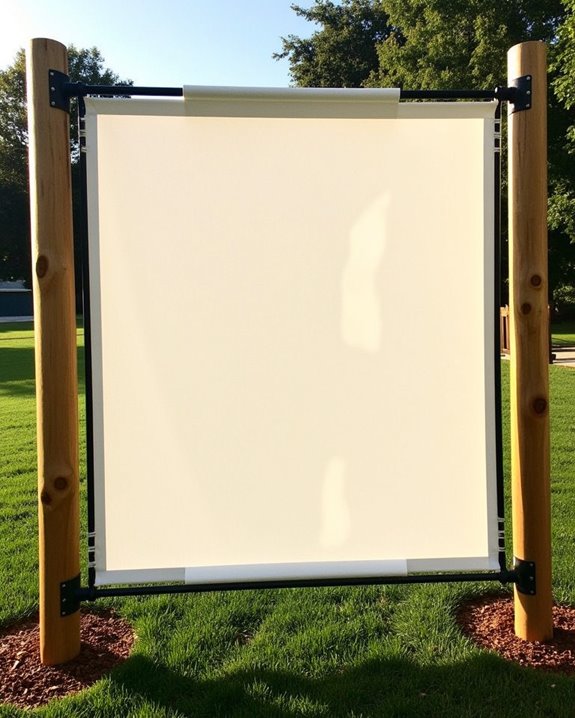
To assemble your projector, begin by cutting two holes in the box—one rectangular opening for viewing the projection and another smaller one for light entry. Cover the box’s interior with black matte paper to reduce light scatter, then attach a white sheet inside as your projection surface. Seal any light leaks with opaque tape, ensuring proper contrast. Remember that longer boxes generally produce larger images, a principle understood since early camera obscura designs.
For improved image quality, consider the importance of contrast ratio in achieving vibrant and clear projections.
Water-Based Projection Methods: Fish Bowl and Jar Techniques
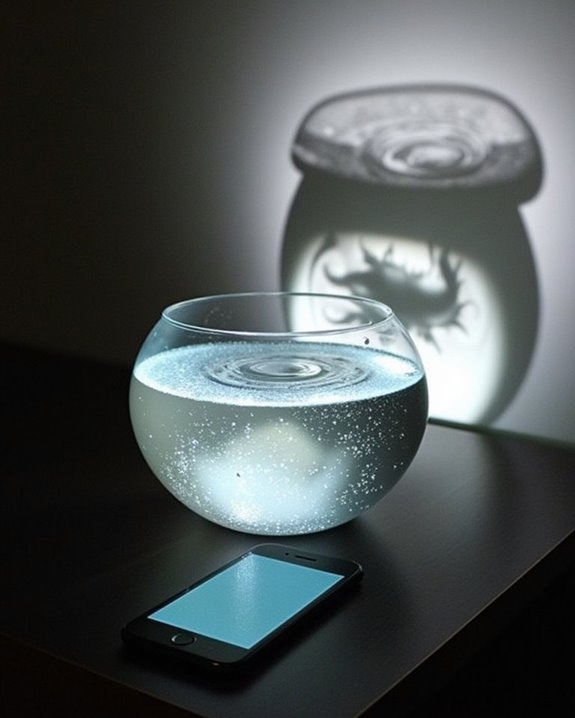
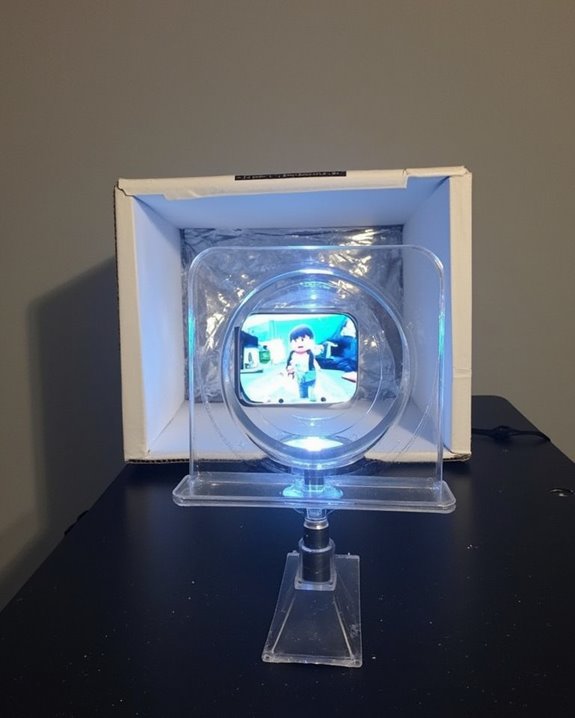
Water-based projection systems offer an innovative alternative to traditional magnifying glass methods, allowing you to harness the unique refractive properties of water to create striking visual displays. A fish bowl filled with water functions as a converging lens, creating light refraction that focuses images onto your projection surface. When setting up this system, position your light source behind the bowl and experiment with distance until you achieve ideal clarity.
For dynamic effects, try introducing gentle water ripple by lightly touching the surface or using a small fan. You can also place a thin layer of water on glass above your projector, secured with tack, to project rippling patterns onto walls or ceilings. These techniques not only produce functional projections but also create dreamlike, moving reflections that add visual interest to your homemade projection system. Using a high-quality ALR screen can further enhance your projection’s clarity and contrast, especially in ambient light conditions.
Optimizing Image Quality in DIY Projectors
Building a functional DIY projector is just the first step in your homemade cinema journey, as mastering image optimization techniques will dramatically enhance your viewing experience. When using lens alternatives like water-filled containers or plastic lenses, position your projector at the ideal height and distance from your screen to minimize distortion. Control ambient lighting by darkening your viewing area as much as possible, which considerably improves contrast and visibility.
For image enhancement, regularly clean your DIY lens surface to remove dust particles that can degrade clarity. Select appropriate content that matches your projector’s capabilities—simpler, high-contrast images typically perform better with homemade setups. You’ll also want to stabilize your projector on a firm surface to prevent movement during use, as even slight shifts can blur your projection and diminish the viewing experience.
Creative Applications and Project Ideas
Once you’ve mastered the basics of DIY projector construction, you’ll discover a world of creative applications that extend far beyond simple movie viewing. Transform your living space with seasonal decorations by projecting spooky images onto pumpkins or festive patterns on walls, experimenting with color blending to create the perfect ambiance. Your homemade projector can serve as an educational tool, displaying recipes in the kitchen or helping children trace murals for art projects.
For entertainment purposes, create immersive indoor camping experiences by projecting starry skies on your ceiling, or host gaming nights with expansive gameplay displays. Light diffusion techniques can enhance these applications, softening harsh edges and creating more natural-looking projections. Consider projecting visual effects during music performances or transforming blank walls into interactive storytelling canvases for children’s bedtime routines.
Frequently Asked Questions
Can Smartphones With Screen Protectors Work Effectively in DIY Projectors?
Yes, your smartphone with a screen protector can work in DIY projectors, but you’ll face screen protector interference affecting image clarity and smartphone brightness limitations. Increase your screen brightness to compensate for these issues.
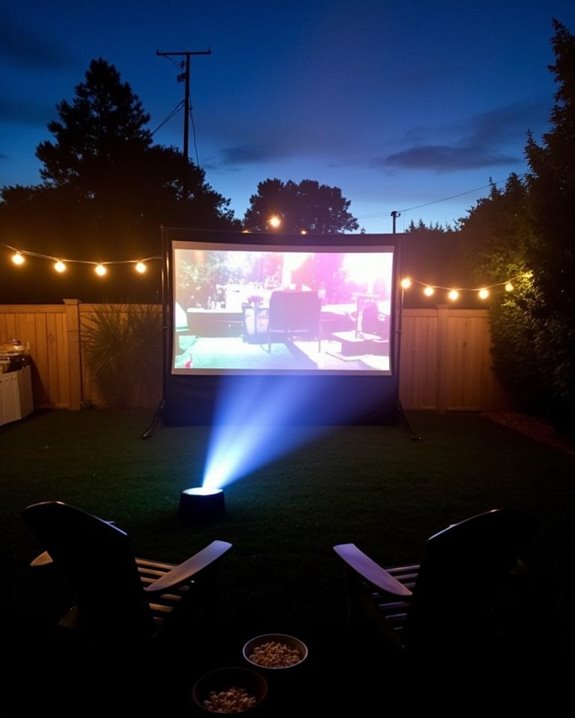
How Do Weather Conditions Affect Outdoor DIY Projector Performance?
Weather impact markedly affects your DIY projector outdoors. Rain damages electronics, humidity fogs lenses, and outdoor glare reduces visibility. You’ll need weatherproof enclosures and higher lumen ratings in bright conditions for best performance.
Will Projector Heat Damage My Smartphone During Extended Use?
Yes, your smartphone can suffer projector damage from excessive heat during extended use. You’ll risk battery degradation and component failures unless you use cooling aids, take breaks, and monitor smartphone heat levels regularly.
Can I Use Tablets Instead of Smartphones for Better Results?
Yes, you’ll get better results with tablets due to their superior tablet compatibility. The larger screen size impact means brighter, clearer projections compared to smartphones, though they’re less portable in your DIY setup.
Do DIY Projectors Work With Streaming Services Requiring Authentication?
Streams and schemes aside, you’ll face challenges with DIY projectors. They typically don’t support authentication protocols required by streaming services. For better streaming service compatibility, consider using external devices like Chromecast with your projector calibration setup.