Most smartphones can transform into impressive projectors with just a few household items, saving you hundreds of dollars on commercial projection equipment. You don’t need specialized technical knowledge to create a functional DIY projector that can display movies, photos, or presentations on your wall. With a shoebox, magnifying glass, and some basic crafting supplies, you’ll soon be enjoying supersized content from your small device. The secret lies in understanding how light behaves when passing through a simple lens system.
Key Takeaways
- Choose a shoebox, cut a precise hole for the magnifying glass, and cover with black paper to minimize reflection.
- Remove the handle from a magnifying glass and secure it in the hole, ensuring it’s centered relative to phone placement.
- Create a stable smartphone cradle inside the box with the screen facing the lens.
- Set your phone to maximum brightness, disable auto-rotation, and prevent screen timeout.
- Position the projector 3-5 feet from a matte white surface and use in a dark room for best results.
How to Make a Projector With a Phone: Easy DIY Guide
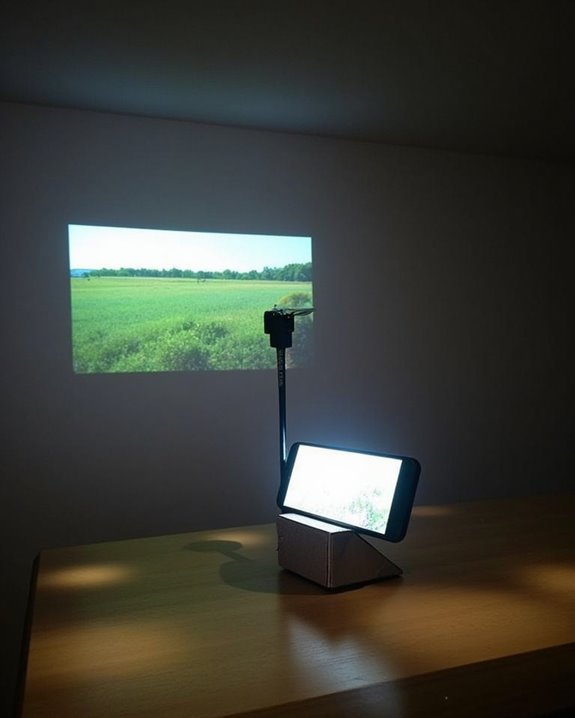
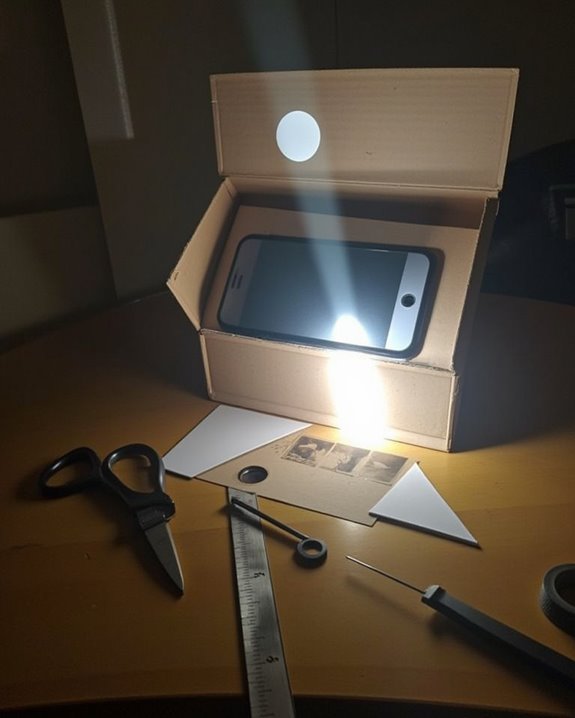
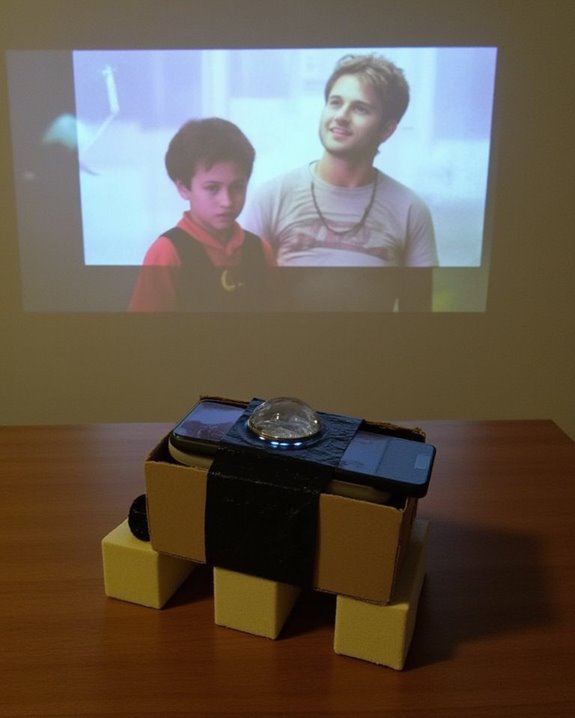
Ever wondered how to transform your ordinary smartphone into a home theater projector? With just a shoebox, magnifying glass, and a few household supplies, you can create an impressive DIY projector that works surprisingly well. Start by cutting a hole in one end of your shoebox to fit the magnifying glass, which will serve as your projection lens. Secure it firmly with tape, ensuring proper lens calibration for ideal focus. Next, cut a rectangle in the lid to create a cradle for your smartphone, positioning the screen to face inward. Cover the entire box with black paper to minimize light reflection and internal glare. For best results, seal any gaps that might leak light, as a completely light-tight box greatly improves image quality and projection clarity. Keep in mind that brightness levels play a crucial role in image clarity, so using your DIY projector in a dark room will yield the best viewing experience.
What You’ll Need: Materials for Your Homemade Projector
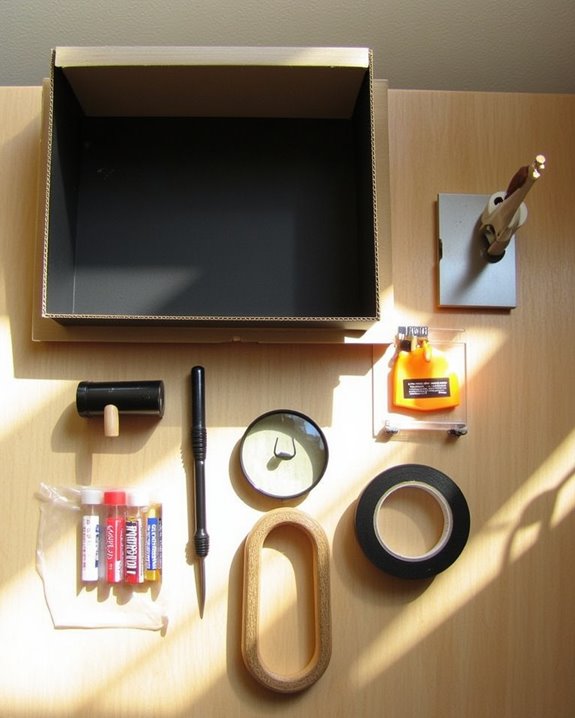
Building your own smartphone projector requires just a handful of common household items, most of which you’ll likely already have around your home. The essential components include a smartphone with good screen brightness, a shoebox, a magnifying glass (with handle removed for safety precautions), and adhesive materials like tape or glue.
You’ll also need basic crafting tools: a craft knife for cutting the lens hole, black paint to reduce light reflection inside the box, and optional material alternatives like black card paper for improved image quality. For better focus control, consider using a second smaller box inside the main shoebox to create an adjustable lens mechanism. Remember to work in a stable environment with adequate lighting during assembly, but use your projector in a darkened room for ideal viewing results.
Preparing Your Cardboard Box: Cutting and Modifications
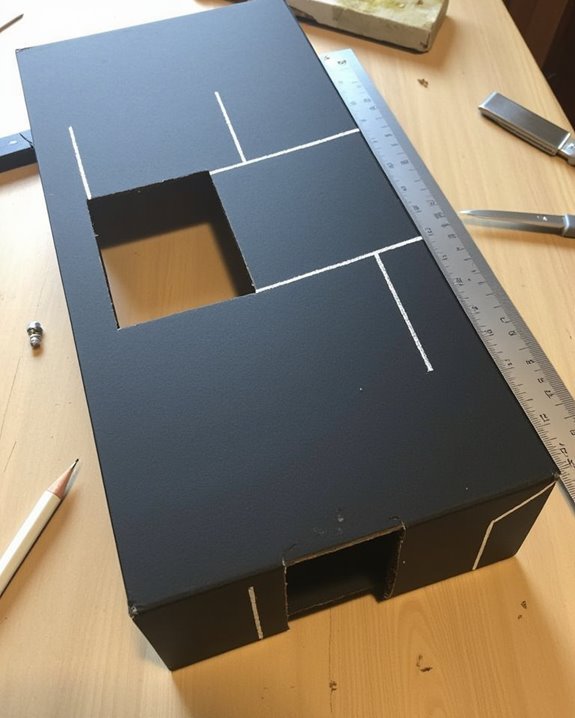
Once you’ve gathered all your materials, it’s time to transform your cardboard box into a functional projector housing. Select a rectangular box that accommodates both your magnifying glass width and smartphone, removing any unnecessary features like handles to create a clean interior. For suitable cardboard durability, reinforce weak spots with tape or glue, ensuring the structure remains stable during use.
Using a ruler and pencil, mark precise dimensions for the magnifying glass opening on one side of the box, prioritizing cutting precision to avoid light leakage. After cutting, smooth all rough edges with sandpaper or tape to prevent light scatter. Create a support system from leftover cardboard to position the magnifying glass at the proper distance from where your phone will sit, allowing for focus adjustments during projection. Brightness levels significantly impact the projector’s performance, so optimizing your setup for brightness and image quality can enhance your viewing experience.
Installing the Magnifying Glass Lens Properly
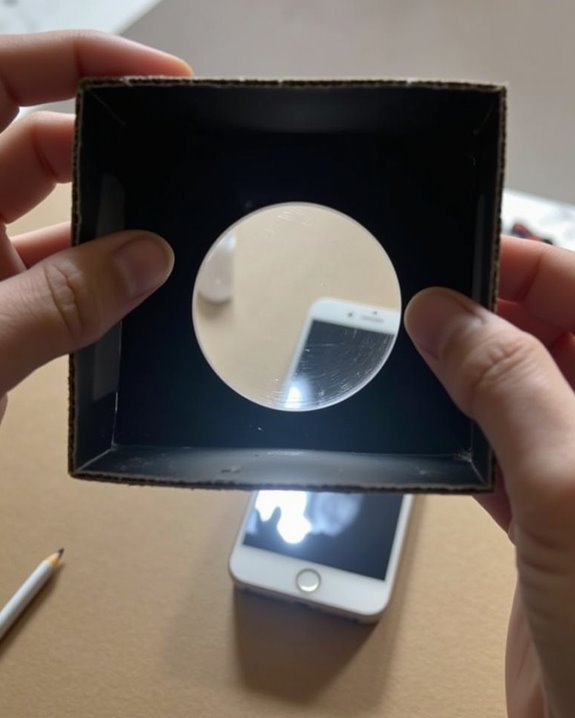
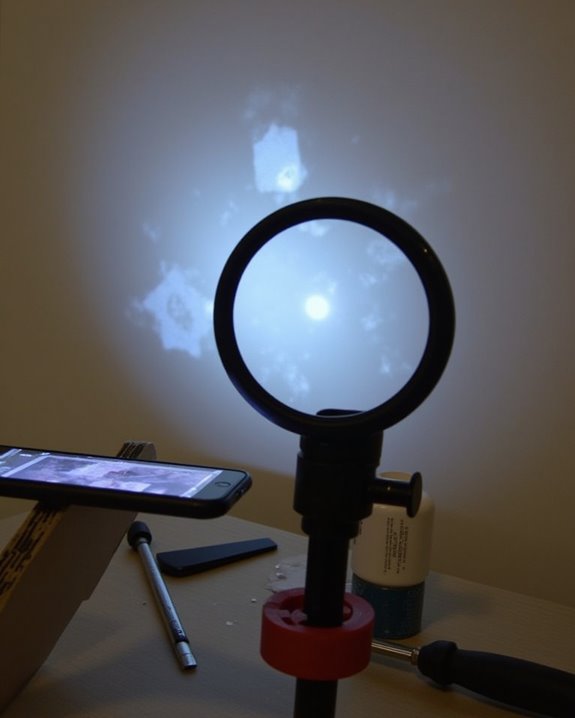
The proper installation of your magnifying glass lens serves as the cornerstone of your DIY projector’s functionality, transforming simple materials into an effective optical system. Select a magnifying glass with a clear, undistorted surface that fits the hole you’ve cut in the shorter side of your box. For ideal lens alignment, position the glass parallel to where your smartphone will sit, ensuring it’s perfectly centered to prevent image distortion.
Apply glue carefully around the lens edges, avoiding contact with the clear surface to maintain optical clarity. Don’t use excessive adhesive, as leakage could compromise visibility. While the glue dries, secure the lens with tape or clamps, then seal any gaps with black tape to prevent light leakage. Test your setup by projecting an image, making fine adjustments to achieve the clearest projection possible. For enhanced viewing experience, consider optimizing brightness similarly to how Quantum Dot technology enhances display clarity in advanced screens.
Setting Up Your Smartphone as the Image Source

After securing your magnifying glass lens in place, you’ll need to position your smartphone correctly to serve as the powerful image source for your DIY projector. Place your phone with the screen facing the lens, ensuring it’s securely propped up and aligned perfectly with the lens’s center. Smartphone compatibility is essential, as most modern devices work seamlessly with this setup, particularly those with adjustable brightness settings.
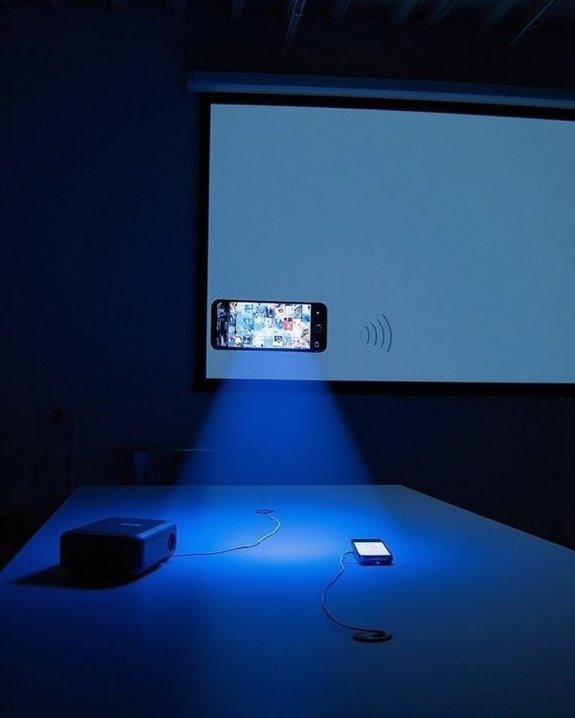
For more sophisticated projection, consider wireless streaming options by connecting your phone to a dedicated projector via Wi-Fi Direct or Bluetooth. USB-C to HDMI adapters offer another excellent alternative for phones with compatible ports, allowing direct connection to standard projectors. Adjust your phone’s display settings to maximum brightness, disable auto-rotation, and set the screen timeout to “never” to maintain continuous projection without interruptions.
Optimizing Image Quality and Projection Distance
Finding the perfect balance between image clarity and projection distance requires careful adjustment of several factors. Position your phone projector in a completely darkened room, as ambient light control critically impacts image quality. For ideal results, place your DIY projector at the recommended throw distance—typically 3-5 feet from your projection surface, depending on your magnification setup.
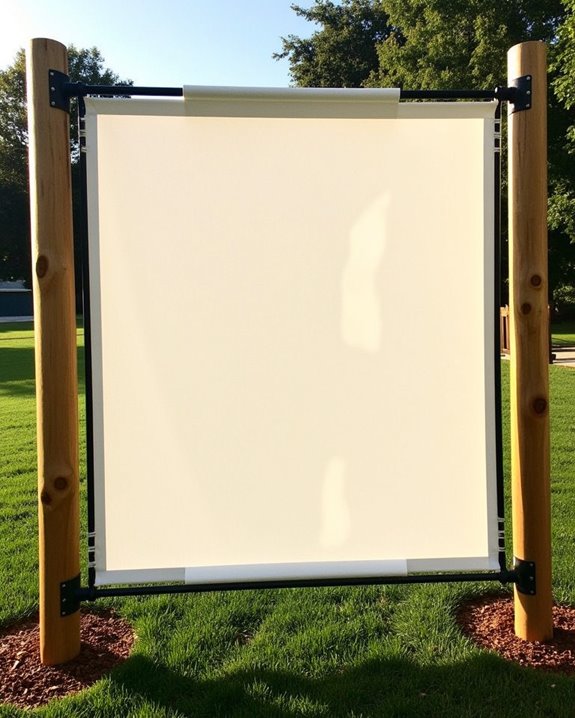
Image calibration is essential for clarity; adjust your phone’s brightness to maximum and fine-tune the focus by moving your lens until the projected image appears sharp. Select a smooth, matte white surface for projection, or use a proper projection screen if available. Remember that increasing distance creates a larger but potentially dimmer image, so you’ll need to find the sweet spot that balances size with brightness for your specific setup.
Troubleshooting Common DIY Projector Problems
While you’re enjoying your homemade projector, unexpected issues might arise that affect your viewing experience. Blurry images typically result from improper lens alignment or dirty components, requiring you to adjust the phone-to-lens distance and clean all optical surfaces. For dim projections, increase your phone’s brightness, ensure complete darkness in the room, and check for light leaks in your box construction.
Distorted images often stem from improper centering of the lens or misalignment between components, necessitating careful adjustment of your setup’s geometry. For audio troubleshooting, verify your device’s sound settings, inspect cable connections, and test with alternative audio sources to isolate the problem. If general functionality problems persist, methodically check power sources, remove potential blockages, and confirm all components are securely positioned and properly aligned with each other.
Frequently Asked Questions
Can This DIY Projector Work With Movies Longer Than Two Hours?
You’ll face challenges with movies over two hours due to limited battery life. Without external power, your DIY projector won’t last, and video quality may deteriorate as your phone heats up during extended use.
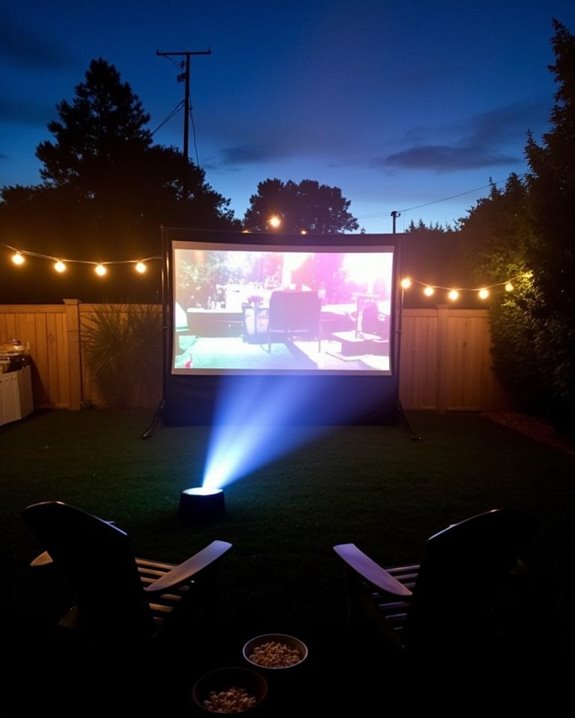
Will This Projector Work for Outdoor Movie Nights?
No light, no clarity, no satisfaction. Your DIY phone projector won’t work well outdoors. It lacks the brightness, weather resistance, and power needed for outdoor setups. You’ll need a commercial projector for movie nights outside.
Can I Connect External Speakers to Improve the Audio?
Yes, you can definitely enhance audio by connecting external speakers. Use your projector’s audio output ports with 3.5mm or RCA cables for speaker connection. This audio enhancement will provide much better sound than built-in speakers.
What’s the Maximum Screen Size This DIY Projector Can Achieve?
Like a fading star at dawn, your DIY projector can achieve a maximum screen size of 15-20 inches before image quality deteriorates. You’ll notice blurriness and reduced brightness beyond this range.
Does Using a Projector Like This Damage My Phone?
Yes, it can affect your phone’s safety and device longevity. You’ll risk overheating, battery strain, and screen degradation. Keep usage short, avoid blocking vents, and consider connecting to a power source when projecting.