If your projector’s image looks blurry, dim, or speckled, you’re likely facing the common issue of a dirty lens. You’ll notice improved picture quality, enhanced brightness, and extended equipment life with proper cleaning techniques. A projector lens requires delicate handling, as improper cleaning can lead to permanent damage through scratches or chemical residue. The difference between amateur and professional-grade results often comes down to your cleaning approach, tools used, and attention to manufacturer guidelines—all vital factors we’ll explore in the sections that follow.
Key Takeaways
- Power off the projector and let it cool for at least 20 minutes before attempting any cleaning.
- Use a lens brush or blower first to remove loose dust particles without scratching the surface.
- Clean stubborn smudges with a microfiber cloth and lens-specific solution, applying cleaner to the cloth, not directly on lens.
- Avoid paper towels, household cleaners, and sharp objects that can scratch or damage lens coatings.
- Use gentle circular motions with minimal pressure when wiping the lens to prevent damage.
Why Regular Projector Lens Cleaning Matters
While many projector owners focus primarily on settings and placement, the cleanliness of your projector’s lens considerably impacts its performance and longevity. Dust buildup on lenses can cause significant problems beyond just reduced image clarity, including potential overheating that damages internal components and leads to costly repairs.
Regular cleaning maintains ideal contrast and brightness levels, ensuring your presentations and entertainment appear as intended without distortion or spotting. You’ll also extend your projector’s lifespan by preventing unnecessary strain on its components, which ultimately reduces long-term maintenance costs. In environments with high traffic, humidity, or poor air quality, more frequent cleaning becomes even more critical to maintain performance. Neglecting this simple maintenance task can result in shortened equipment life and deteriorating image quality over time. Additionally, maintaining optimal lens clarity is essential to fully benefit from a projector’s brightness and contrast capabilities, which directly influence image vibrancy and sharpness.
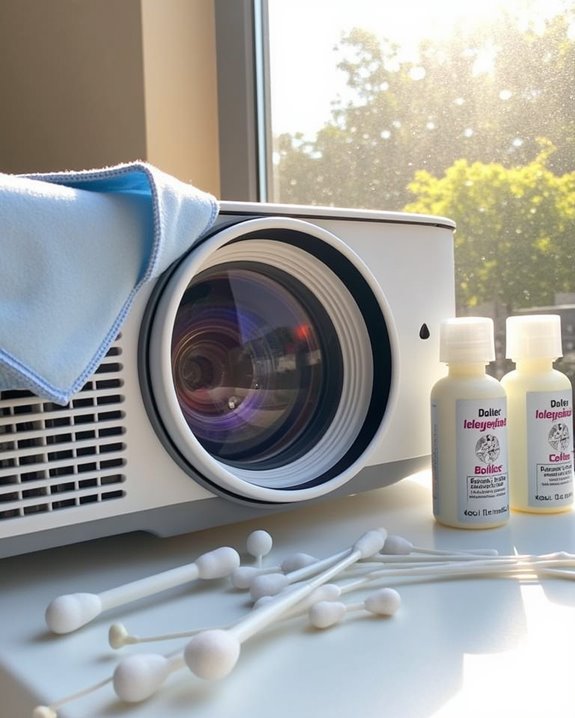
Essential Tools for Safe Lens Cleaning
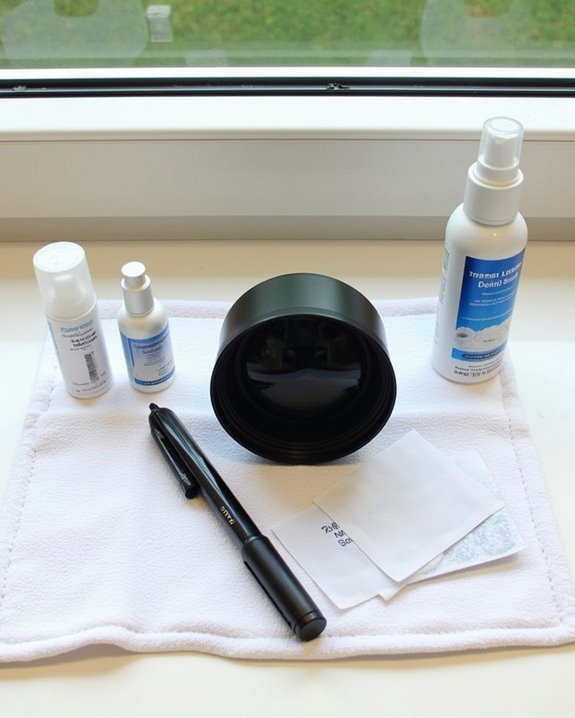
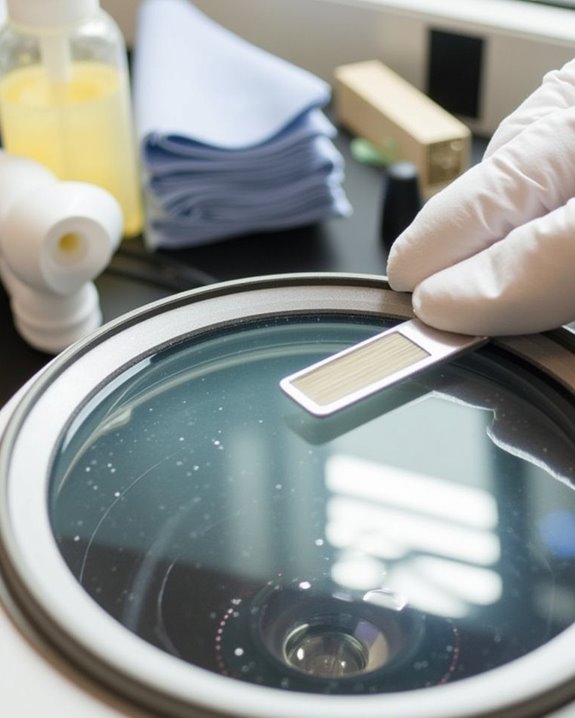
Because proper lens cleaning requires specialized equipment, you’ll need to gather several important tools before attempting to clean your projector lens. A quality lens brush removes large dust particles without scratching the surface, while a manual lens blower dislodges loose debris effectively. Always keep cleaning gloves on hand to prevent transferring oils from your fingers to the lens.
A microfiber cloth and lens-specific cleaning solution are essential for removing stubborn smudges, but never spray directly onto the lens. For ideal results, use compressed air in short bursts only when necessary, as excessive use may introduce moisture. Storage tips include keeping all cleaning tools in sealed containers when not in use, placing your lens brush in a dust-free pouch, and storing microfiber cloths in plastic bags to maintain their cleanliness. Proper shielding and gold-plated connectors help maintain signal stability when using HDMI cables with projectors, ensuring optimal image quality after cleaning.
Preparing Your Projector for Cleaning
Now that you’ve assembled all necessary cleaning tools, proper preparation of your projector is the next step to guarantee safe and effective lens maintenance. Begin by powering down your projector completely and unplugging all cables to prevent electrical hazards. Allow the device to cool for at least 20 minutes, as cleaning a hot lens can damage internal components. While waiting, consider choosing cleaning gloves that are lint-free to prevent fingerprints when handling delicate lenses.
Position your projector on a stable, clean surface away from direct sunlight, which can cause streaking during the cleaning process. Remove any lens caps or covers for full access, and consult your projector’s manual for model-specific instructions. Before proceeding, ensure your workspace is dust-free to prevent re-contamination of the freshly cleaned lens. For optimal setup and viewing stability during maintenance, consider placing your projector on a stable projector stand designed to support your device safely.
Step-by-Step Lens Cleaning Process
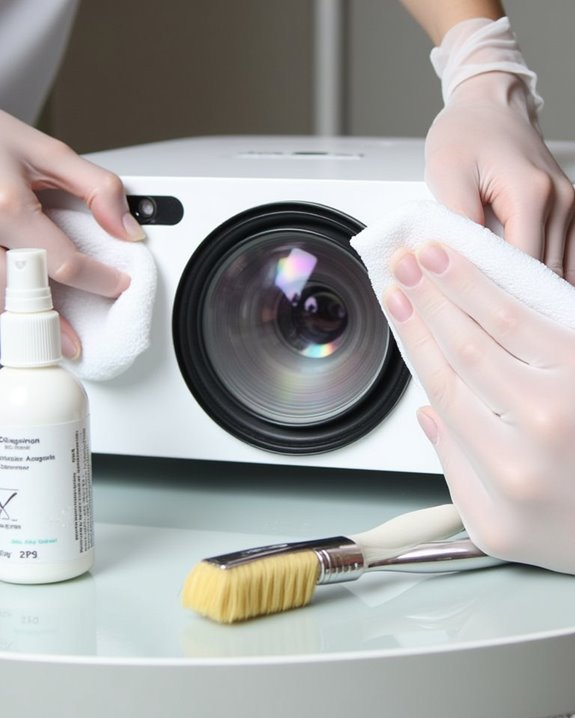
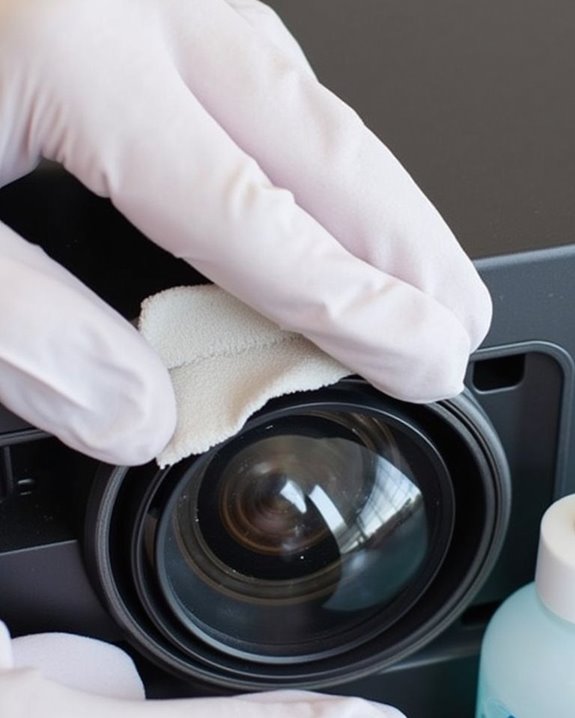
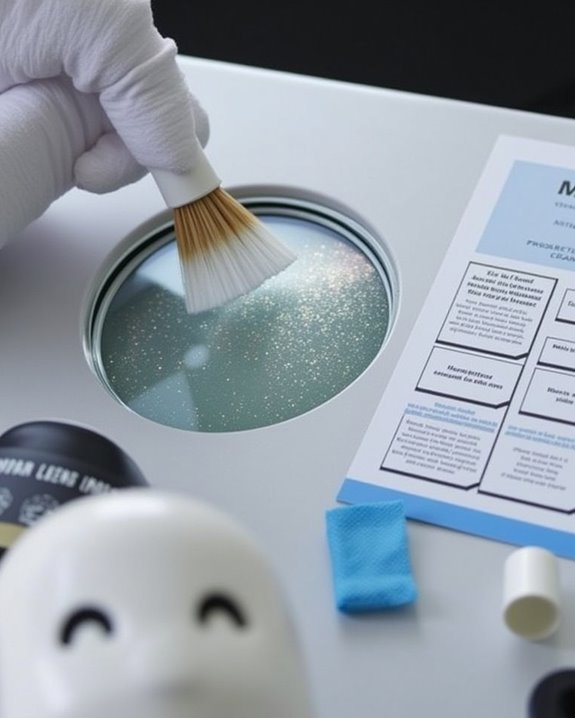
The proper cleaning of your projector lens requires a methodical approach to prevent damage while thoroughly removing all contaminants. Begin by carefully inspecting the lens material in good lighting to identify specific dirt types, then proceed with gentle dust removal using a lens blower or compressed air can, holding the projector vertically to prevent particles from resettling.
For stubborn smudges, wipe with a clean microfiber cloth in circular motions from center outward, using minimal pressure to protect delicate lens coatings. If necessary, apply a small amount of alcohol-based lens cleaner to your cloth—never directly to the lens—and clean with gentle circles. Always allow the lens to dry completely before powering on your projector, and replace the lens cap when not in use.
Common Cleaning Mistakes to Avoid
While a methodical cleaning process protects your projector lens, knowing what not to do is equally important for maintaining optical clarity.
Never use paper towels, rough cloths, or household cleaners on your lens, as these can cause lens scratches and permanent damage to delicate coatings. Avoid spraying solutions directly onto the lens, instead applying cleaners to a microfiber cloth first. Using improper tools like sharp objects or abrasive materials will compromise image quality and potentially misalign optical components. Always power off and allow your projector to cool completely before cleaning, and never apply excessive pressure when wiping the surface. Common misconceptions include thinking regular tissues work as well as microfiber cloths, or that compressed air is always safe—it can actually force debris deeper into the projector’s components if used incorrectly.
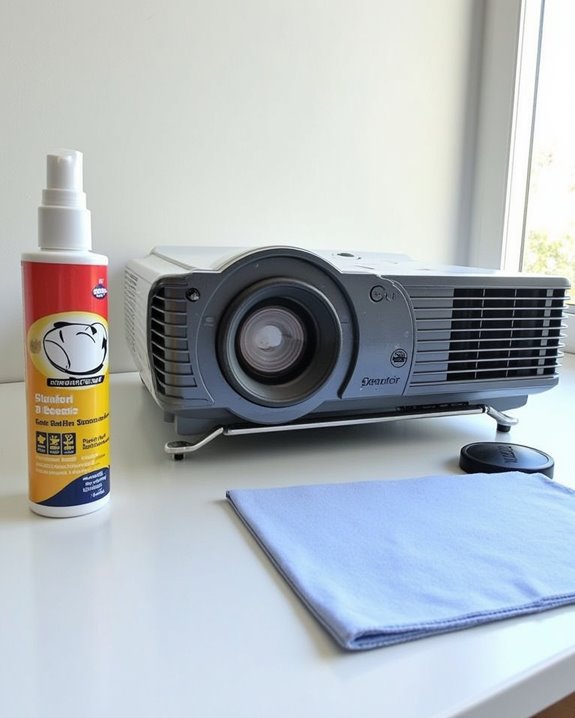
Recommended Cleaning Solutions and Products
Selecting appropriate cleaning solutions for your projector lens directly impacts both image quality and the longevity of your equipment. Always opt for specially formulated projector lens cleaners rather than household cleaning chemicals, which often contain ammonia or harsh substances that damage protective coatings. For effective dust removal, start with a manual lens blower to dislodge loose particles, followed by a soft brush to remove remaining debris.
Essential tools for your cleaning kit should include microfiber or lint-free cloths, lens-specific cleaning solution, and a proper lens blower. When applying solutions, remember to spray onto the cloth first, never directly onto the lens, and wipe in gentle circular motions to prevent streaking. For stubborn smudges, lens cleaning tissues paired with appropriate solutions will maintain clarity without risking damage.
Maintenance Schedule for Optimal Performance
Maintaining a consistent schedule for projector lens cleaning guarantees ideal image quality and extends your device’s lifespan considerably. For maximum results, implement bi-weekly cleaning routines as part of your regular maintenance schedule, always powering off your projector before beginning any cleaning procedure.
Your maintenance routines should include regular inspection for dust and fingerprints, alongside monitoring temperature and clearing air vents to prevent overheating. The cleaning frequency you establish should account for your usage patterns, with more frequent cleanings necessary in dusty environments or during heavy use periods. Document each maintenance session in a log to track performance over time, helping you identify potential issues before they affect image quality. This proactive approach to projector care ensures reliability during presentations and reduces long-term repair costs.
When to Seek Professional Cleaning Help
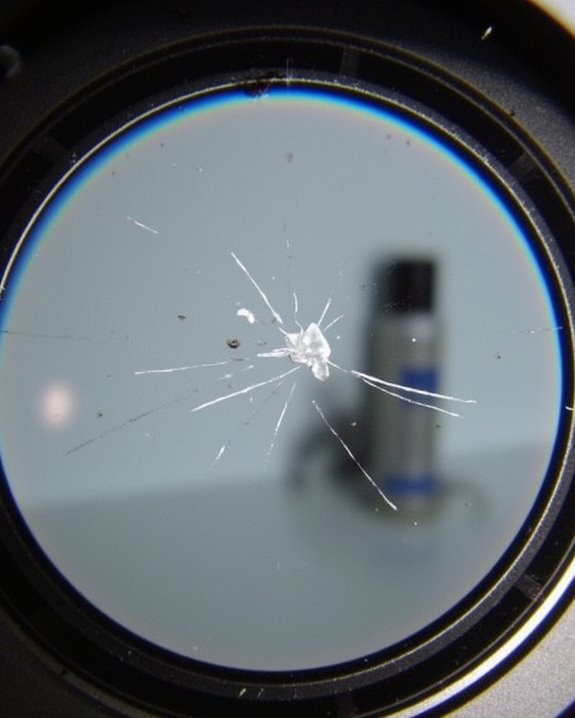
Despite your best efforts at routine maintenance, some projector lens issues go beyond the scope of typical DIY cleaning. Physical damage, such as scratches or cracks, requires professional lens repair rather than simple cleaning. If you notice persistent image quality issues after thorough cleaning, it’s time to consult a technician with advanced inspection tools.
Professionals utilize specialized equipment like high-precision microscopes and factory-approved cleaning solutions that aren’t available to consumers. They’re trained to handle delicate lens coatings, recalibrate optical components, and diagnose underlying technical problems. While professional cleaning services come at a cost, they’re often more cost-effective in the long run, extending your projector’s lifespan and preventing expensive repairs. For high-value equipment or projectors used in professional settings, expert maintenance guarantees ideal performance and image clarity.
Frequently Asked Questions
Can I Use Eyeglass Cleaning Cloths on Projector Lenses?
Yes, you can use eyeglass cleaning cloths on projector lenses. They’re typically made of microfiber, which is appropriate for delicate surfaces. Just make sure they’re lint-free and use proper lens cleaning solutions for best results.
How Do Environmental Factors Affect Lens Cleaning Frequency?
Your projector lens needs more frequent cleaning in dusty areas. High humidity effects can cause moisture buildup, while low humidity increases dust accumulation. You’ll need to adjust your cleaning schedule based on these environmental factors.
Will Cleaning Affect My Projector’s Warranty?
Proper cleaning won’t void your warranty, but improper methods might. Follow manufacturer guidelines carefully. For warranty considerations, document your cleaning procedures and avoid harsh chemicals that could impact warranty coverage.
Can Lens Cleaning Improve Color Accuracy and Brightness?
Yes, lens cleaning considerably improves both color accuracy and brightness. When you remove dust and smudges, you’ll notice enhanced image clarity, more vibrant colors, and brighter projection as light passes through unobstructed.
Are There Differences in Cleaning LCD Versus DLP Projector Lenses?
No, despite different lens materials, you’ll use the same cleaning techniques for both LCD and DLP projector lenses. They both require gentle care with microfiber cloths and specialized cleaners to protect their sensitive coatings.