Imagine watching your favorite movies under the stars on a crystal-clear screen you’ve built with your own hands. You don’t need to spend hundreds on a commercial outdoor projector screen when you can create a custom DIY version that perfectly fits your space and budget. With just a few materials like PVC pipes, weather-resistant fabric, and basic tools, you’ll be able to transform your backyard into a personal cinema. The following guide will walk you through each step of the process, from selecting materials to setting up your finished screen for *superior* viewing.
Key Takeaways
- Build a sturdy PVC frame using schedule 40 pipes, reinforced with crossbars and ground stakes for stability.
- Choose weather-resistant materials like vinyl, marine-grade fabric, or treated blackout cloth for outdoor durability.
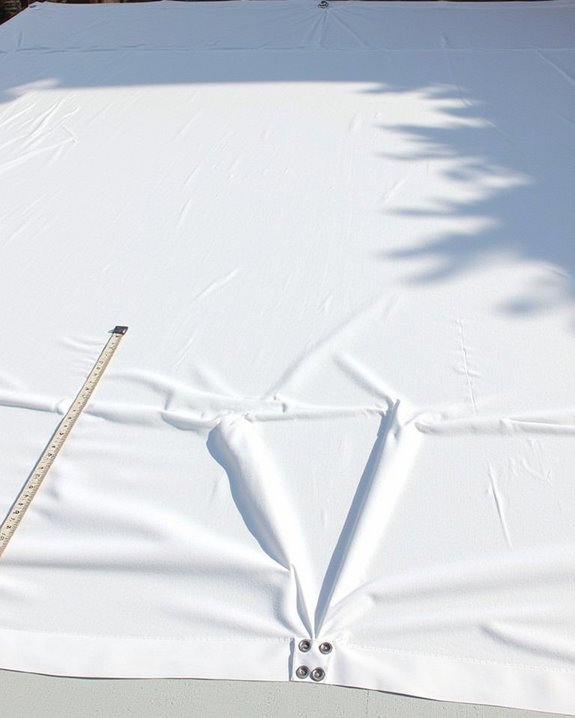
- Ensure screen material is stretched taut using bungee cords or zip ties to eliminate image-distorting wrinkles.
- Size your screen based on viewing distance (1.5-2x screen width) and choose appropriate aspect ratio (16:9 or 2.35:1).
- Position away from direct sunlight and secure with anchors in windy conditions for optimal viewing experience.
Choosing the Right Materials for Your Outdoor Screen
When you’re building an outdoor projector screen, selecting the right material forms the foundation of your entire viewing experience. Matte White fabric delivers excellent color accuracy in controlled lighting conditions, providing a versatile and affordable option for evening viewings. High Contrast Gray material, however, performs better with ambient light, enhancing black levels when you can’t achieve complete darkness.
For durability in outdoor settings, consider weather-resistant vinyl or marine-grade materials that withstand moisture and environmental exposure. Spandex offers excellent surface tension when properly stretched, eliminating wrinkles that could distort your image. Blackout cloth represents a budget-friendly alternative with good performance, though it may require additional treatment for extended outdoor use. Balance your material choice based on your typical viewing conditions, budget constraints, and how permanently you’ll install your screen. Keep in mind that ambient light significantly affects projector image quality, so choosing materials that compensate for lighting conditions will enhance your viewing experience.
Planning Your Screen Size and Location
The perfect screen material means little without thoughtful placement and appropriate sizing for your outdoor theater setup. Consider the viewing distance, which should typically be 1.5 to 2 times your screen width to prevent eye strain while maximizing immersion. Your screen aspect ratio will impact the viewing experience considerably, with 16:9 being standard for most content, while 2.35:1 offers a more cinematic feel for movie nights.
When selecting your location, evaluate outdoor lighting conditions carefully, as ambient light reduces screen visibility. Evening or nighttime showings work best, but strategic placement in shaded areas can improve daytime viewing. Ensure you have access to power sources, comfortable viewing angles for all guests, and protection from wind. For ideal results, use a screen size calculator to balance your viewing distance with your available space. Additionally, using an Ambient Light Rejection (ALR) screen can reduce ambient reflection by up to 90%, significantly enhancing image clarity in outdoor environments.
Building a Sturdy PVC Pipe Frame
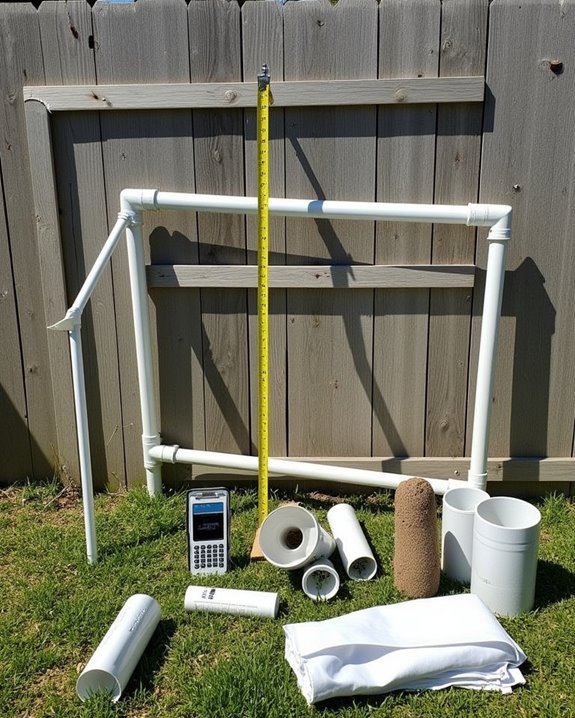
Creating a reliable PVC pipe frame serves as the foundation of your DIY outdoor projector screen, providing the necessary structure to display your movies and shows with professional-quality results. Begin by gathering schedule 40 PVC pipes (typically 1″ or ¾” diameter), along with T-joints, elbows, and slip tees for connections. Use a PVC cutter to measure and cut pipes according to your planned dimensions, allowing extra length for stability.
Assemble the rectangular frame using T-joints for corners and additional crossbars for reinforcement. Secure connections with screws rather than glue for future adjustments when considering different paint colors or accommodating various lighting options. Add vertical legs with diagonal supports to prevent toppling, and install ground stakes through pre-drilled holes at the base for outdoor stability. Ensure the frame is level before attaching your screen material.
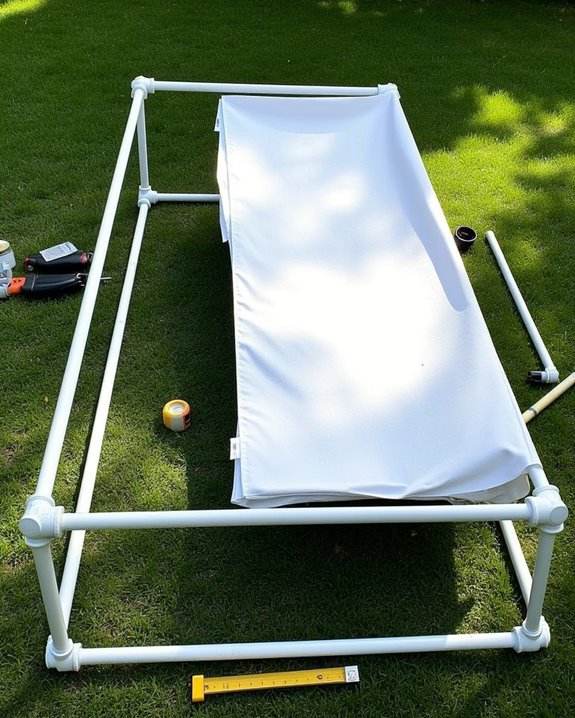
Selecting and Preparing Your Screen Surface
Now that your PVC pipe frame stands ready, choosing the right screen material becomes your next major decision for achieving cinema-quality outdoor viewing. For best color calibration, select a matte white surface such as blackout cloth or professional projector fabric, which provides true-to-life image reproduction. Vinyl or polyethylene tarps offer excellent durability for outdoor conditions, while their smooth surface prevents distortion that might compromise sound integration with your movie experience.
Ensure your chosen material is pulled taut across the frame using bungee cords or zip ties, eliminating wrinkles that could affect image quality. For daytime viewing, consider high-gain reflective materials to counteract ambient light. Position your screen away from direct sunlight and adjust your projector’s brightness settings to compensate for environmental lighting conditions. When using a smart projector, optimizing brightness levels can significantly enhance image clarity in various lighting environments.
Assembling and Mounting Your Projector Screen
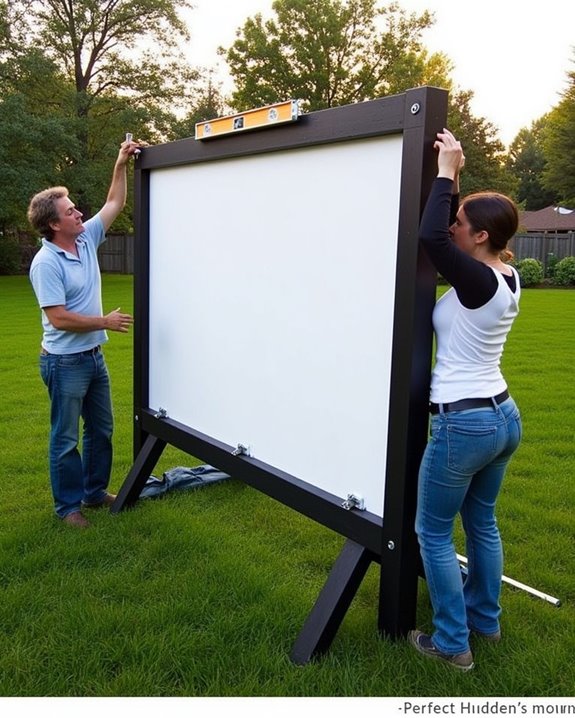
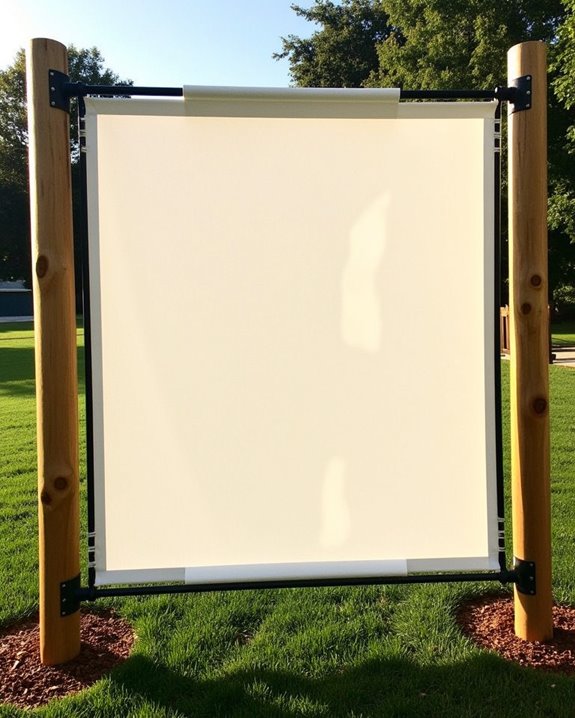
Once you’ve gathered all your frame components, it’s time to transform them into a professionally mounted outdoor screen that’ll withstand the elements while delivering crisp, clear images. Begin assembly on a flat surface, matching labeled tubes (A to A, B to B) for proper color matching and structural integrity. Start from one corner, adding sections progressively to maintain frame stability throughout the build.
After completing the frame, carefully attach your screen material with the logo positioned correctly at bottom center. Work methodically from one corner to the opposite side, using clips or bungees to ensure even tension. For outdoor setups, securely anchor your screen using provided stakes at each corner, plus guy ropes attached to the upper frame. Verify your mounting height aligns with your projector placement, ensuring the screen surface remains perfectly perpendicular to the ground.
Weather-Proofing Tips for Outdoor Durability
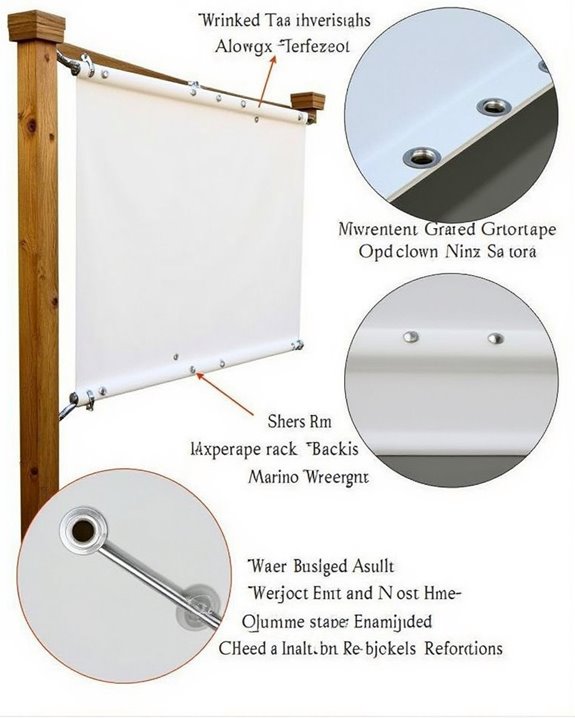
While your outdoor projector screen might look perfect after assembly, it’ll need proper weather-proofing to survive the elements and maintain image quality season after season. Apply marine-grade weather resistant coatings that provide waterproofing and UV protection, which will prevent fabric deterioration when exposed to sunlight and rain.
Consider your screen’s positioning in relation to outdoor lighting and natural sunlight, as proper orientation can notably extend your screen’s lifespan. Install brass grommets along the edges for reinforcement, allowing secure attachment to your frame while distributing tension evenly. For maximum durability, choose vinyl or professional projector fabric treated with mildew-resistant compounds.
Remember to utilize proper tie-downs and anchors when setting up in windy conditions, ensuring your screen remains taut and damage-free throughout multiple outdoor movie nights.
Testing and Optimizing Your Viewing Experience
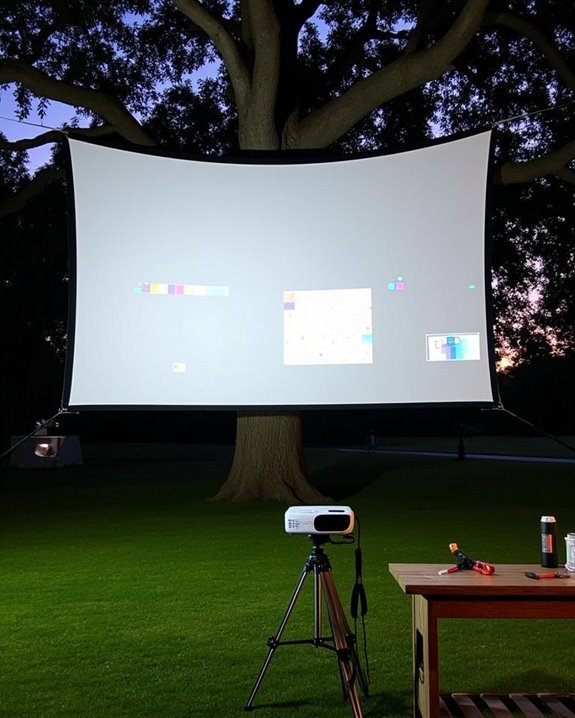
After completing your DIY outdoor projector screen, testing and optimizing the viewing experience becomes critical for guaranteeing professional-quality results. Begin with contrast measurement using a light meter calibration tool to evaluate black and white image performance under various lighting conditions. You’ll want to adjust your projector’s brightness and color settings accordingly, as even small variations can considerably impact image quality.
Position your seating for ideal viewing angles, and ensure your screen is properly tensioned to provide a smooth surface. Consider ambient lighting control, as this directly affects contrast ratio and overall visibility. For outdoor setups, select screen materials that withstand wind while maintaining proper reflection properties. Match your screen’s aspect ratio with your projector’s output, typically 16:9 for modern content, to avoid distortion or unused screen space.
Frequently Asked Questions
How Do I Prevent Wrinkles in the Screen When Storing It?
90% of screen wrinkles occur during improper storage. Roll your screen instead of folding it, use cloth barriers between surfaces, and guarantee screen cleaning before storage. Storage tips: keep it in dry, ventilated areas.
Can I Project Onto Colored Screens Instead of White?
Yes, you can project onto colored screens, but it’ll affect color compatibility and contrast. Grey screens enhance contrast in bright rooms while white provides better color fidelity. Remember to adjust your projector calibration accordingly.
What’s the Ideal Aspect Ratio for an Outdoor Movie Screen?
For outdoor movie screens, you’ll get the best image quality with a 16:9 aspect ratio. It’s the standard format for most modern content and guarantees you won’t have distracting black bars during your viewing experience.
How Do I Manage Cable Safety With Outdoor Projector Setups?
Like lightning striking, electrical wiring demands respect outdoors. You’ll need weatherproofing tips: use GFCI outlets, outdoor-rated extension cords, cable covers to prevent tripping, and waterproof connections when managing your outdoor projector setup’s cable safety.
Will Ambient Street Lighting Significantly Affect My Outdoor Viewing Experience?
Yes, ambient lighting and light pollution will wash out your image. You’ll need a projector with at least 5000 lumens and an ALR screen to counteract street lighting’s effects on visibility.