As an Amazon Associate, we earn from qualifying purchases. Some links on this site are affiliate links at no extra cost to you. Our recommendations are based on thorough research and editorial judgment.
How to Make a Projector Screen for Home Theater
While commercial screens offer convenience, DIY projector screens deliver exceptional quality at a fraction of the cost. You’ll discover that creating your own home theater screen isn’t as complicated as it might seem, requiring just basic materials and tools you likely already have. With careful fabric selection and proper tensioning techniques, your homemade screen can rival professional models in clarity and color reproduction. The perfect movie experience awaits as you transform a simple wall into your personal cinema paradise.
Key Takeaways
- Choose suitable screen material based on your room lighting, with white screens for dark rooms and grey screens for rooms with ambient light.
- Determine the ideal screen size by measuring seating distance and maintaining a viewing angle between 36° and 70° for comfortable viewing.
- Select appropriate mounting hardware for either wall or ceiling installation, ensuring it can support your screen’s weight.
- Ensure proper tension across the screen surface to eliminate wrinkles and maintain a professional appearance.
- Control ambient light with blackout curtains and strategic screen placement to maximize image quality and contrast.
Understanding Projector Screen Requirements and Planning
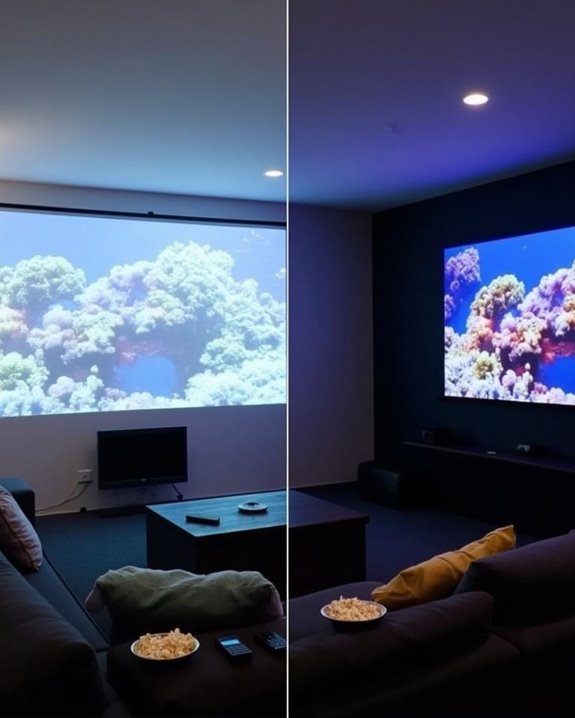
Before you plunge into creating your own projector screen, you’ll need to understand the various requirements and considerations that affect your viewing experience. Screen material selection is critical, as different materials like vinyl or fabric impact image quality, durability, and acoustic properties. Consider whether you need a white screen for dark rooms or a grey screen to combat ambient light issues.
Projector compatibility should guide your planning process, particularly regarding screen gain and throw distance. Confirm your DIY screen matches your projector’s brightness capabilities and resolution for ideal results. You’ll also need to determine the perfect aspect ratio—typically 16:9 for general viewing or 2.35:1 for a cinematic experience. Finally, evaluate your room’s lighting conditions, wall placement, and viewing angles to position your screen where it will perform best. Consider also the brightness levels of your projector to ensure clear visibility, especially in rooms with ambient light.
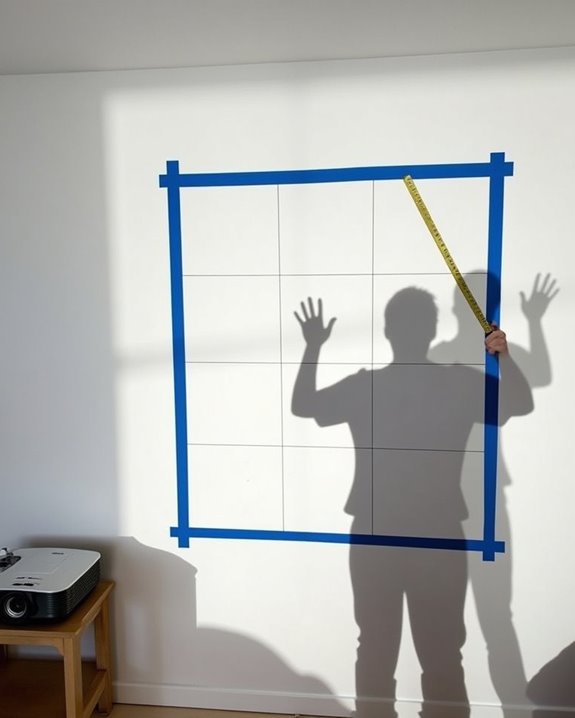
Determining the Ideal Screen Size for Your Space
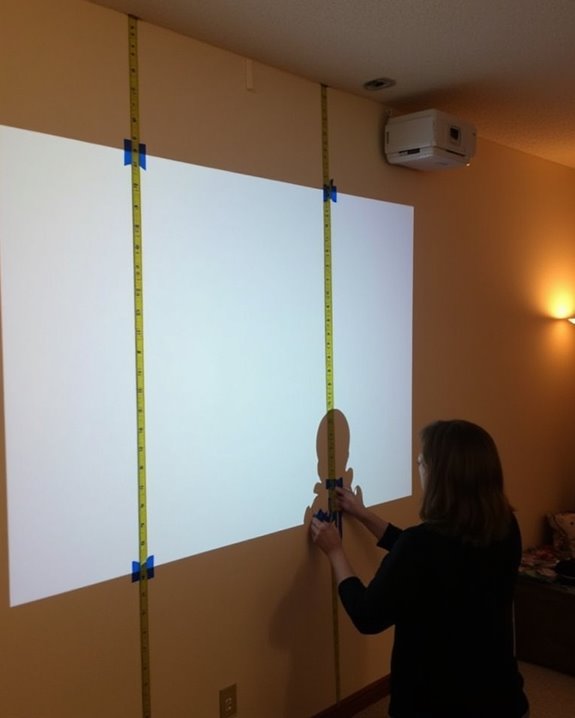
Selecting the ideal screen size for your projector setup requires careful consideration of your room’s dimensions and viewing environment. For optimal screen size considerations, industry experts recommend maintaining a field of view between 36° and 70°, which creates an immersive viewing experience without causing eye strain or neck fatigue.
Your room layout enhancement should account for seating distance, which directly impacts your ideal screen dimensions. Calculate your screen size by measuring the distance from your seating area to the projection wall, then use online calculators like ProjectorScreen.com to determine appropriate dimensions based on your preferred aspect ratio, typically 16:9 for home theaters. Remember that throw ratio—the relationship between projection distance and image width—will also influence your screen size options, especially in rooms with limited depth. Most modern 4K projectors can project images up to 400 inches indoors, allowing for a truly cinematic experience even in home settings.
Recommended Products
MEMORIAL DAY, WHILE SUPPLIES LAST @ $6298 (save $1901). Built on 70+ years of audio legacy & the legendary NAKAMICHI DRAGON name, this #1-rated extreme system is the dream theater everyone talks about, driven by our 11.4.6-ch architecture + Pro-Cinema Engine. Extreme plug-and-play performance made simple.

[DIMENSION SIZE] : 180 inch Diag. 16:9 Aspect Ratio. View Size: 88.3" H x 156.9" W. Overall Size: 102.5" H x 183.1" W x 5.2" D. Aluminum Case.
【183" Large Cinematic Display】 183-inch diagonal projector screen in a 16:9 widescreen format delivers an immersive home theater or professional presentation experience. Viewable area: 89.7" H x 159.5" W. Overall size: 109.8" H x 173.2" W—ideal for large venues, conference rooms, and premium home cinema setups.
Selecting the Right Aspect Ratio
When you’re planning your DIY projector screen, choosing the correct aspect ratio stands as one of the most crucial decisions you’ll make for your viewing experience. The aspect ratio determines how your content will display, with 16:9 being the standard for modern HDTV and streaming content, while cinematic formats like 2.35:1 or 1.85:1 deliver a more immersive movie-watching experience.
Consider what you’ll primarily watch on your screen before deciding. If you’re mainly streaming shows and gaming, 16:9 offers ideal compatibility. For movie enthusiasts, wider cinematic formats like 2.35:1 provide that authentic theater feel. Remember that mismatched aspect ratios between your content and screen will result in black bars or distortion, so select based on your viewing habits to ensure you’re creating the perfect canvas for your projector. Additionally, the screen size and aspect ratio should align with your available space and projector capabilities for optimal viewing.
Recommended Products

DIMESIONS: 150-inch Diagonal, 16:9 Aspect Ratio. View Size: 73.5" H x 130.7" W. Overall Size: 92.8" H x 150.4" W x 4.0" D. Extra 12-inch Drop. Black Aluminum Case.
【Dimension Size】: 140" Motorized Projector Screen (Diagonal) with a 16:9 HD Format Aspect Ratio. Viewing Size: 68.8" H x 122.0" W. Includes a 6" black masking drop housed in a white finished case for a clean, professional installation.

140-inch Diagonal, 68.8-inch H x 166.0-inch W Viewing Size, 16:9 HD Format Aspect Ratio with a 6-inch Black Masking Drop in a White Finish Case/Housing.
Choosing Frame Materials: Wood vs. PVC Options
The foundation of your DIY projector screen rests firmly on your choice between wood and PVC frame materials, each offering distinct advantages for different situations. Wood frames provide superior frame durability for permanent installations, withstanding harsh weather and resisting pests, but they require regular maintenance to prevent warping. PVC frames, while less durable, excel in portability and ease of assembly, making them ideal for temporary setups or frequent repositioning.
Consider your budget carefully, as wood frames typically cost more but offer greater aesthetic versatility with various stains and finishes that complement traditional home décor. PVC frames, though less visually impressive, provide a cost-effective alternative that’s easier to install without specialized tools. Your selection should ultimately balance durability requirements, installation capabilities, and visual preferences for your specific home theater environment.
Recommended Products

180-inch Diagonal, 16:9 Aspect Ratio. View Size: 88.3" H x 156.9" W. Overall Size: 131.8" H x 166.9" W x 8.9" D.
180-inch Diagonal, 16:9 Aspect Ratio. View Size: 88.3" H x 156.9" W. Overall Size: 131.8" H x 166.9" W x 8.9" D.

Wall Mounted Fixed Frame Projection Screen (Overall Size 106" Tall x 182.375" Wide) (Viewing Area 200" Diagonal x 98" Tall x 174.375" Wide) No option for Legs or Stands with this product. Recommended for projectors with Native 16:9 Resolution
Finding the Perfect Screen Fabric
With your frame materials now selected, you’ll need to focus on what truly makes or breaks your viewing experience: the screen fabric itself. Different screen fabric types offer varying performance characteristics depending on your environment and projector specifications. Matte white provides balanced color in standard conditions, while high contrast gray delivers superior image quality in rooms with some ambient light. Glass beaded fabric enhances brightness but requires careful handling.
Consider fabric durability when making your selection, as it directly impacts longevity and maintenance requirements. Fiberglass-backed screens resist wrinkles and withstand high-traffic areas, making them ideal for busy spaces. Perforated vinyl offers easy cleaning and weather resistance for versatile use. Woven acoustic fabrics, though requiring gentle care, provide excellent sound transmission for home theaters with speakers positioned behind the screen.
Recommended Products

4K Ultra HD (3840 x 2160) resolution at up to 2500 lumens brightness

【GET THE RIGHT SCREEN】: Size 126-inch diagonal, 16: 9 Aspect Ratio.
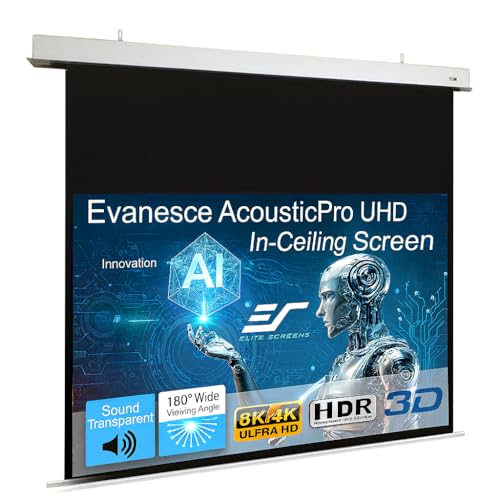
【GET THE RIGHT SCREEN】: Sizes106-inch Diagonal, 16:9 Aspect Ratio - Installed Measurement: 76.4" x 118.3" with Concealed Installation - White Casing
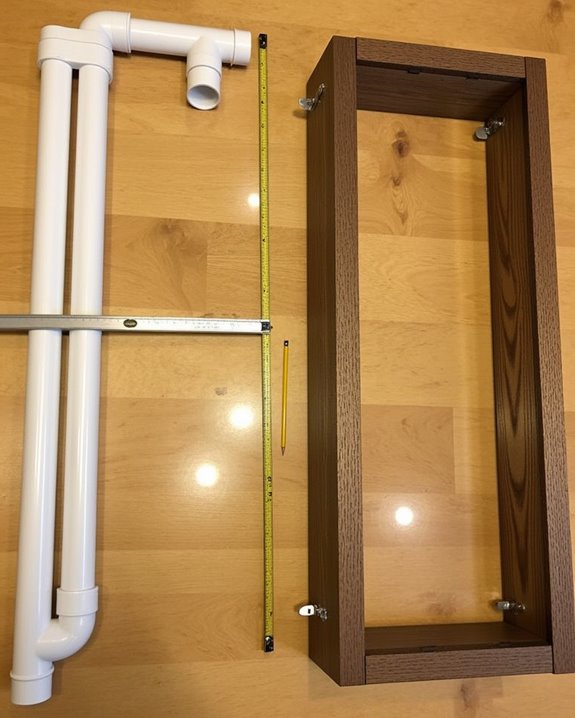
Step-by-Step Frame Construction Guide
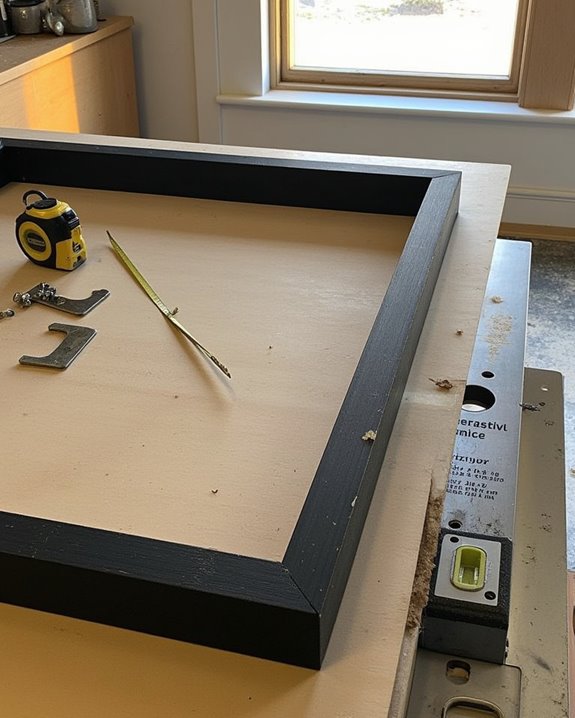
Building your projector screen frame requires careful planning and execution, regardless of which material you’ve selected for the project. Begin by gathering all components—pipes, fittings, or wood pieces—along with necessary tools like wrenches and screwdrivers for assembly.
For a hidden frame with aesthetic design, consider using hardwood like kiln-dried poplar which minimizes warping while maintaining a professional appearance. If portability is your priority, PVC components with union fittings allow for easy assembly and disassembly. When constructing an A-frame design, ensure the base is heavier than the upper portions to prevent toppling.
Always test stability before mounting your screen fabric, making adjustments as needed to create proper tension across the surface. For outdoor installations, apply weather-resistant treatments to your frame materials, particularly if using wood.
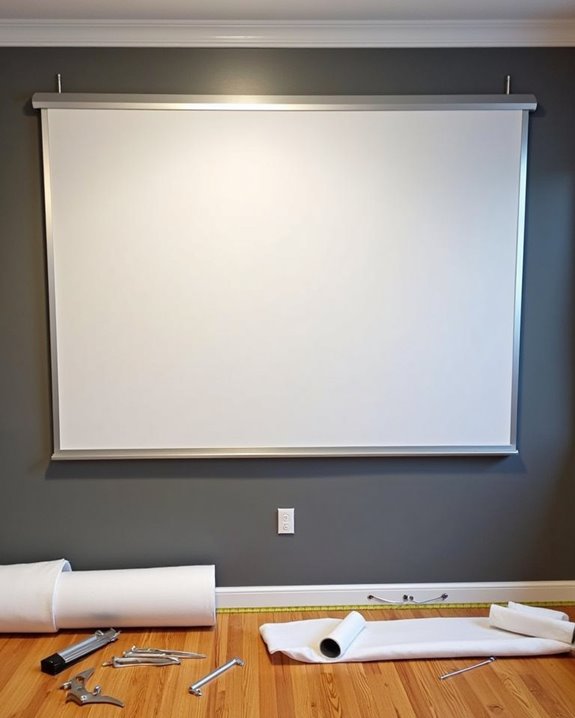
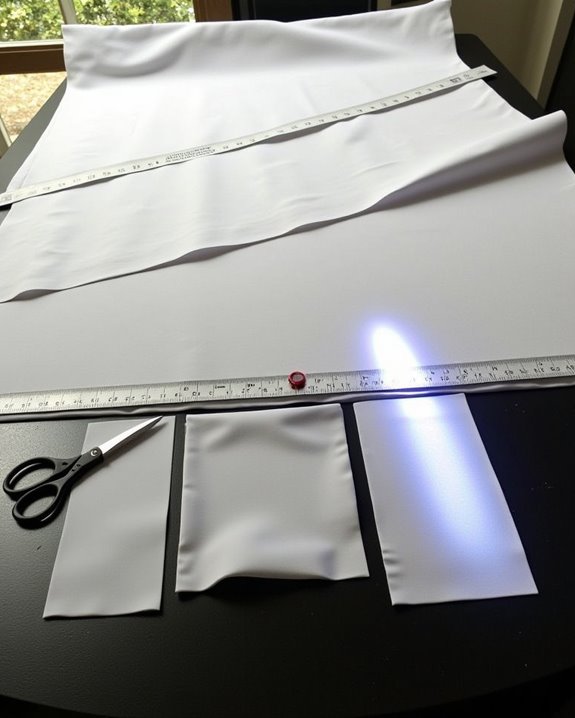
Stretching and Securing the Screen Material
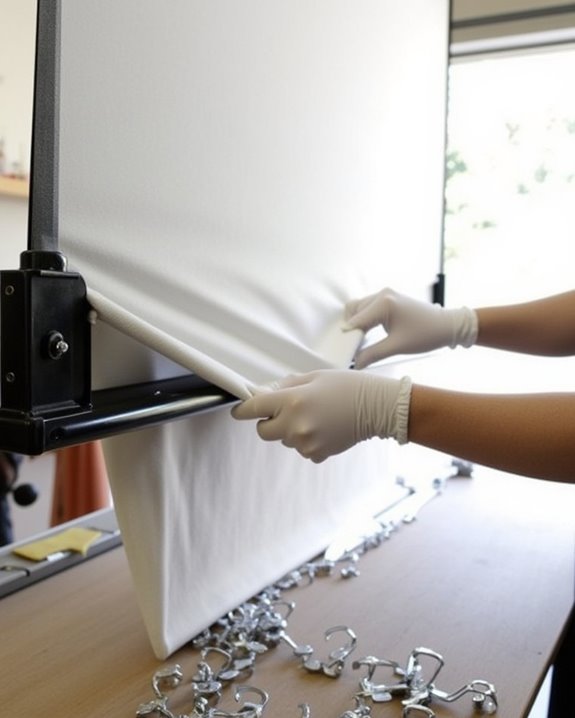
Once you’ve completed your frame construction, properly stretching and securing your screen material becomes the essential next step that will determine your projector screen’s final image quality. Select a stretchable fabric like FlexiWhite or Blackout Fabric, ensuring it’s cut several inches larger than your frame dimensions to allow for proper fabric tension during installation.
Begin the stretching process by securing one corner with clips or clamps, then move diagonally to the opposite corner, gradually working your way around the frame. Apply consistent pressure to achieve even tension throughout, avoiding common securing techniques mistakes like overstretching or creating uneven surfaces. Use a rubber mallet to gently tap areas that need tension adjustment. Once properly stretched, permanently attach the fabric using staples or specialized frame clips, carefully inspecting for any remaining wrinkles or sagging sections.
Mounting Options for Your Finished Screen
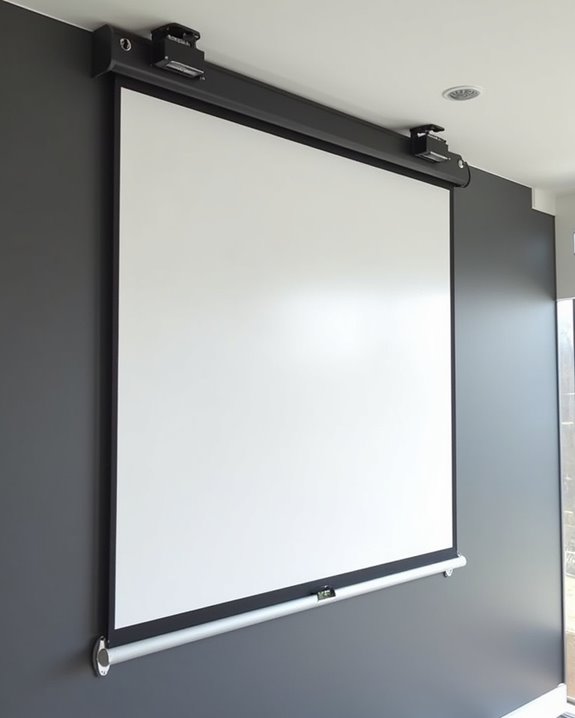
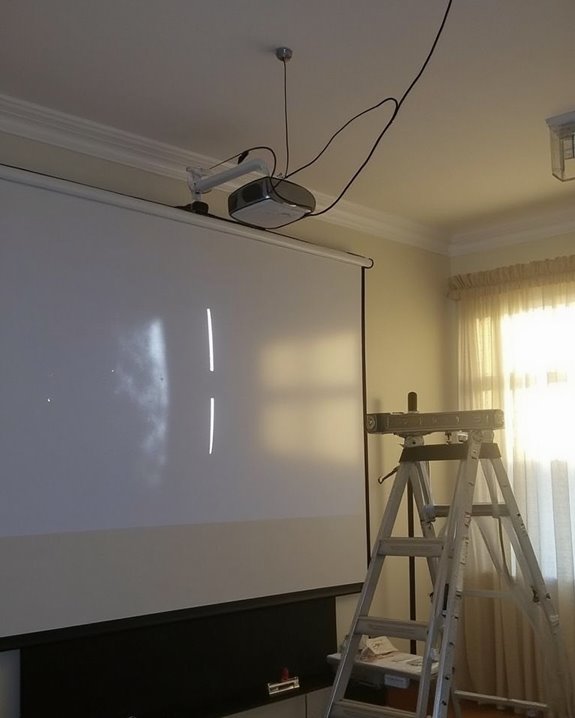
After securing your screen material to the frame, the next major step involves properly mounting your finished screen to maximize both stability and viewing quality. You’ll need to choose between stud alignment for maximum stability or drywall anchors when studs aren’t accessible. Consider portable solutions that allow you to move your screen between rooms, which can be particularly useful for multi-purpose spaces or presentations.
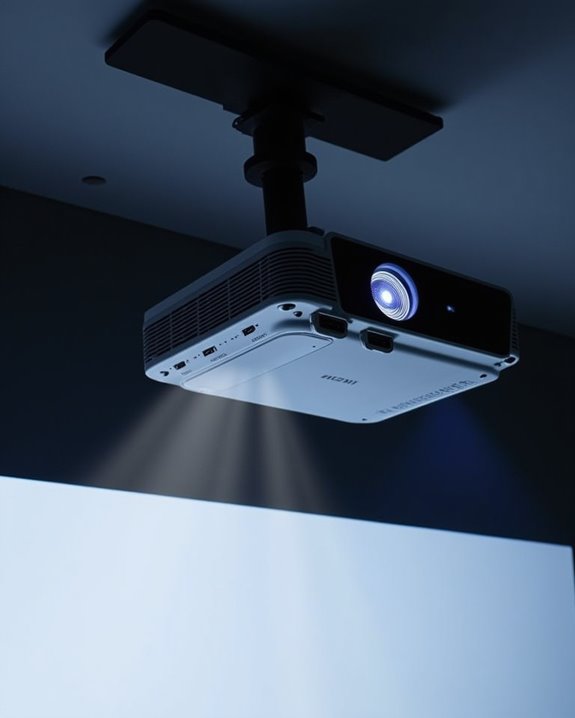
Ceiling mounting offers an excellent option for permanent installations, freeing up wall space and creating a more immersive viewing experience. When installing your mount, always pre-drill holes and use screws designed for heavy loads. For ideal viewing, adjust the height to accommodate your seating arrangement, and ensure the screen is perfectly level to prevent image distortion. Test the weight capacity of your mounts before finalizing the installation.
Recommended Products

Industry-Defining Blacks. NoirScene Mastery: NoirScene Dark Field Engine starts with the EBL black-level algorithm, enhancing shadow detail and contrast for a dynamic range up to 50,000:1. A precision IRIS aperture regulates light intake, while the stray light shield eliminates scatter—delivering crisp, layered blacks and dramatic tension worthy of a true theater.

【145-INCH LARGE PORTABLE PROJECTOR SCREEN】145" diagonal 16:9 format with 71.1" H × 126.4" W viewing area. Ideal large-format projection screen for conference rooms, trade shows, churches, classrooms, business presentations, and home theater setups.

▶【New choice projector screen for NORMAL THROW PROJECTOR】Motorized projection screens are a versatile solution that allows the screen to retract back up into his casing so that the open space once occupied by a large projection surface is now available for other uses.Suitable for all kinds of NORMAL THROW PROJECTOR, presenting the best picture when the light is off!(Not compatible Ultra short throw Laser projector!)
Fine-Tuning Your DIY Screen for Optimal Viewing
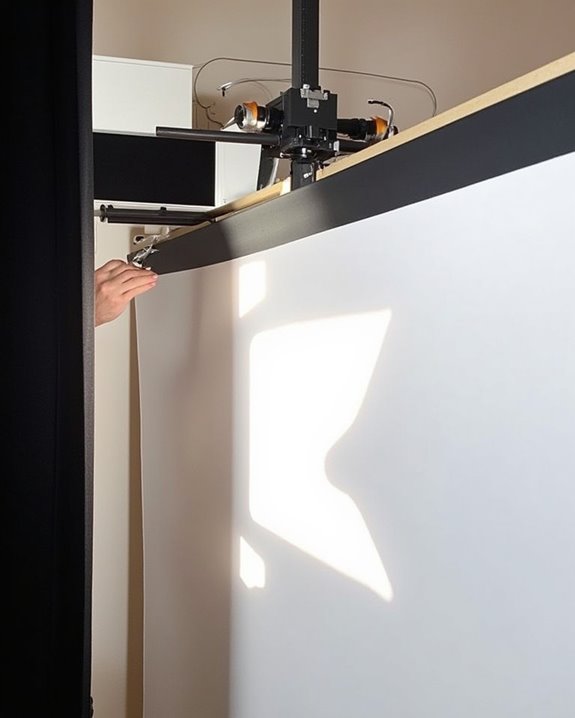
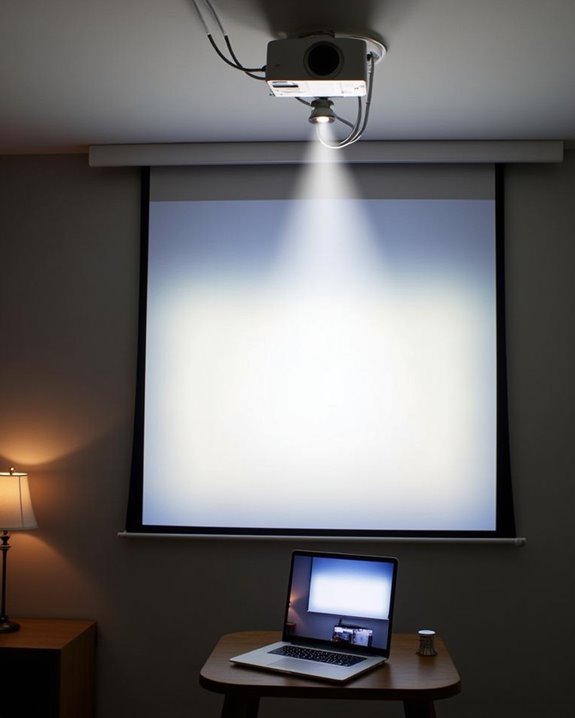
Creating the perfect DIY projector screen isn’t complete until you’ve fine-tuned it for ideal viewing, which often requires careful adjustments to maximize your viewing experience. Begin by addressing ambient light control through strategic placement of your screen away from windows and installing blackout curtains to minimize unwanted light reflections. Adjust your projector’s position, ensuring it’s at the proper distance and height for your screen size, then fine-tune focus and keystone settings to eliminate distortion.
For truly immersive viewing, consider acoustic treatments behind your screen to improve sound quality while reducing echoes. Regularly clean your projector lens and calibrate color settings to match your screen material. Finally, make minor adjustments to your screen’s tension if you notice any wrinkles developing, as these can distract from your carefully crafted home theater experience.
Frequently Asked Questions
How Do Ambient Light Control Systems Affect DIY Screen Performance?
You thought ambient light was your screen’s friend? How ironic! Light control systems dramatically improve your DIY screen’s performance by reducing washout, enhancing contrast, and delivering crisper images even when you can’t completely darken your space.
Can Projection Screens Be Cleaned Without Damaging the Surface?
Yes, you can clean projection screens safely using proper cleaning techniques. Use microfiber cloths, compressed air, and mild solutions to preserve surface durability. Avoid scrubbing motions and harsh chemicals that might damage the screen’s specialized coatings.
How Long Should a Quality DIY Projector Screen Last?
Your quality DIY screen should last 5-8 years with proper care. Material longevity varies, but if you’ve used premium materials and maintain it regularly, you’ll enjoy excellent screen durability for many viewing seasons.
Are Acoustic Transparent Materials Worth the Extra Cost?
For the most jaw-dropping home theater experience, acoustic transparent materials are absolutely worth it. You’ll enjoy perfect speaker placement while benefiting from soundproofing enhancements. Many also include fire resistant fabrics for added safety and longevity.
What Alternatives Exist for Viewers With Limited Wall Space?
If you’re tight on wall space, consider portable solutions like floor-rising or pull-down screens. Ceiling mounts are excellent space-savers, and don’t forget projector paints or retractable screens that disappear when not in use.