As an Amazon Associate, we earn from qualifying purchases. Some links on this site are affiliate links at no extra cost to you. Our recommendations are based on thorough research and editorial judgment.
How to Hook Up a Projector for Home Theater or Presentations
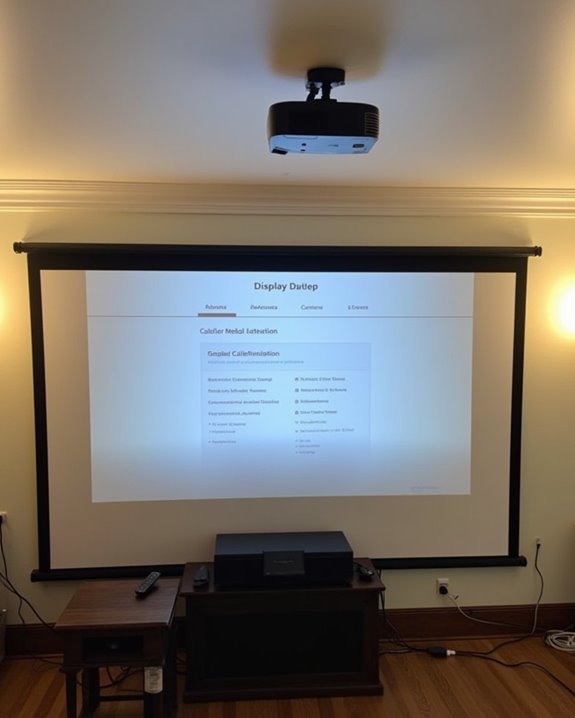
Whether you’re creating a cinematic experience at home or preparing for a professional presentation, hooking up a projector correctly can make all the difference in your viewing quality. You’ll need to consider several key factors: proper placement, appropriate connectivity options, and ideal image settings. Setting up a projector might seem technically challenging at first, but with the right approach, you can achieve professional-quality results without specialized training. The following guide will walk you through each essential step, ensuring your projected image captivates your audience and delivers the visual impact you’re aiming for.
Key Takeaways
- Position the projector perpendicular to the screen with an unobstructed path and at the correct throw distance for your desired image size.
- Connect devices using HDMI cables for best quality, or utilize Bluetooth/Wi-Fi for wireless streaming when available.
- Control ambient light with blackout curtains or dimmer switches, and consider ALR screens for rooms with unavoidable light.
- Organize cables with ties, labels, and wall channels to prevent tripping hazards and signal interference.
- Calibrate brightness, contrast, and color settings based on your room conditions and viewing preferences.
Preparing the Ideal Space for Your Projector Setup
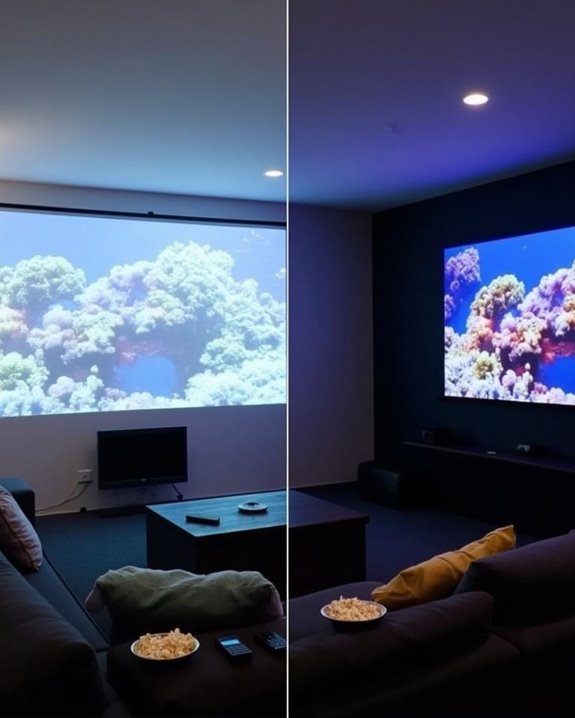
Before you connect a single cable, ensuring your space is properly prepared will dramatically improve your projector’s performance and your viewing experience. Start by controlling room lighting, as projectors need minimal ambient light for ideal image quality—aim for projectors with at least 2,000 lumens if your room has windows or bright lights. Choose neutral wall colors to reduce unwanted reflections, and arrange furniture to avoid obstructing the projector beam.
Don’t overlook acoustic treatments, which considerably enhance your audio experience. Sound-absorbing panels or carpeting will prevent echo and improve sound clarity. Organize cables using cord covers or channels to prevent tripping hazards and extend equipment life. Remember, your projector needs about five times the light of its surroundings, so blackout curtains or dimmer switches are worthwhile investments. For the best picture quality, consider pairing your projector with an ALR screen to enhance contrast and color saturation in ambient light conditions.
Recommended Products

Bright Room Ready, no Curtains Needed: 3,300 ISO Lumens of RGB triple-laser brightness delivers a vivid, color-accurate image in living rooms with ambient light, open-plan spaces, and soft daytime light — without blackout curtains or a dark room. 110% Rec.2020 color gamut produces lifelike greens, accurate skin tones, and saturated colors that LED TVs and lamp projectors cannot physically reproduce. Whether it's a family movie afternoon, a daytime sports match, or everyday streaming — the Aetherion Max laser tv performs in your room, as it is.

To avoid purchasing an unsuitable screen size, we recommend projecting an image to determine the appropriate dimensions prior to purchase. Should you have any queries regarding screens, please consult us for optimal screen recommendations

Ultra-Bright 4K Visuals: Experience stunning 4K laser projection up to 200” with 2450 ISO lumens and ALPD (Advanced Laser Phosphor Display) technology. ALPD delivers exceptional brightness and color accuracy, ensuring clear, vivid visuals even in daylight. It also eliminates the speckle effect common in traditional laser projectors, providing a smoother, more consistent image for an immersive viewing experience.
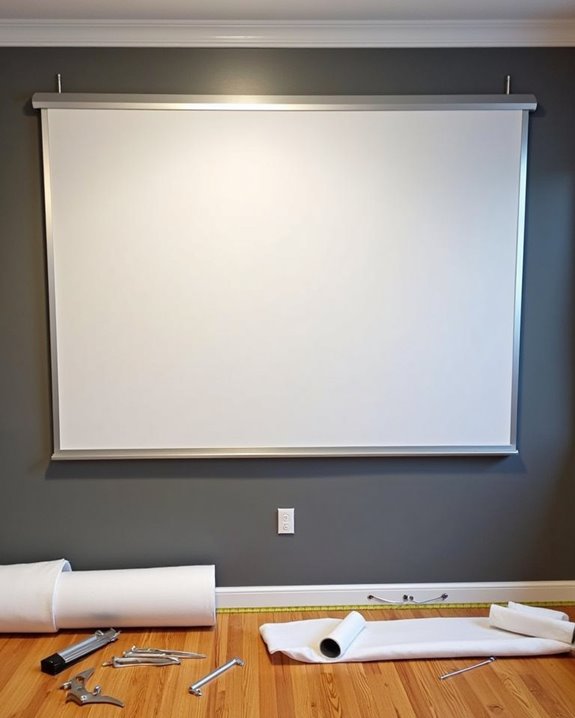
Selecting and Positioning Your Screen for Optimal Viewing
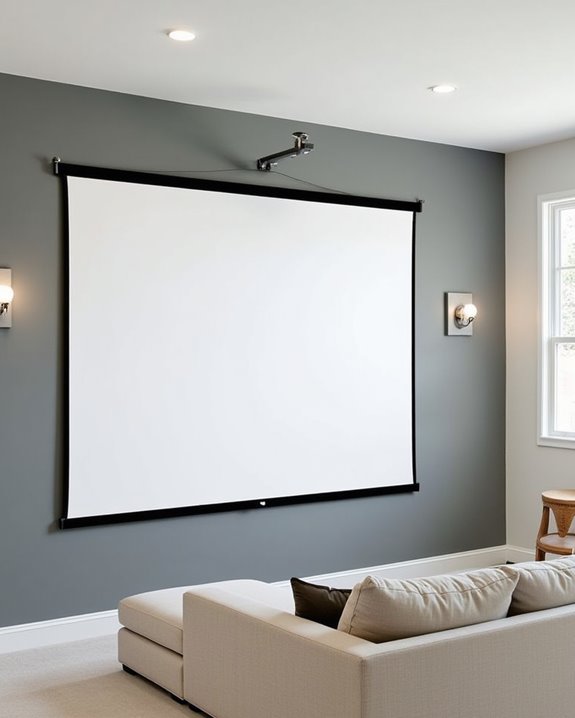
While setting up your projector requires attention to the environment, choosing the right screen and positioning it correctly can make or break your viewing experience. Consider the aspect ratio that suits your content—16:9 is ideal for home theaters, while 4:3 might work better for business presentations. The screen material affects image quality considerably; white screens excel in dark rooms, while grey materials reduce ambient light reflections.
Position your screen so its center aligns with viewers’ eye level, ensuring comfortable viewing sessions. The distance between your projector and screen depends on the throw ratio specified by the manufacturer. For best results, verify your screen is perfectly level to prevent image distortion. Select a screen size appropriate for your room dimensions and seating arrangement, remembering that larger screens demand more projector brightness. Additionally, choosing a screen with a wrinkle-free surface helps maintain consistent picture quality and durability over time.
Recommended Products
【Dimension Size】: 140" Motorized Projector Screen (Diagonal) with a 16:9 HD Format Aspect Ratio. Viewing Size: 68.8" H x 122.0" W. Includes a 6" black masking drop housed in a white finished case for a clean, professional installation.

140-inch Diagonal, 68.8-inch H x 166.0-inch W Viewing Size, 16:9 HD Format Aspect Ratio with a 6-inch Black Masking Drop in a White Finish Case/Housing.

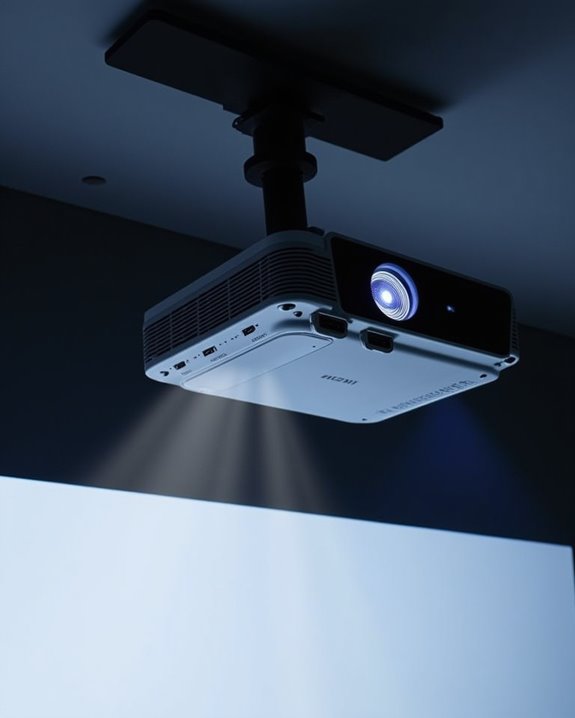
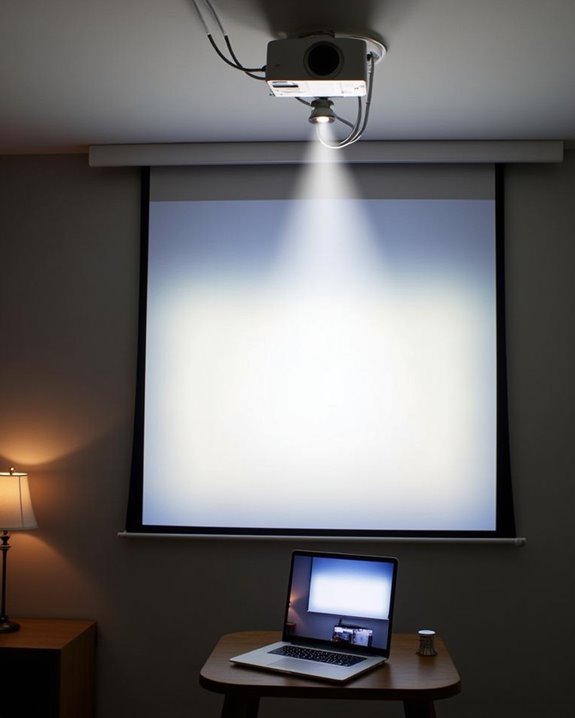
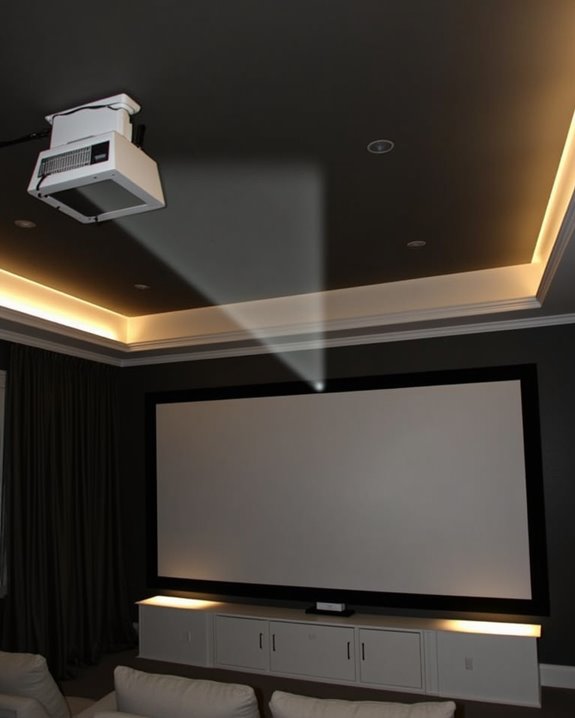
Choosing the Perfect Projector Placement
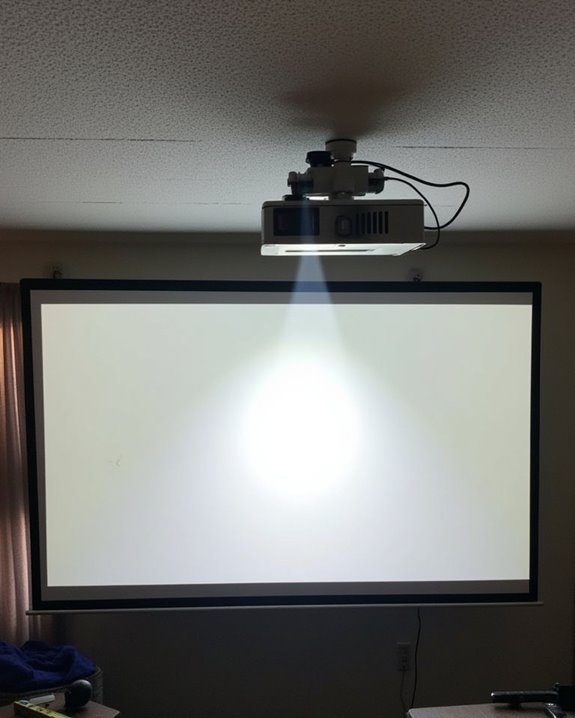
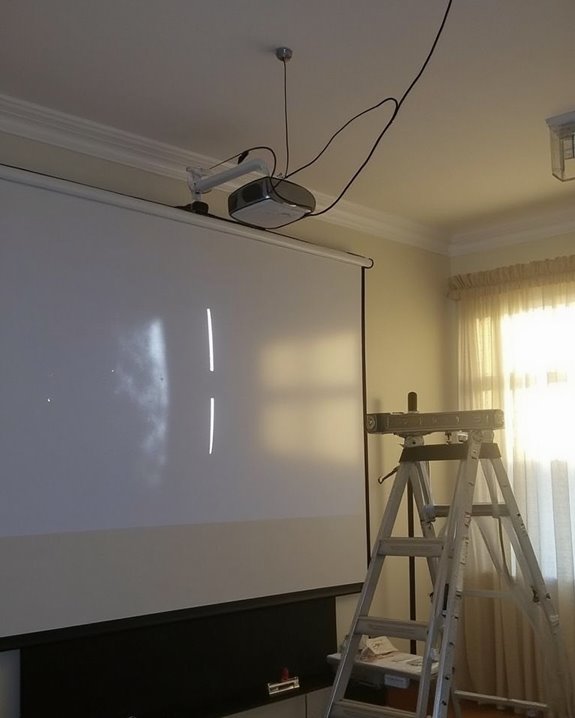
Once you’ve set up your screen, finding the ideal placement for your projector becomes your next critical decision. Position your projector along a perpendicular line from the screen’s center, ensuring an unobstructed projection path free from shadows or interference. Your ceiling height will directly impact both screen size potential and projector mounting options, so measure carefully before installation.
When mounting, always secure your projector to structural elements like ceiling joists for maximum mount stability, using stud finders to locate proper attachment points. Calculate the proper projection distance using your projector’s throw ratio specifications, which determines how far the unit must be from the screen to achieve your desired image size. Consider ambient light sources when finalizing placement, avoiding locations where sunlight or room lighting might wash out your projected image. For bedrooms or small rooms, using a short-throw projector can help achieve large images in limited space without compromising quality.
Recommended Products
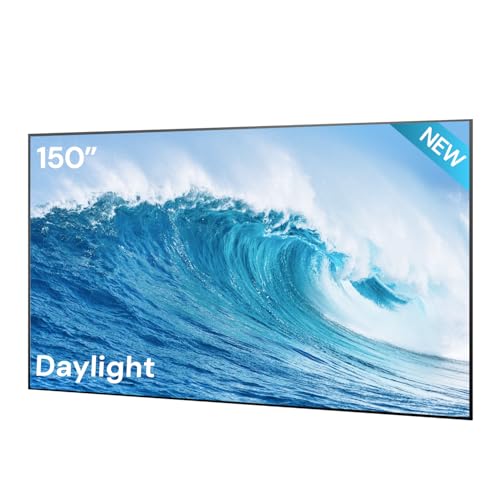
Seamless 150" One-Piece Fresnel Screen: AWOL VISION releases the world’s first seamless one-piece 150" Fresnel daylight ALR screen. The picture stays continuous with no seams, no gaps, and no visible breaks across the viewing area for a cleaner, more immersive large-screen home cinema presentation.

Short Throw Laser Projector: WUXGA (1920x1200p) resolution with a 0.8 throw ratio and 6,000 ANSI lumens for bright, detailed images in compact spaces

Big screen entertainment in a convenient package. No need for ceiling mounts or in-wall cable runs, simply place the L5G on a TV stand just 11 inches from the wall and get a massive 100-inch projection – that's 3x more screen than a 55-inch TV.
Connecting Devices and Managing Cables Effectively
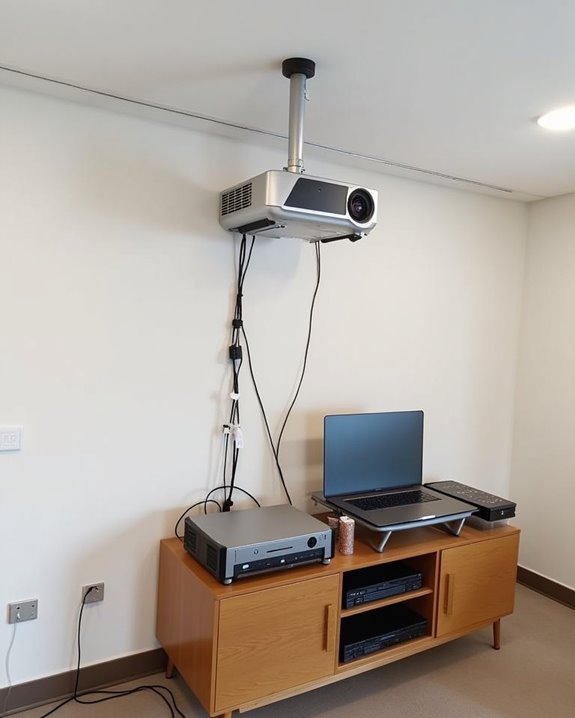
After you’ve secured your projector in its ideal position, it’s time to establish connections with your media sources and manage the resulting cable network. Connect your laptop, gaming console, or streaming device via HDMI cables for the best quality, ensuring all connections are secure and properly seated.
For wireless streaming, utilize your projector’s Bluetooth or Wi-Fi capabilities to eliminate some physical connections, particularly useful for smartphone integration or tablet presentations. Cable organization becomes essential as your setup grows, so implement a systematic approach using cable ties, labels, and protective sleeves to prevent tangles and damage. Route cables along walls or through designated channels, keeping power cables separate from signal cables to prevent interference. Consider investing in a cable management box for storing excess cable length, creating a cleaner, more professional appearance.
Recommended Products

64 CHANNEL SECURITY CAMERA SYSTEM: This system has 48pcs 4K/8MP 2.8mm fixed lens PoE IP cameras with built-in microphone, IP67-rated waterproof for indoor and outdoor use. The 4K 64CH NVR of this system comes with 2X 8TB hard drive. it has 8 SATA port to expand to total 80TB storage space.
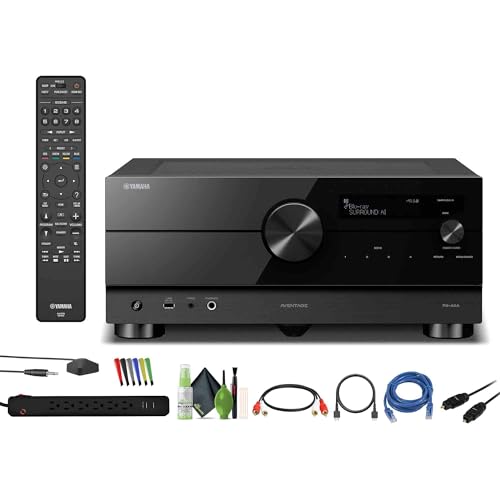
Bundle Includes: Yamaha AVENTAGE RX-A6A 9.2-Channel MusicCast AV Receiver + HDMI Cable + Dual RCA Cable + Toslink Optical Cable + 6-Outlet 2 USB Surge Protector + Reusable Cable Ties + Cleaning Kit + Cat5e Ethernet Patch Cable

32 CHANNEL MOTORIZED VANDAL-PROOF SECURITY CAMERA SYSTEM: It has 24pcs 5MP 2.8~12mm motorized zoom lens camera (Not PTZ) produced with IK10 vandal-proof and built-in microphone. The 4K 32CH NVR of this system comes with a 8TB hard disk, it has 2 SATA port to expand to total 16TB storage space.
Calibrating Settings for the Best Image Quality
With your device connections established, properly calibrating your projector’s settings will dramatically transform your viewing experience. Start by adjusting brightness calibration using test patterns, ensuring whites appear bright without washing out and blacks remain deep while preserving shadow detail. Fine-tune contrast settings under your typical room lighting conditions to prevent eye strain.
For ideal color accuracy, use a colorimeter with calibration software or manually adjust color temperature, tint, and saturation using test images. Check screen uniformity by displaying a solid white or gray image, looking for any uneven spots or color shifts that might require lens cleaning or repositioning. Finally, save your calibrated settings as profiles labeled for different content types (movies, presentations, gaming), and schedule periodic recalibration as bulbs age and environmental conditions change.
Recommended Products
Outstanding 4K Visuals, Mapped Perfectly to Your Space: X1 Pro's Triple Laser engine delivers 3,500 ANSI lumens, 1.07 billion colors, and 56,000:1 dynamic contrast; SpaceFlow auto-maps your wall's exact 3D shape and texture — fitted precisely to any surface for a truly cinematic image.

SIZE: 123" Diag. 16:9 Aspect Ratio. View Size: 60.0" H x 106.6" W. Overall Size: 60.9" H x 107.6" W.

【GET THE RIGHT SCREEN】: 92" Diagonal Viewing Size, 16:9 HD Format Aspect Ratio 45.0" H x 79.9" W Viewing Size with a 12" Black Masking Drop. Overall Size: 64.8" H x 94.8" W x 4.3" D in a White Finished Case.
Frequently Asked Questions
How Do I Resolve Wireless Connectivity Issues With My Projector?
When troubleshooting connectivity issues, check your physical connections, restart devices, and verify Wi-Fi settings. Minimize wireless interference by moving electronics away from your projector. Confirm your router configuration supports the projector’s wireless requirements.
Can I Use My Projector Outdoors for Movie Nights?
Like a chameleon adapting to its environment, you can absolutely take your movie magic outdoors. For successful outdoor setup, make certain your projector has sufficient lumens and always factor in weather considerations before planning your starlit cinema.
How Do I Prevent Overheating During Extended Projector Use?
To prevent overheating during extended use, guarantee proper ventilation options around your projector, clean filters regularly, use eco-mode, and consider additional cooling systems like external fans. Schedule brief rest periods between long sessions.
Which Streaming Devices Work Best With Home Theater Projectors?
For projector streaming device compatibility, you’ll get the best results with Google TV 4K Streamer, Roku, or Chromecast. They’re easy to set up and offer wireless connectivity with excellent 4K streaming capabilities.
How Do I Fix Audio Sync Problems Between Projector and Speakers?
Ever felt like your movie’s dialogue is running a marathon behind the action? Adjust your projector’s audio delay settings, check HDMI connections, restart devices, and try speaker calibration. External audio solutions can also help.