As an Amazon Associate, we earn from qualifying purchases. Some links on this site are affiliate links at no extra cost to you. Our recommendations are based on thorough research and editorial judgment.

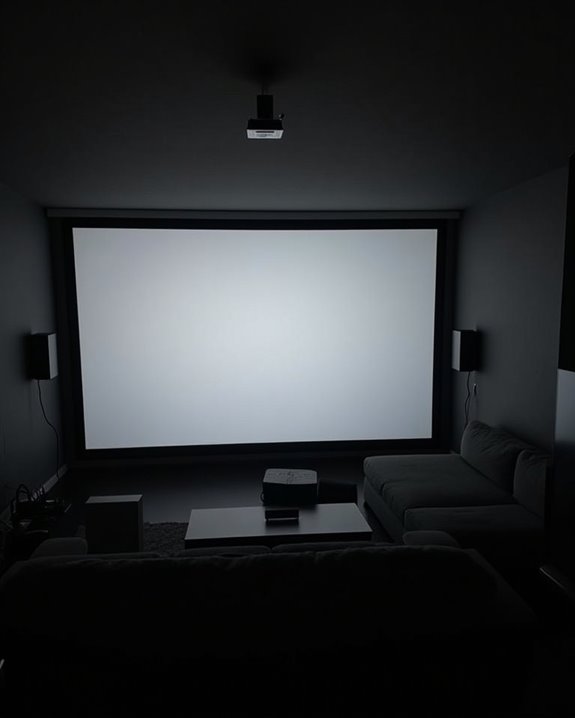
How to Use a Projector for the Best Home Theater Experience

Nearly 25% of home theater enthusiasts report that proper projector setup is the most vital factor in achieving cinema-quality viewing experiences. You’ll discover that transforming your living space into an immersive theater involves more than simply pointing a projector at a wall. From optimizing room darkness to calculating precise screen dimensions, each element plays a essential role in creating that perfect picture. The difference between a mediocre setup and a breathtaking home cinema often lies in these technical details that many overlook during installation.
Key Takeaways
- Optimize your room with dark wall finishes, blackout curtains, and minimal light sources to maximize contrast and color accuracy.
- Mount your projector at the ideal distance based on throw ratio, securing it properly to ceiling joists or wall studs.
- Select an appropriate screen with the right gain factor (1.0-1.3) and size matched to your viewing distance.
- Connect video sources with high-quality HDMI cables and learn to switch inputs efficiently for multiple devices.
- Calibrate image settings including brightness, contrast, and keystone correction, recalibrating regularly as bulbs age.
Optimizing Your Room for Projector Performance
While a high-quality projector is vital for home theater enjoyment, the environment you place it in can dramatically impact your viewing experience. Controlling ambient lighting should be your first priority, as excess light washes out your image and reduces contrast. Install blackout curtains over windows, eliminate LED indicators from other devices, and consider adding dimmer switches for flexible lighting control during different viewing scenarios.
Wall colors play an essential role in image quality, with dark, matte finishes being ideal for preventing light reflection. Choose neutral deep grays or blacks for dedicated theater spaces, and avoid glossy paints that create distracting glare. Your ceiling and floor surfaces should follow the same principles, absorbing rather than reflecting projected light to maintain black levels and guarantee accurate color reproduction throughout your viewing experience. For the best results, use projection surfaces with a gain factor of 1.0-1.3 to minimize glare and enhance image clarity.
Calculating the Perfect Projector Placement and Mounting
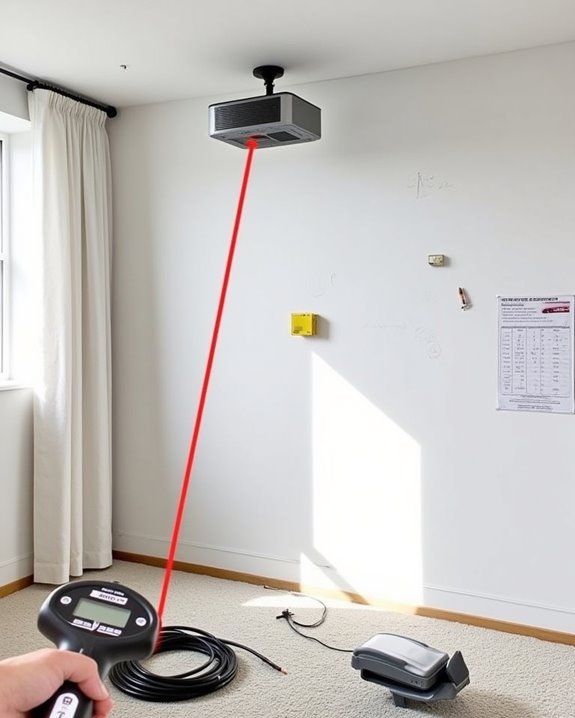
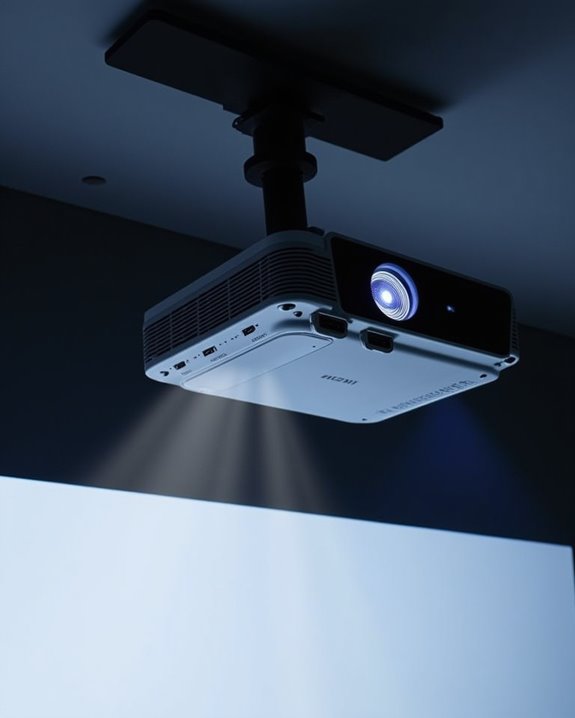
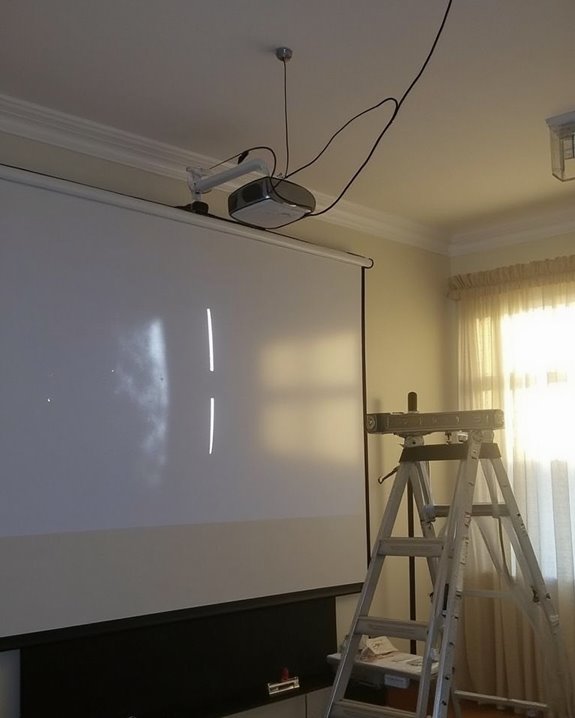
Finding the perfect spot for your projector forms the foundation of an exceptional home theater experience, building on the room optimization we’ve previously explored. Start by determining the ideal distance from your screen using your projector’s throw ratio, ensuring it can produce your desired image size while maintaining proper projector height to prevent keystone distortion.
When mounting, consider your room’s configuration to select the most appropriate option – ceiling mounts offer flexibility and reduce clutter, while wall or shelf mounts work well in smaller spaces. Mounting stability is essential, so always secure brackets to ceiling joists or wall studs using appropriate hardware for your projector’s weight. After installation, make final adjustments to focus, zoom, and lens shift to perfect your image quality, and implement proper cable management for a clean, professional setup. Additionally, utilizing projectors with auto-focus and keystone correction can simplify achieving the best image alignment.
Recommended Products

Universal Compatibility: Fits most projectors (Note: Length <13.7'', Width <8.6'') with standard mounting interfaces. Projector Wall Mount supports a maximum load of 10kg/22LBS, suitable for home, office, cinema and other scenarios, and is compatible with mainstream device sizes, no compatibility concerns

Fits projectors with 1/4 inch thread (or M4 or M6), and weight under 30lbs (13.6kg). Note: Only for single-hole installation. Not suitable for three-hole or four-hole installations.

【Note】The projector mount used in this projector mount should have the following conditions: 1. The wall where the mount is installed should be a hard solid wall, not a hollow and weak wall; 2. The projector has 3-4 screws holes to install screws; 3. The diameter of screw holes is 3 mm or 4 mm.
Selecting and Setting Up Your Projection Screen
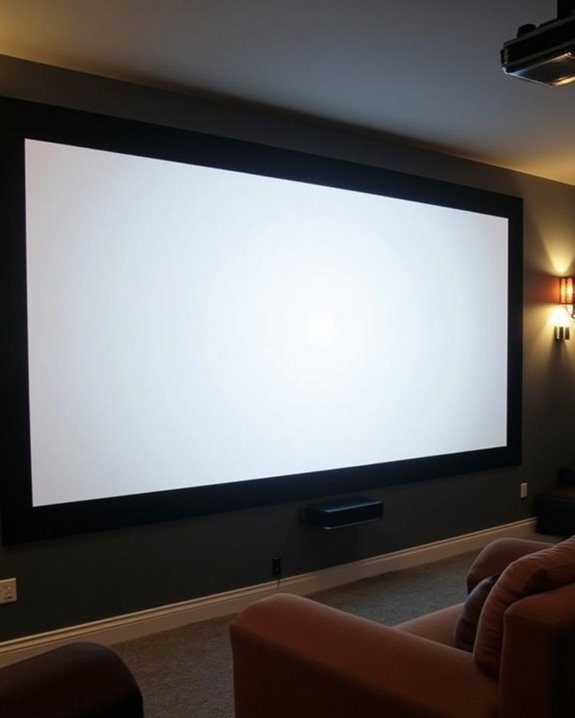
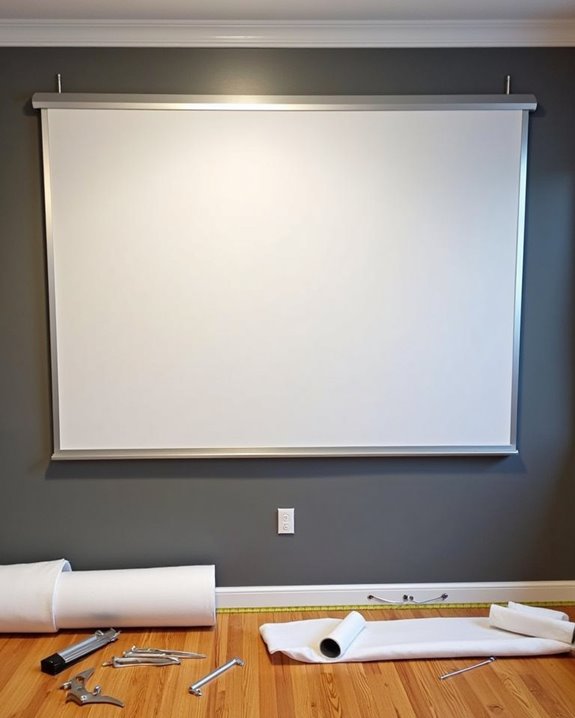
Once you’ve positioned your projector correctly, selecting the right projection screen becomes your next critical decision for creating a truly immersive home theater experience. Consider fixed frame screens for dedicated theaters, offering permanently tensioned surfaces that eliminate wrinkles, or retractable options for multipurpose rooms where space is limited.
Screen material selection profoundly impacts your viewing experience, with matte white surfaces providing uniform reflectance and natural color reproduction, while high contrast gray screens enhance image depth in rooms with ambient light. Your gain selection should balance brightness and viewing angle; a standard 1.0 gain offers neutral reflection, while higher gain screens increase brightness at the cost of viewing angle width. Match your screen size to your viewing distance—typically 1.5 to 2.5 times the screen width—and ensure your chosen material complements your projector’s specifications for ideal image quality. For optimal results, pairing your screen with a projector that offers high brightness, such as those with over 1100 ANSI lumens, will help maintain image clarity even in rooms with some ambient light.
Recommended Products

Wall Mounted Fixed Frame Projection Screen (Overall Size 63.625" Tall x 109.25" Wide) (Viewing Area 120" Diagonal x 58.875" Tall x 104.5" Wide) No option for Legs or Stands with this product. Recommended for projectors with Native 16:9 Resolution

Viewing Area Size: 104.5X58.9"; Viewing Angle: 120°; Display: 16:9 HD

★【Better Contrast and Color】 Light bleed is eliminated by the black backing layer, significantly improving image quality.
Connecting Video Sources and Managing Input Options
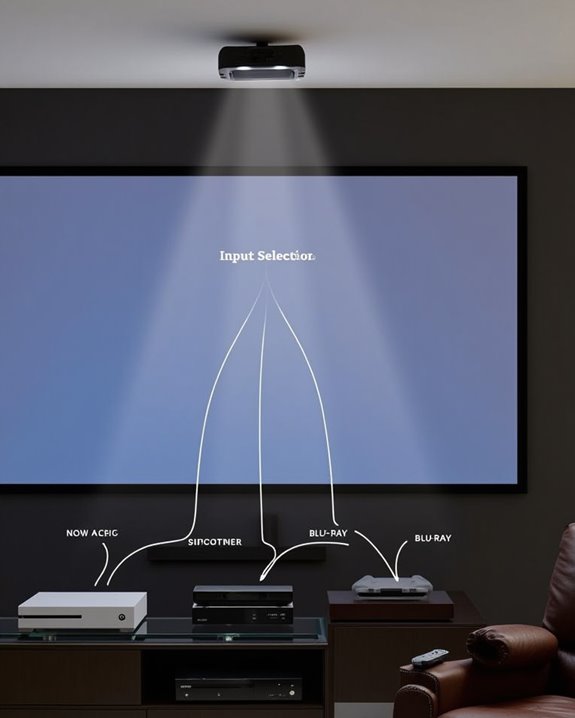
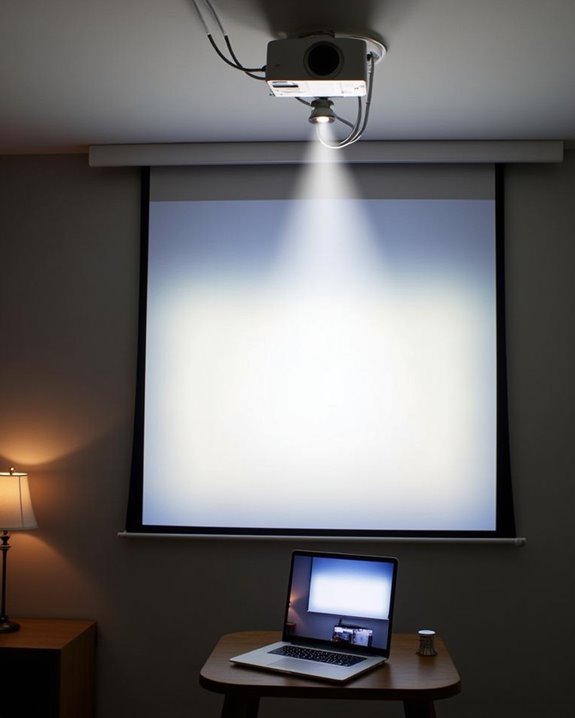
After you’ve set up your projector and screen, connecting your video sources properly becomes essential for achieving the best possible home theater experience. HDMI cables are your best option, carrying both audio and video in one connection, while older devices may require component or composite cables with their distinctive color-coded connectors.
For ideal results, always power off all devices before making connections, secure cables firmly to prevent signal loss, and match inputs correctly between your sources and projector. Most modern projectors offer multiple input options, allowing you to connect several devices simultaneously. Mastering input switching through your projector’s menu system or remote control will let you seamlessly switch between a Blu-ray player, gaming console, or streaming device without disconnecting cables, ensuring your home theater setup remains versatile and ready for any entertainment need.
Recommended Products

HDMI Switching Simplified: Dive directly into your chosen media with a single button for hassle-free transitions between your game or movie without unplugging cables. Note: Manual button switching is supported. Automatic signal detection is not supported.

[4K@60Hz HDMI Switch with Remote]: Experience ultimate convenience with our HDMI Switch, designed to effortlessly switch between 3 input devices. No more struggling to reach behind your TV or wall to unplug and replug HDMI cables. With our 4K HDMI switch, you can easily and elegantly change your input devices from the comfort of your sofa, while also preventing damage to HDMI ports caused by frequent unplugging. Enjoy a seamless way to manage your HDMI connections!

New Upgrade: Portable Design, HDMI/Type C and charging port into one, completely replacing the Switch dock and HDMI cable. When traveling, it completely replaces the Nintendo Switch dock. lightweight and portable.
Fine-Tuning Image Quality With Proper Calibration
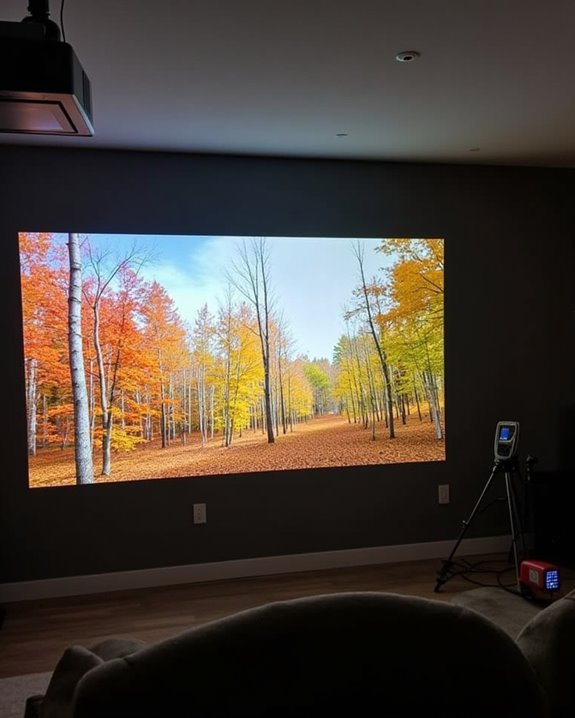
While your projector may work straight out of the box, proper calibration is essential for achieving the stunning image quality you’ve invested in. Start by ensuring the correct aspect ratio is set to match your content, preventing distorted or stretched images that can ruin your viewing experience.
Color accuracy should be your next priority, which can be achieved using a quality colorimeter and calibration software to create a customized profile for your projector. You’ll want to adjust brightness, contrast, and gamma settings in your typical viewing environment, as ambient light considerably impacts image quality. Don’t overlook geometric alignment—use grid patterns to identify and correct any keystone distortion, ensuring your projector is properly positioned perpendicular to your screen. Regular recalibration maintains ideal performance as bulbs age.
Recommended Products

Creating an Immersive Audio and Seating Arrangement
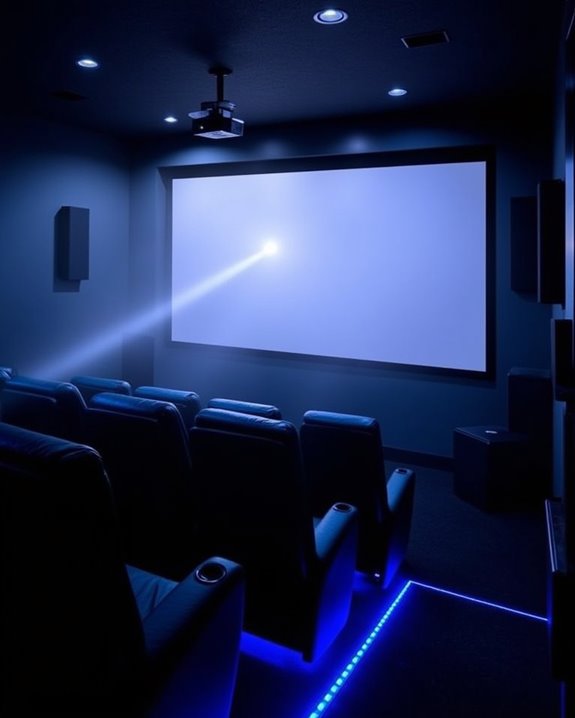
A stunning visual experience is only half the equation in a true home theater setup—your audio system and seating arrangement complete the immersive environment. For an ideal surround sound setup, position speakers in a centered configuration around your listening area, with the center speaker slightly higher than others to align with ear level. Choose between 5.1 or 7.1 systems based on your room size, and avoid placing subwoofers in corners unless specifically designed for that position.
Your seating comfort depends on proper arrangement within the acoustic sweet spot. Position chairs to provide unobstructed screen views while maintaining appropriate viewing distance to prevent eye strain. Ensure seats are centered in the room for balanced audio distribution, and select ergonomically designed furniture that supports extended viewing sessions. Remember to scale both your audio system and seating capacity to your room’s dimensions.
Recommended Products
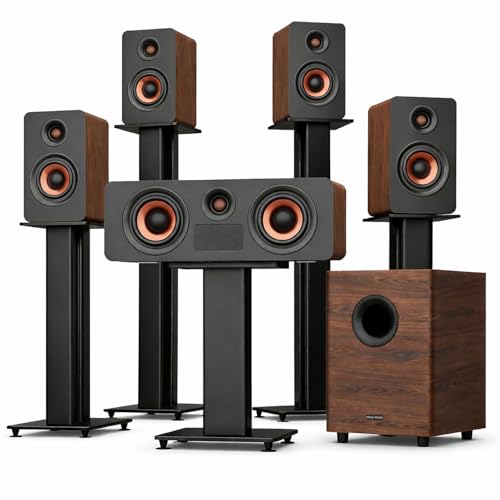
TRUE 5.1.4 HI-FI DOLBY ATMOS SYSTEM — NOT A SOUNDBAR: HiMuses M514 is a real 5.1.4 channel Dolby Atmos home theater system with an independent center speaker, four surround speakers, and a dedicated subwoofer. With 900W peak power, it delivers room-filling sound, precise channel separation, and cinematic scale that typical soundbars simply cannot achieve.

【40Wx4 Bookshelf Speakers and 75w Center Speaker】: The surround sound system features four high-power and full-range speakers, including one 3-inch passive center speakers and two pair of 3-inch passive bookshelf speakers(four speakers are identical), allowing you to experience stunning surround sound from all angles.
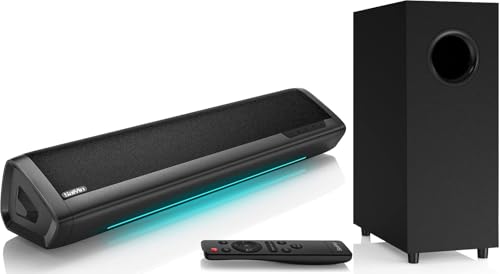
【Enjoy Deep Bass from Dedicated Subwoofer】The deep rich bass from our new generation sound bar and subwoofer will activate every cell in your body.The large cavity space of the subwoofer makes the bass punchy and full of magnetic. The surround sound of soundbar and subwoofer collide with each other in every corner of your room like waves, which allowing you immersed in music, movie and gaming.
Frequently Asked Questions
Can Projectors Damage My Eyes During Extended Viewing?
While projectors won’t typically damage your eyes, they can cause eye strain during extended viewing. For better viewing comfort, take breaks, maintain proper distance, and make sure appropriate room lighting when using your projector.
How Often Should Projector Bulbs Be Replaced?
Like stars fading at dawn, projector bulbs need timely replacement. You’ll need to replace traditional bulbs every 2,000-4,000 hours, while LED bulbs last 20,000+ hours. Monitor your bulb lifespan and follow manufacturer’s replacement schedule.
Will a Projector Work With Gaming Consoles?
Yes, projectors work great with gaming consoles. You’ll need to match your console’s screen resolution and optimize projector placement for the best experience. Most modern projectors connect via HDMI to your PlayStation, Xbox or Nintendo.
Can I Use My Projector Outdoors for Backyard Movies?
Picture this: stars above, movie magic below. Yes, you can use your projector outdoors! Just make sure proper outdoor setup with a stable screen and consider weather considerations like wind and moisture protection for your equipment.
How Does Projector Performance Compare to High-End TVS?
High-end TVs outperform projectors in image resolution and color accuracy, especially in bright rooms. You’ll notice projectors excel with larger screens and provide a more cinematic experience, but they’re more light-sensitive than TVs.