As an Amazon Associate, we earn from qualifying purchases. Some links on this site are affiliate links at no extra cost to you. Our recommendations are based on thorough research and editorial judgment.
How Does a Projector Work in Home Theater Settings?
You’ve probably marveled at the immersive experience of a home theater, with images spanning wall-to-wall in vivid detail. Home theater projectors create this magic through a sophisticated process of light manipulation and digital processing. Unlike standard TVs, projectors can display massive images by sending concentrated light through display technologies onto a reflective surface. Understanding the core mechanics behind this technology will help you make informed decisions when selecting, setting up, and maintaining your own home cinema system.
Key Takeaways
- Projectors use LCD, DLP, or LCoS technologies to generate images by processing digital signals into pixel data with color information.
- Light sources including traditional lamps, LEDs, or lasers illuminate the internal imaging system to produce bright, colorful projections.
- Throw ratio determines optimal placement distance, with proper mounting and screen positioning critical for ideal viewing experience.
- HDMI connections remain standard for high-quality signal transfer, while wireless options offer cable-free setups through Wi-Fi or Bluetooth.
- Regular maintenance like lens cleaning, dust removal, and timely lamp replacement ensures optimal performance and extends projector lifespan.
Basic Architecture and Components of Home Theater Projectors
When you’re setting up a home theater system, understanding the basic architecture and components of projectors is essential for creating an immersive viewing experience. Modern projectors utilize one of three main display technologies: LCD, DLP, or LCoS, each offering different advantages in image reproduction and color calibration capabilities.
The quality of your projected image depends on several key specifications, including resolution (with 4K providing the sharpest images), brightness measured in lumens (critical for rooms with ambient light), and contrast ratio (affecting image depth). For complete sound integration, you’ll need to connect your projector to an AV receiver that processes both audio and video signals. Most projectors feature multiple connectivity options, including HDMI ports for connecting media devices, ensuring your visual content synchronizes perfectly with your surround sound system for a truly cinematic experience. Additionally, many modern home theater projectors use 3LCD technology for accurate, rainbow-free color reproduction and vibrant image quality.
Light Source Types: From Traditional Lamps to Modern LEDs and Lasers

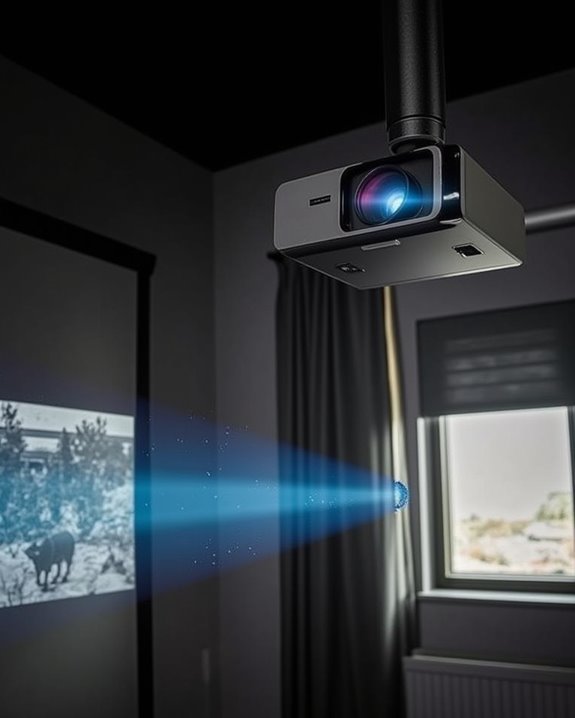
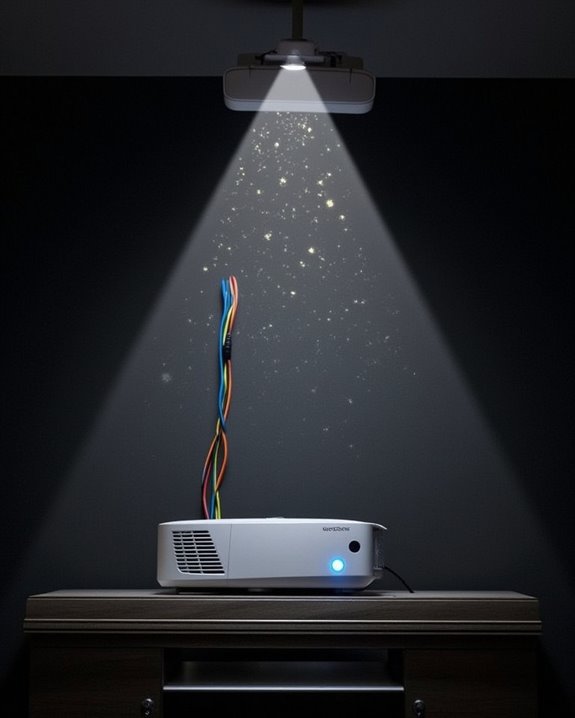
The projector’s light source serves as its beating heart, determining everything from image quality to maintenance costs in your home theater setup. Three primary light source types dominate today’s market: traditional lamps, LEDs, and lasers, each representing stages in light source evolution.
Traditional lamp projectors utilize metal halide or UHP technology, offering high brightness but containing mercury with significant environmental impact. You’ll need to replace these bulbs every 2,000-4,000 hours. In contrast, LED projectors provide longer lifespans with lower heat generation, making them ideal for smaller spaces despite their typically lower 2,000-lumen brightness. For premium performance, laser projectors deliver superior color accuracy and contrast without mercury concerns, though at higher initial cost. The industry continues shifting toward these environmentally friendly options, with hybrid systems combining laser and LED technologies for optimized performance in modern home theaters. Additionally, selecting a projector with a minimum of 600 ANSI lumens brightness is recommended to ensure clear images in typical home theater lighting conditions.
Image Formation: From Digital Signal to Visual Display
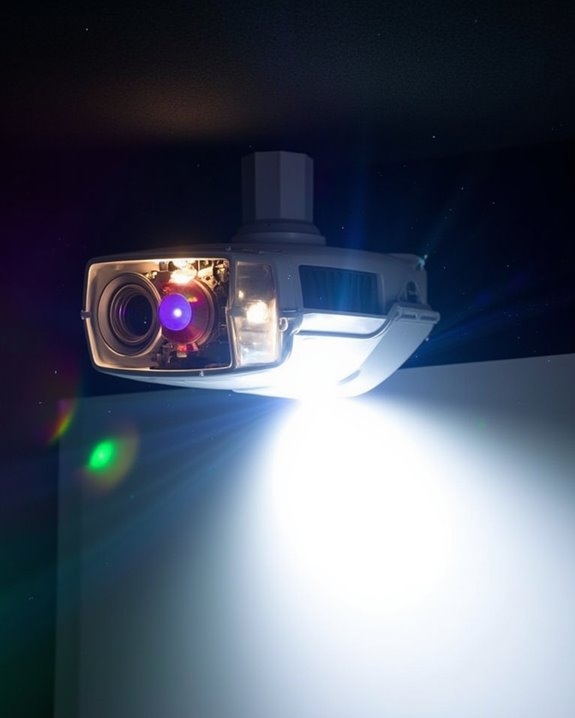
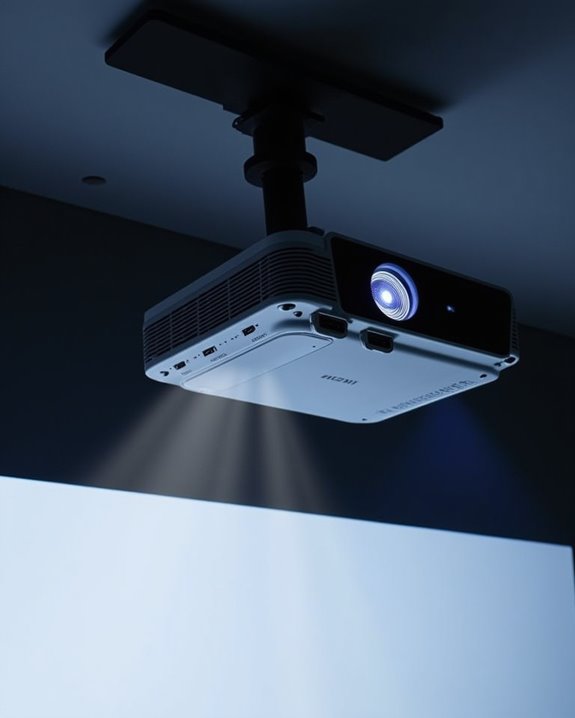
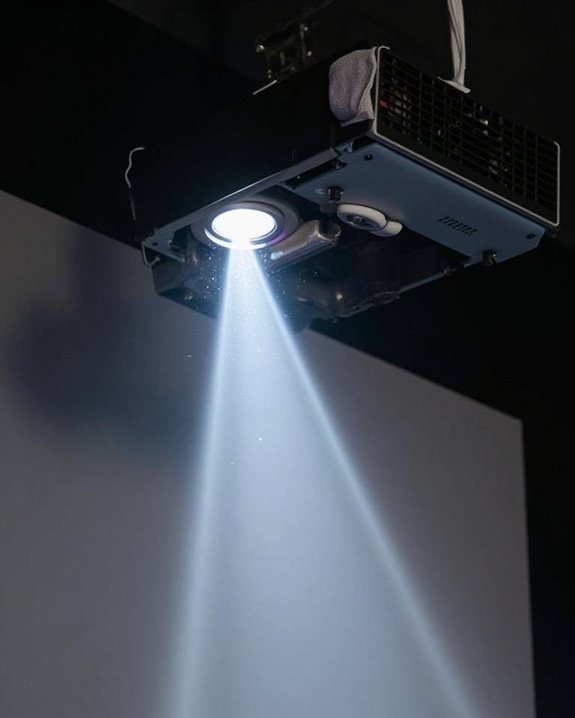
Understanding how your projector transforms digital signals into stunning visuals requires a journey through its sophisticated image formation process. When you connect your device, the projector receives and decodes the digital signal, breaking it down into individual pixels with specific color and brightness values. This information passes through the projector’s imaging technology—whether it’s DLP micromirrors, SXRD liquid crystals, or LCD panels—to create the image.
Color accuracy depends on how well the optical system combines the primary colors through dichroic prisms or other methods. Proper lens calibration guarantees your image remains sharp and focused across the entire screen. The technology varies between models, with three-chip designs typically offering superior color reproduction compared to single-chip alternatives, especially in controlled home theater environments where image quality is paramount. Additionally, features like HDR10 support enhance color vibrancy and contrast, contributing to a more lifelike viewing experience.
Major Projection Technologies Compared: LCD, DLP, and LCoS
Choosing the right projection technology for your home theater setup hinges on understanding the core differences between LCD, DLP, and LCoS systems, each offering distinct advantages for different viewing preferences. LCD projectors utilize liquid crystals and polarized light, providing high white brightness but sometimes exhibiting the “screen door effect” with visible pixelation. DLP models employ millions of tiny mirrors to create images with excellent motion handling and contrast ratio, making them ideal for fast-paced content like sports or action movies. LCoS technology, the premium option, combines aspects of both systems, delivering superior color accuracy, wider color gamut, and exceptional pixel density for crisp, detailed images. Your viewing environment, including ambient light conditions and screen distance, should guide your selection of projection technology.
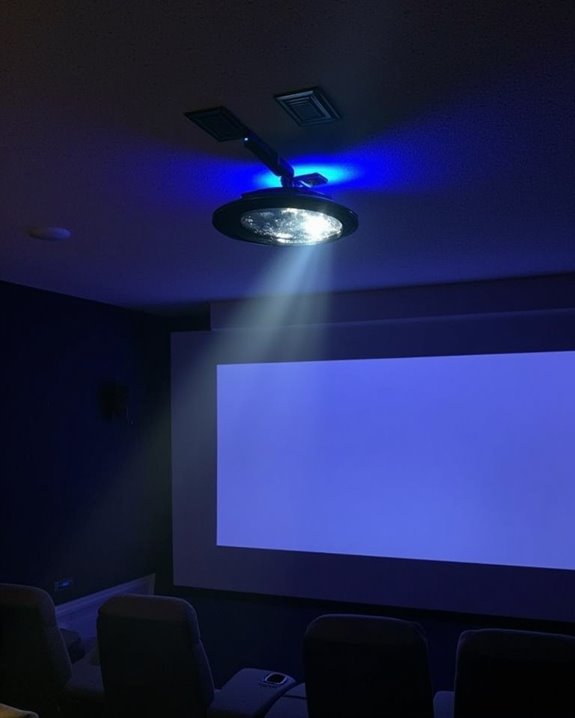
Optimizing Projector Placement for Maximum Visual Impact
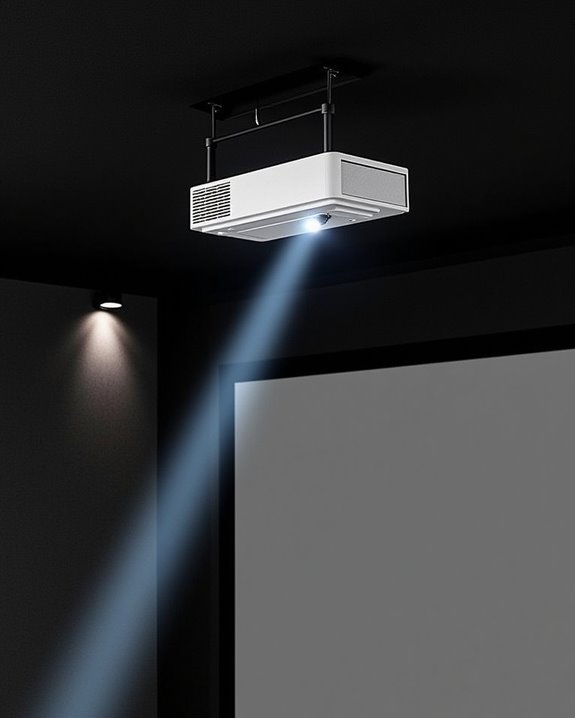
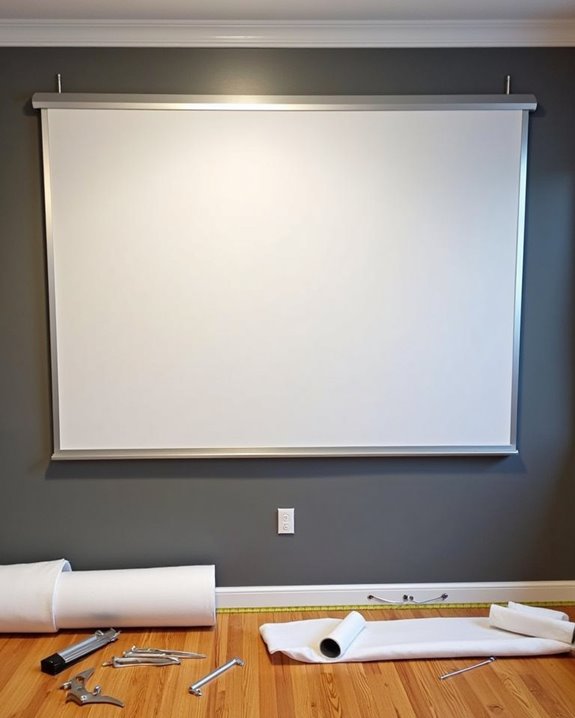
After selecting your ideal projection technology, you’ll need to focus on where and how to position your projector for the best viewing performance. Understanding throw ratio is essential, as it determines how far your projector must be from the screen to achieve your desired image size. For perfect screen positioning, ensure the bottom edge sits at least three feet above the floor, mimicking a cinema experience while maintaining proper viewing angles for all seats.
Consider your room’s dimensions when determining screen size and projector placement, placing viewers approximately 1.2 to 1.6 times the screen width away. Don’t overlook room acoustics—minimize echo with sound-absorbing materials and integrate external speakers for a truly immersive experience. For permanent installations, ceiling mounts offer stability, while tabletop setups provide flexibility for occasional use.
Resolution and Aspect Ratio: Understanding Image Quality Metrics
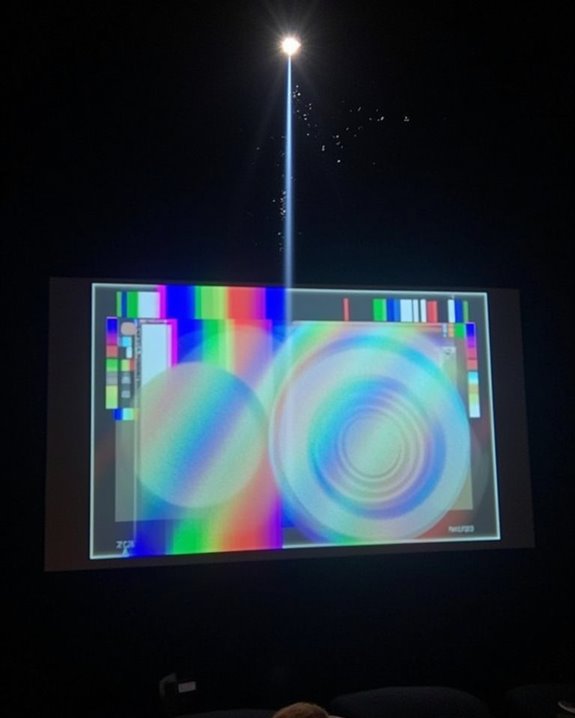
When it comes to creating a truly cinematic experience in your home theater, resolution and aspect ratio serve as fundamental building blocks that determine the quality and format of your projected image. Your projector’s resolution, measured by total pixel count, directly impacts image clarity and detail, with options ranging from 720p to 4K UHD. For ideal screen calibration, match your projector’s native resolution to your typical viewing content, as higher resolutions deliver sharper images, especially on larger screens.
Aspect ratio, the width-to-height proportion of your image, affects how content appears on screen. The standard 16:9 ratio works well for most home theaters, though proper color grading might require adjustments when displaying different media formats. Consider future-proofing your setup with higher resolutions if budget allows.
Managing Ambient Light for Superior Projection Performance
The brilliant image quality you’ve carefully calibrated can be dramatically undermined by ambient light, which stands as one of the most significant challenges in home theater projection. When light from windows, lamps, or reflective surfaces competes with your projector’s output, it washes out colors, reduces contrast, and makes dark scenes nearly unwatchable.
To combat these effects, you’ll need a multi-faceted approach. First, consider your projector’s brightness rating—rooms with moderate ambient light require at least 1,500-2,500 lumens, while brighter environments need 3,000+ lumens. For significant improvement, invest in Screen Enhancement technology like Ambient Light Rejecting (ALR) screens, which reflect the projector’s light while absorbing competing light sources. Additionally, install blackout curtains, dim ceiling fixtures, and position your projector away from direct light paths.
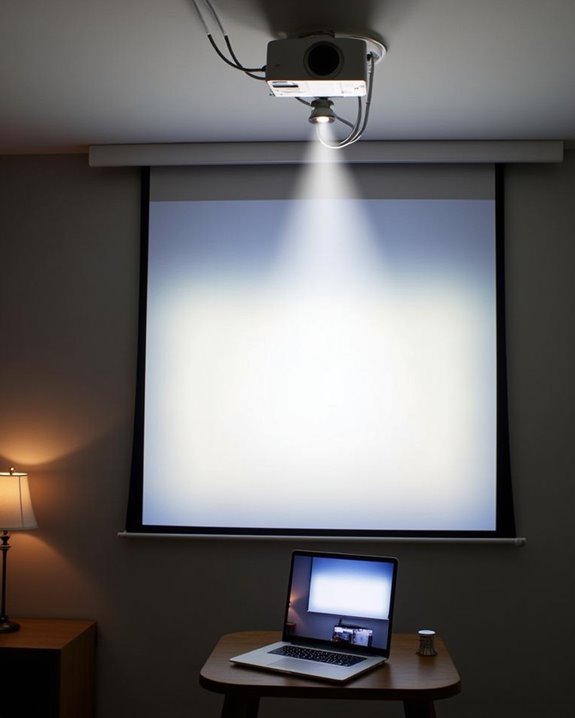
Connecting Your Media Sources: HDMI, Wireless, and Beyond
Connecting your projector to various media sources represents a critical step in creating a fully functional home theater system that delivers the content you love. HDMI connections remain the standard method, carrying both high-definition video and audio through a single cable from your streaming devices, gaming consoles, and media players. For a cleaner installation, wireless HDMI solutions offer smart home integration by using transmitter-receiver pairs that eliminate physical cables while maintaining quality.
Beyond traditional HDMI, modern projectors support wireless streaming through built-in Wi-Fi capabilities or dedicated streaming devices like Roku or Apple TV. For ideal audio performance, consider routing sound separately through external speakers using audio splitters, optical connections, or Bluetooth, especially when your projector is mounted far from your audio equipment.
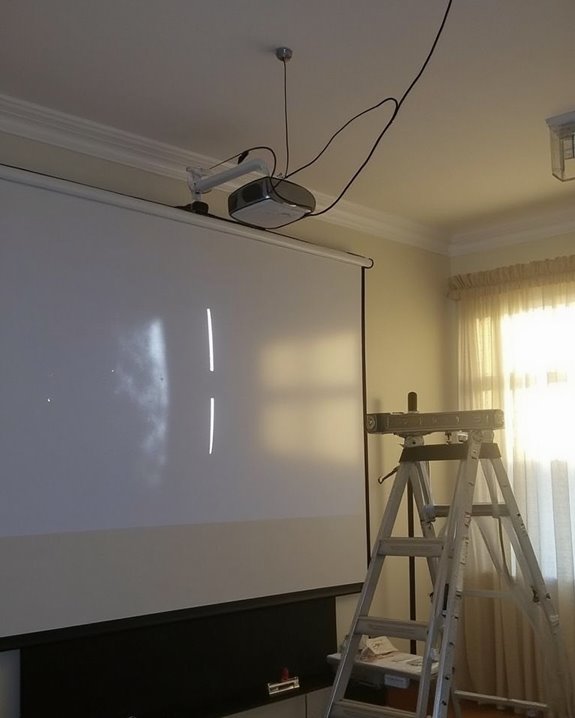
Projector Maintenance: Ensuring Longevity and Consistent Performance
Proper maintenance of your projector isn’t just recommended, it’s essential for preserving image quality and extending the lifespan of your investment. Regular cleaning of the lens with a microfiber cloth prevents image distortion, while removing dust accumulation from filters and vents guarantees proper airflow and prevents overheating.
Monitor your lamp usage hours carefully, replacing the bulb before it reaches the end of its rated lifespan to maintain brightness. When performing lamp replacement, avoid touching the bulb with bare hands and always use manufacturer-approved parts. Position your projector in well-ventilated areas, keeping air vents unobstructed to facilitate heat dissipation. Additionally, regularly update firmware and calibrate image settings to optimize performance. Store your projector in a cool, dry environment when not in use, protecting it from physical damage and environmental contaminants.
Frequently Asked Questions
Can Projectors Damage Eyesight With Prolonged Viewing?
Prolonged projector viewing can cause eye strain but isn’t likely to permanently damage your eyesight. You’ll experience temporary discomfort, but there’s little evidence of serious long term effects with proper usage and breaks.
How Do Gaming Projectors Handle Input Lag Differently?
Gaming projectors reduce input latency through specialized processors and game modes. You’ll notice they offer higher refresh rates (120Hz-240Hz) than standard projectors, with DLP technology typically providing faster response times than LCD options.
Do Projectors Consume More Electricity Than Large TVS?
Like a hungry dragon vs. a nibbling bird, yes, projectors typically consume more electricity than large TVs. Your projector may use 150-800 watts, while TVs use 80-400 watts, affecting energy efficiency and power consumption.
Can Projectors Accurately Display HDR Content?
Projectors can display HDR content, but with limitations. You’ll notice they struggle with extreme brightness levels compared to TVs, though many modern projectors achieve good color accuracy through specialized HDR-PRO technology.
Are Projector Screens Necessary or Can Any White Wall Work?
Like a blank canvas awaiting an artist, a white wall can work, but dedicated screen material delivers superior image quality, especially with ambient lighting. You’ll notice significant improvements in brightness, contrast and color accuracy.