As an Amazon Associate, we earn from qualifying purchases. Some links on this site are affiliate links at no extra cost to you. Our recommendations are based on thorough research and editorial judgment.
Where to Place a Projector for the Best Home Theater Experience
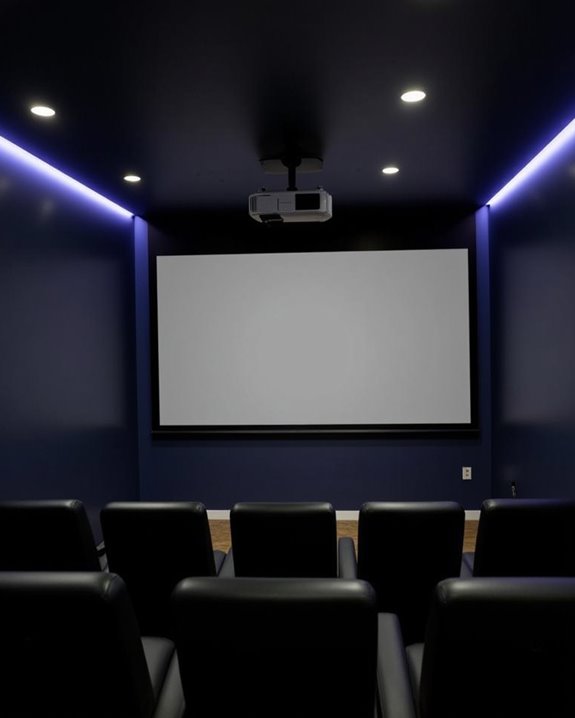
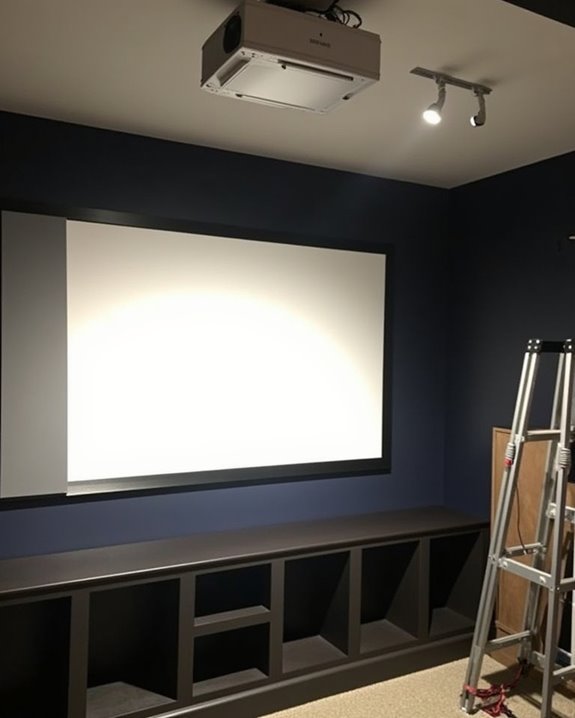
Much like a director frames each scene for clarity, you’ll want to position your home theater projector to maximize image quality and usability, which begins by understanding your room’s dimensions, seating layout, and screen placement. Aligning the projector’s lens at the screen’s horizontal center ensures minimal image distortion, while selecting the appropriate throw distance—calculated from manufacturer specifications—lets you achieve the ideal image size. But, before finalizing your setup, several critical factors must still be guaranteed.
Key Takeaways
- Position the projector so its lens aligns with the center of the screen for an unobstructed, direct light path.
- Mount the projector at a height allowing easy access for maintenance and ventilation, ensuring the light path is free of obstructions.
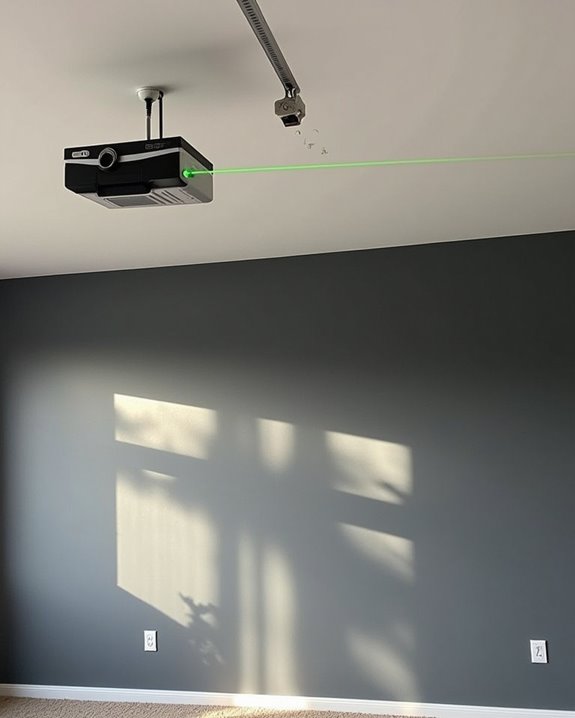
- Match throw distance to your projector’s specifications for optimal image size and sharpness, using tools like laser pointers for accuracy.
- Place the projector far enough from viewers to minimize noise, but close enough to avoid image distortion or loss of brightness.
- Ensure the projector’s brightness level matches the screen gain and room lighting for vivid, evenly lit visuals.
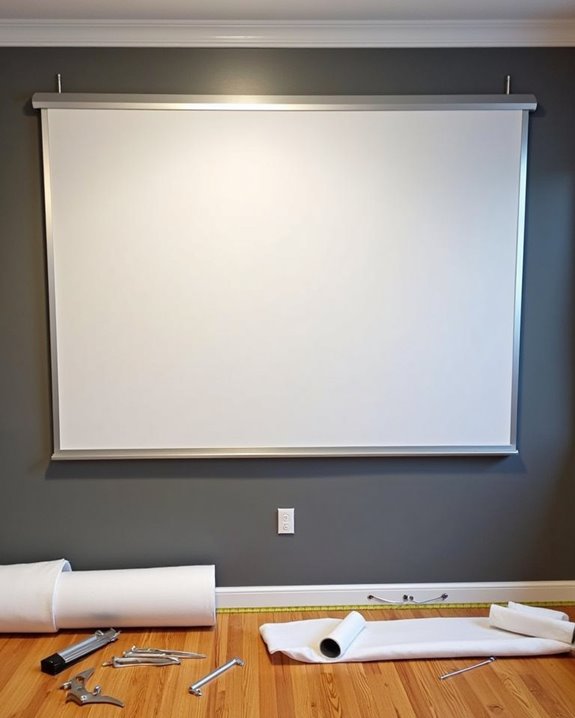
Determining the Ideal Screen Size and Placement
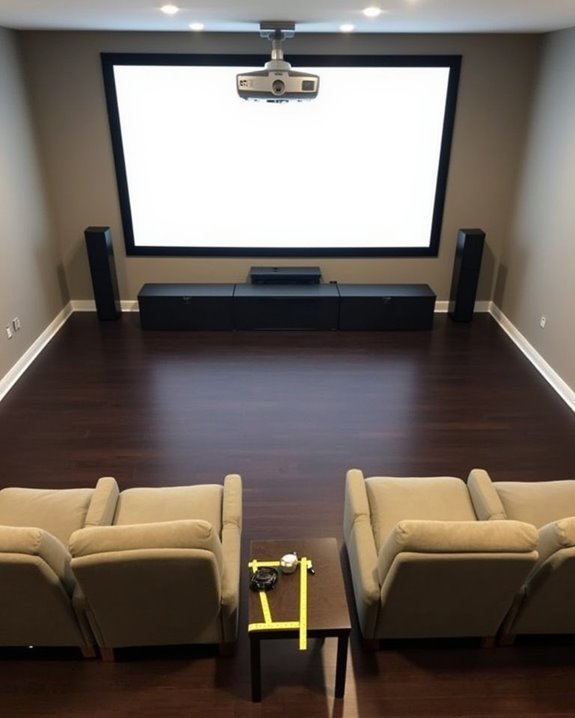
When you’re setting up a home theater, determining the ideal screen size and placement is crucial for both comfort and an authentic viewing experience, since the dimensions of your room, the screen’s aspect ratio, and the intended viewing distance all play essential roles. Begin by selecting a screen aspect ratio—such as 4:3, 16:9, or 2.35:1—aligned with your primary content for maximum content compatibility, ensuring minimal letterboxing or black bars. Measure your room to verify that common screen sizes, typically 100 to 120 inches, fit comfortably while maintaining recommended viewing distances; for instance, THX guidelines suggest sitting 1.5 to 2 times the screen’s width away. Larger screens require viewing distances of 12-15 ft to maintain comfortable viewing angles. Carefully position the screen to minimize reflections and maximize visibility, and control ambient light to enhance image quality. For the best results, take into account the screen material properties, such as color and gain, as these will impact brightness, viewing angles, and overall image clarity.
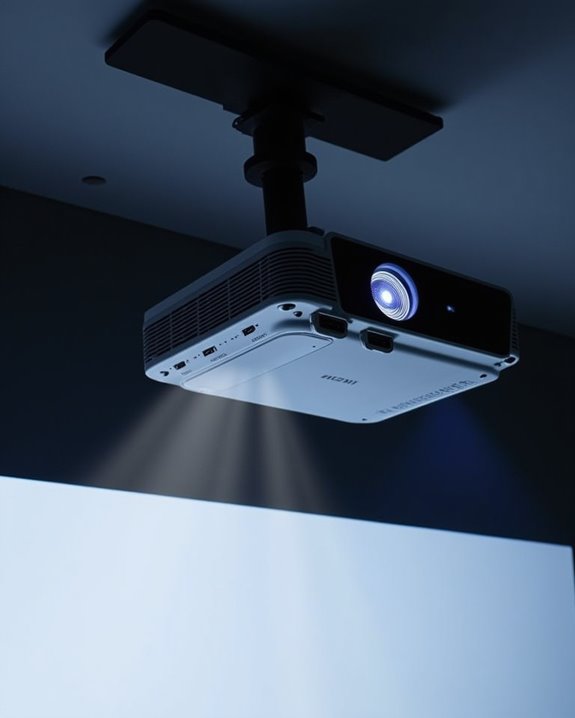
Choosing Between Ceiling and Shelf Mounting

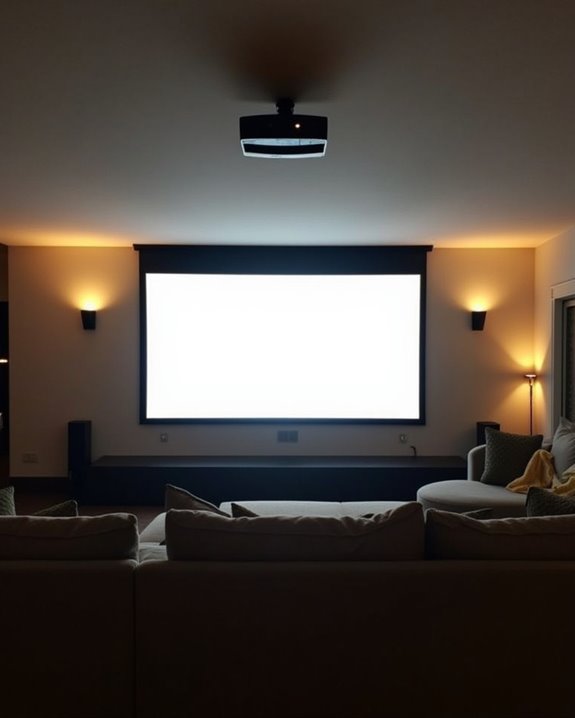
Although both ceiling and shelf mounting are popular options for setting up your home theater projector, each approach comes with distinct advantages and considerations that directly impact image quality, room aesthetics, and ease of installation. Ceiling mounting offers superior wall aesthetics, maximizes floor space, and delivers a stable, professional appearance, but it typically requires professional installation, incurs higher costs, and can limit accessibility for adjustments. In contrast, shelf mounting is more cost-effective, allows for flexible positioning, and is generally DIY-friendly, though it may clash with your furniture arrangement, look cluttered if not integrated thoughtfully, and lacks the same stability as ceiling mounts. Ceiling projectors provide unrestricted views without cables or obstructions, making them especially appealing for those who want a clean and immersive viewing environment. Many modern projectors also feature auto keystone correction to simplify image alignment regardless of mounting choice. Consider these factors as you weigh your options:
- The desire for seamless wall aesthetics
- Safety and stability concerns for your equipment
- Flexibility in furniture arrangement and projector positioning
Mapping Out Your Room Layout
Before you set up your projector, it’s essential to carefully map out your home theater room layout to guarantee ideal viewing, comfort, and sound quality. Begin by measuring your room, aiming for at least 15 feet in width and 20 feet in length to accommodate proper seating and walking space. Arrange seats based on their width, allowing for a minimum of 20-inch aisles and at least 20 inches between rows, especially if using reclining seats. Maintain at least four feet between seating and the side or back walls for optimal acoustics and accessibility. Integrate your screen size into seat placement by following the recommended viewing distance—twice the screen’s width. Select darker color schemes to reduce reflections, and add decorative accents that complement both your lighting and immersive audio setup. Incorporating proper room ratios—such as avoiding rooms with identical dimensions—will significantly enhance the acoustics and overall spatial experience of your home theater. Additionally, considering brightness levels in your room setup is crucial to ensure clear images regardless of ambient light conditions.
Managing Ambient Light for Optimal Projection
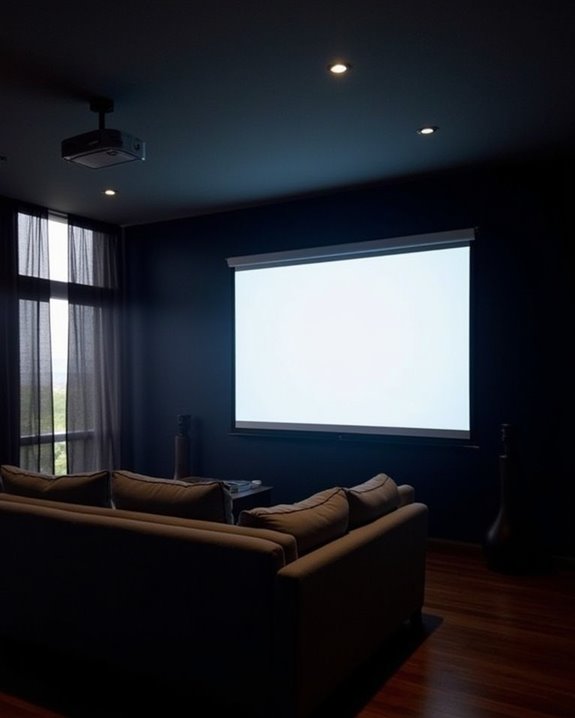
To achieve the best possible image quality in your home theater, you’ll need to carefully manage ambient light sources, as even small amounts of stray light can wash out colors and reduce contrast on your projection screen. Start by identifying every source of ambient light, including windows, doors, and built-in fixtures, and use blackout curtains or shades to block external light. Choose dark wall and ceiling colors to absorb rather than reflect stray light, and use indirect lighting fixtures like cove lights or sconces to prevent direct illumination of the screen. Prioritize lighting color by selecting warm tones that complement projection, and ensure all fixtures are dimmable for flexible control. Combining task, accent, and ambient lighting allows you to achieve both optimal viewing conditions and an inviting atmosphere in your home theater. For a more immersive experience, consider:
- Blackout curtains for total light control
- Soft, diffused lighting to reduce glare
- Strategic lighting color choices for ambiance
Factoring in Ceiling Height and Room Dimensions
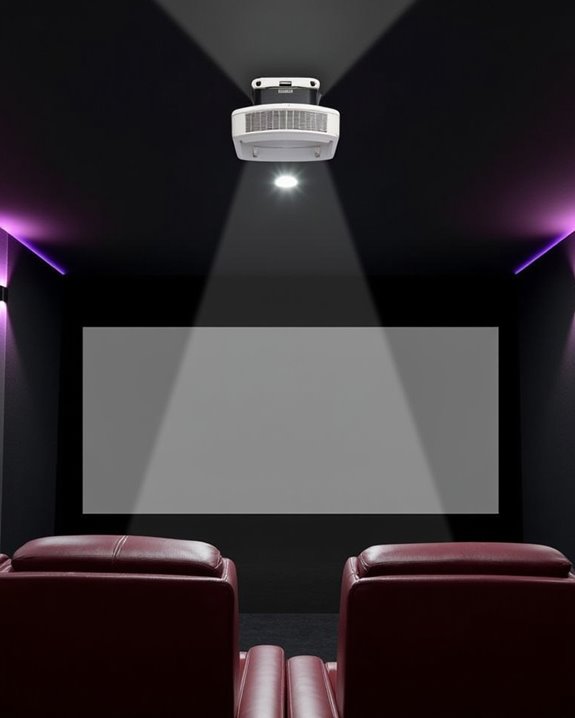
When planning projector placement in your home theater, it’s essential to evaluate both ceiling height and overall room dimensions, as these factors directly influence screen size, viewing angle, and seating arrangements. Begin by measuring your ceiling height, as this determines the mounting method and the ideal height for your projector and screen—high ceilings may require extension columns, while lower ceilings benefit from standard mounts. Confirm the bottom of your screen is at least three feet above the floor, aligning the viewer’s eye level with the lower third of the screen for comfort. Consider ceiling design, as sloped or decorative ceilings may require specialized mounting hardware. Additionally, wall color impacts perceived brightness and contrast, so opt for darker, matte finishes to enhance image quality and minimize reflections. For the best results, dark environments are essential for front projection, as they significantly improve image contrast and help achieve deeper black levels in your home theater.
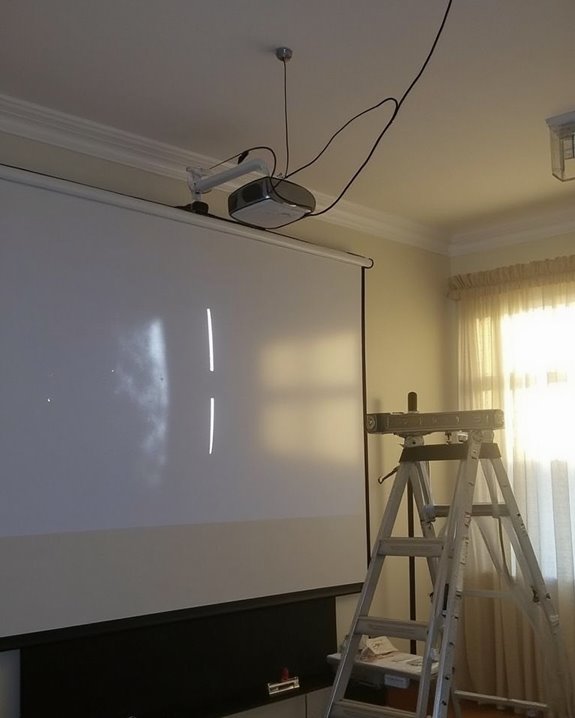
Avoiding Obstructions for Clear Projection
After evaluating your room’s dimensions and ceiling height, the next step is guaranteeing the projector’s light path remains clear of any obstructions, which is fundamental for achieving a sharp, undistorted image across the entire screen surface. Carefully position your projector so that nothing—such as furniture, fixtures, or low-hanging shelves—blocks the beam between the lens and the screen. Ceiling mounts require advance planning, with attention to projector calibration and cable management to prevent stray cords from interfering with the projection path. Use tools like a laser pointer to check for a clear, direct light path from the intended mounting location. The projector’s throw distance is a key factor in determining how far from the screen you should place the unit, as it directly influences the size and clarity of the projected image. Keep these best practices in mind:
- Prevent shadows or image distortion from unexpected obstacles
- Maintain safe, organized cable management to avoid hazards
- Ensure accurate projector calibration for top-notch image quality
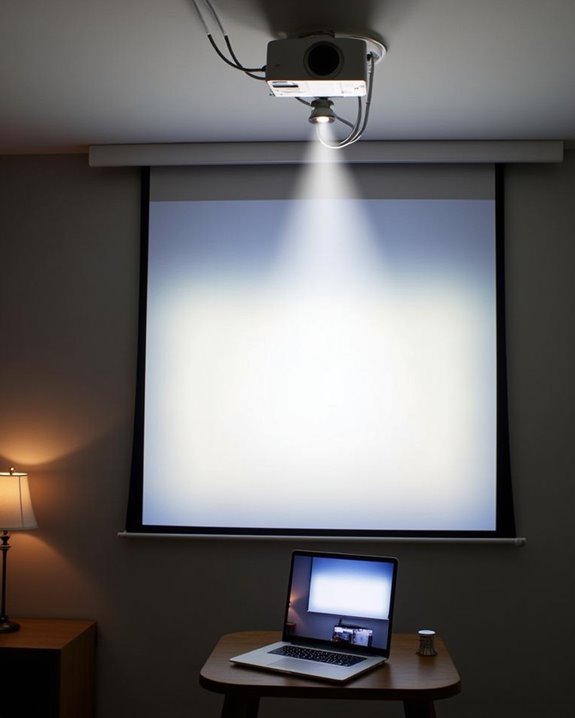
Selecting the Right Projector and Screen Technology
Although setting up your projector’s location is crucial, selecting the right projector and screen technology is just as important for achieving ideal image quality in your home theater. Begin by matching your projector’s brightness to the screen material’s gain—higher gain screens increase perceived brightness but may reduce contrast, while lower gain screens enhance black levels for high-lumen projectors in dark rooms. Screen material choices, such as matte white for balanced performance or high contrast gray for boosting LCD projector contrast, greatly impact image clarity and viewing angles. For UST projectors, lenticular or CLR screens optimize ambient light rejection. The microscopic structure and material quality of the screen can significantly influence image sharpness, detail, and overall optical performance. Proper projector calibration ensures your chosen pairing delivers accurate colors, uniform brightness, and sharp focus, so consider screen size, aspect ratio, and projector type together for optimal results.
Integrating Audio for an Immersive Experience
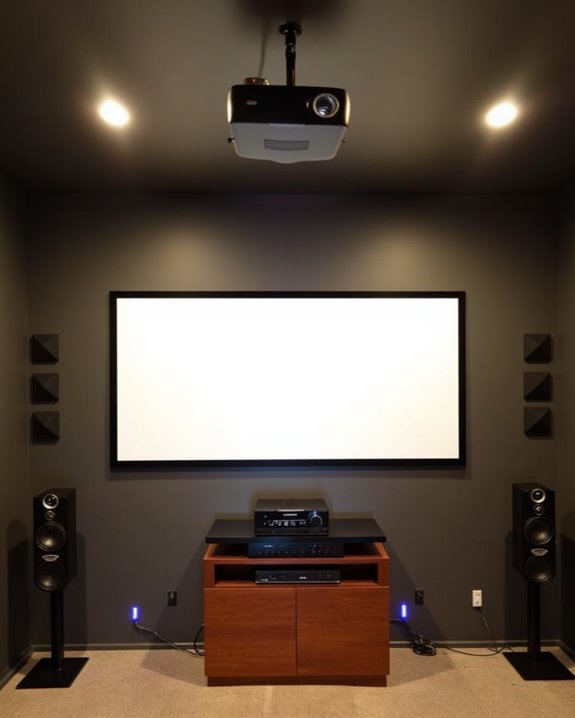
Once you’ve matched your projector and screen for the best visuals, it’s time to focus on integrating audio systems that deliver an immersive home theater experience. Proper speaker placement is essential—verify your speakers are centered side-to-side to maximize stereo imaging, while the center speaker should align with your ear level for clarity. Subwoofers benefit from corner or multiple placements to distribute bass evenly, and adequate power is necessary for impactful sound. Room acoustics play a pivotal role, so install sound-absorbing materials to minimize echoes and reflections. Speaker configuration—such as choosing between 2-way, 3-way, and multi-channel setups—significantly affects sound reproduction and should be matched to your room size and listening preferences. Sound calibration using digital equalizers and calibration tools ensures balanced audio levels and optimum surround sound quality. To truly elevate your experience, consider:
- Crystal-clear dialogue during intense scenes
- Deep, powerful bass that you can feel
- Seamless audio immersion that pulls you into the action
Arranging Seating and Lighting for Comfort
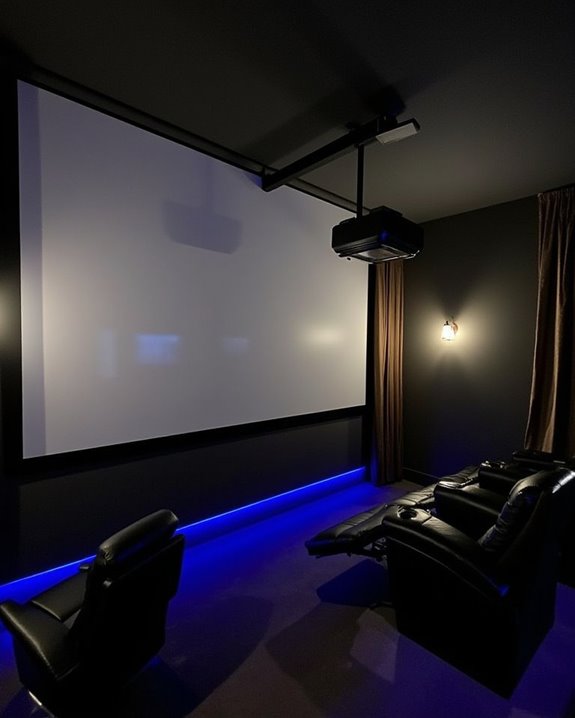
To create a comfortable and functional home theater, it’s important to carefully arrange both seating and lighting, as these elements directly influence your viewing experience and overall enjoyment. Begin by selecting seating arrangements that fit your space, allowing 30 to 40 inches per recliner, with at least 20 inches of aisle space on each side and 3 feet 6 inches between rows for full recline and legroom. Position seats so every viewer has a clear, direct view of the screen, using risers for multi-row setups. Well-designed seating layout ensures optimal comfort and visual/audio clarity for every viewer. For lighting, install dimmable fixtures and consider LED strips to create ambient zones, avoiding glare by keeping lights away from the screen. Integrate decorative accents, such as wall sconces or colored LED lighting, to enhance both comfort and the cinematic atmosphere.
Planning for Maintenance and Future Upgrades
While comfortable seating and well-planned lighting set the stage for an enjoyable home theater, you’ll also want to guarantee that your projector setup allows for easy maintenance and future upgrades. Placing your projector where you can readily access the projector filter is vital, as regular cleaning or replacement ensures peak performance and longevity. A proper ventilation setup is equally important; leave sufficient space around air vents and avoid enclosed or dusty environments to prevent overheating and dust accumulation. Additionally, choose mounts that facilitate straightforward detachment, making lamp changes, filter cleaning, or firmware updates less troublesome. When planning your layout, keep these priorities in mind:
- Easy access for regular projector filter maintenance
- Adequate ventilation setup to avoid overheating
- Mounts designed for future upgrades and hassle-free servicing
Remember, projector lamps have a limited lifespan, so positioning your projector for easy lamp access will help you efficiently manage replacements and avoid unexpected interruptions to your viewing experience.
Frequently Asked Questions
Can I Use a Projector Outdoors for Movie Nights?
Did you know over 60% of outdoor projector setups fail due to weather exposure? You can enjoy movie nights outside, but you’ll need weatherproof projector enclosures, bright projectors, and proper screens for a great experience.
Do Projectors Require Special Surge Protection?
Yes, you’ll need special surge protection for your projector. Projectors are sensitive to power surges, so it’s smart to use a surge protector, UPS, or AVR to safeguard against damage and keep performance reliable.
How Do I Hide Projector Cables for a Clean Look?
Think of cable concealment as the magician’s art—making clutter vanish. You’ll achieve aesthetic wiring by using in-wall kits, raceways, or cable covers, and labeling everything. That way, your setup looks seamless and your cables stay hidden.
Will a Projector Work With Smart Home Automation Systems?
Yes, you can connect most modern projectors to smart home automation systems. With smart home integration, you’ll get features like voice control through Alexa or Google Assistant, plus seamless operation with automation hubs or advanced control protocols.
Is It Safe to Use a Projector Around Pets or Small Children?
Think of your projector as a lighthouse—it guides but can blind if approached carelessly. For pet safety and small children, you’ll want smart projector placement, secure cables, and supervision to keep everyone’s curious paws and eyes safe.