Over 70% of large-venue professional displays now use multiple projectors working together as a single canvas. You’ll find that grouping projectors into one seamless screen isn’t just for tech experts anymore, though it does require attention to detail. With proper alignment, specialized software for edge blending, and careful color calibration, you can transform separate projections into one continuous image. The process combines both hardware precision and software finesse, creating immersive experiences that single projectors simply can’t match.
Key Takeaways
- Match projector models and specifications for consistent image quality, including resolution, brightness and color output.
- Configure edge blending with 10-30% image overlap and adjust gamma/brightness curves to eliminate visible seams between projectors.
- Use specialized software or built-in tools for geometric correction and image warping, especially for non-flat surfaces.
- Ensure proper physical alignment through precise mounting and positioning before fine-tuning with software corrections.
- Calibrate color and brightness across all projectors using measurement tools to create a uniform visual experience.
Understanding Multi-Projector Display Fundamentals
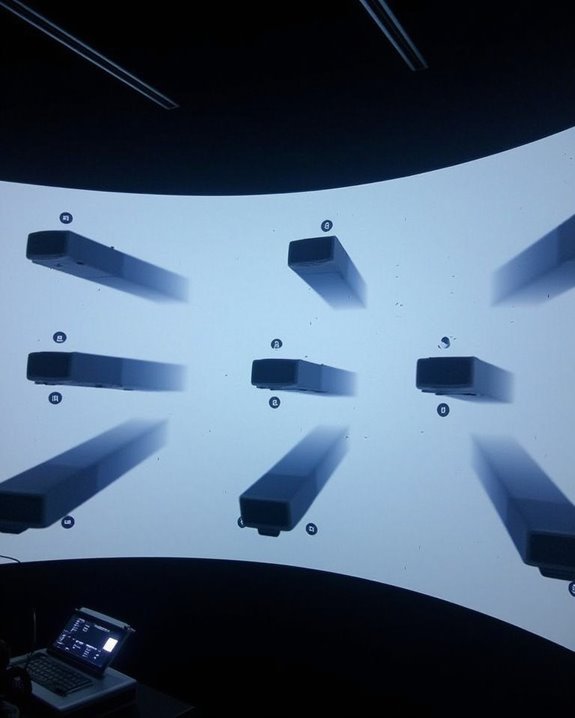
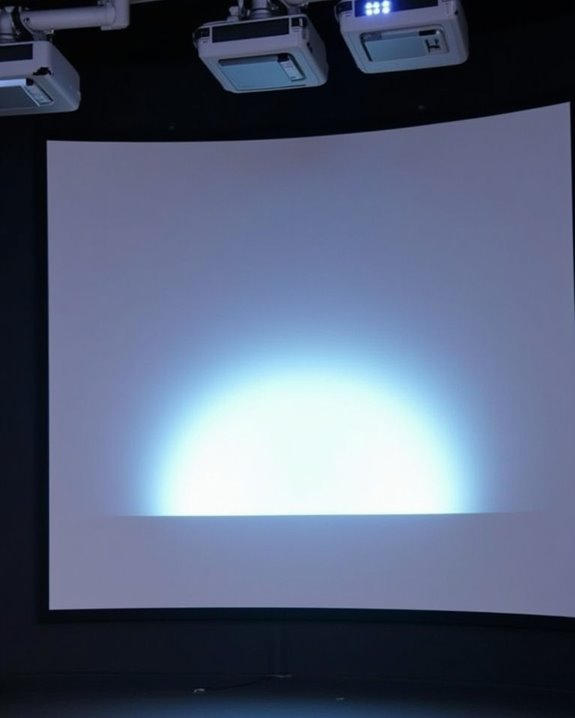
When creating a unified display across multiple projectors, you’ll need to understand several core principles that govern successful integration. Software solutions play a vital role, providing essential edge blending and warping capabilities that correct distortions caused by various projection angles and surface textures.
Your goal is to create a seamless visual experience where multiple projectors function as one cohesive display. This requires precise image warping to address geometric distortions, particularly when projecting onto non-flat surfaces. Edge blending technology eliminates the visible seams between adjacent projections, creating a continuous image. Different applications demand specific considerations, including ambient light conditions and ideal viewing distances, while technical training courses can help you master the complexities of multi-projector integration, warping techniques, and content distribution across your unified display system. Additionally, selecting projectors with sufficient brightness levels is crucial to ensure clear images in varied lighting environments.
Projector Selection and Physical Setup Requirements
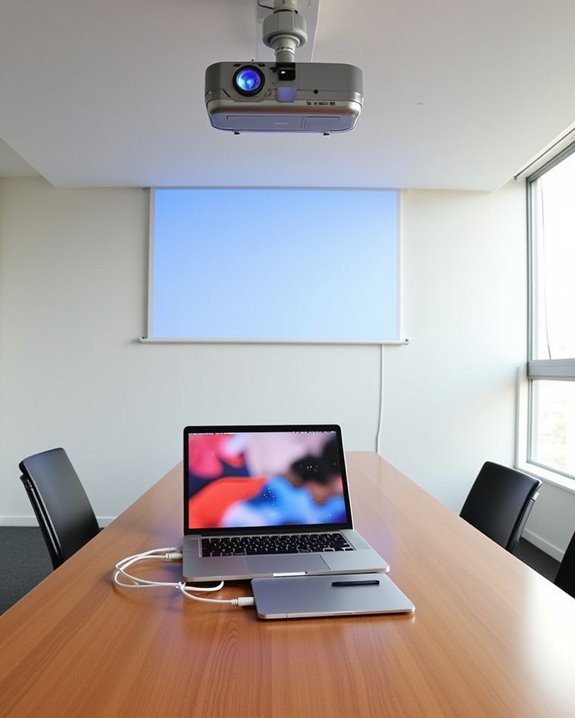
Successful multi-projector systems begin with thoughtful hardware selection and precise physical arrangement. When choosing projectors, guarantee they have matching resolutions and compatible brightness levels, while also considering projector bulb lifespan to minimize maintenance disruptions. Your computer’s graphics card must support multi-display technology like Eyefinity or Surround, with DisplayPort connections for three or more projectors.
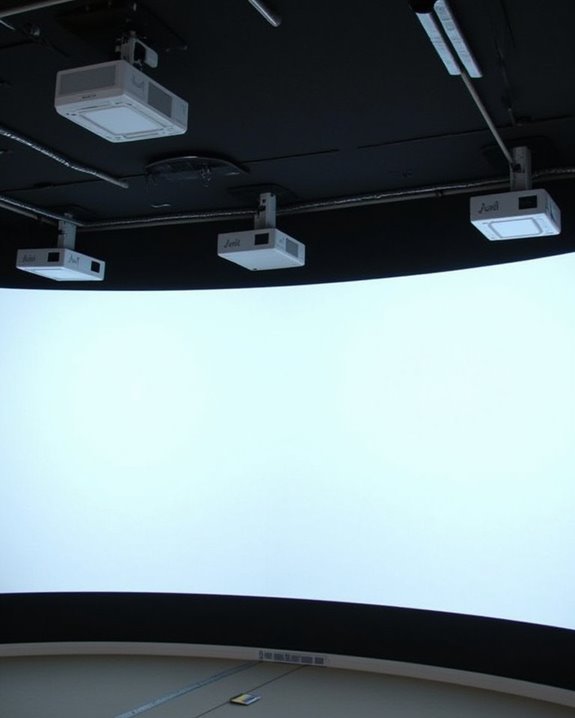
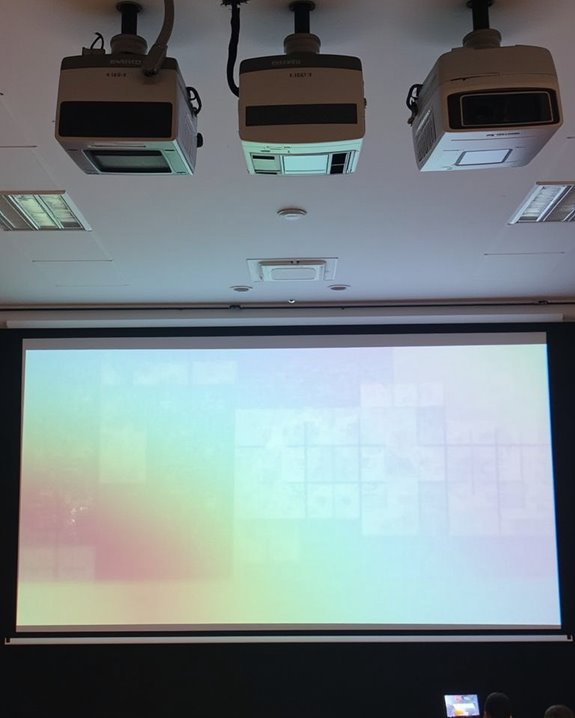
The physical setup demands meticulous attention to detail, particularly with ceiling mount adjustments that provide the precise alignment needed for seamless images. Manage cables effectively to prevent signal degradation, and ensure adequate power distribution to all devices. Consider your environment carefully—room lighting, screen material, and audience viewing angles all impact the final experience. Position each projector at optimal distances, adjusting mounts to eliminate keystone distortion and create a unified display. Selecting projectors with advanced keystone correction features can significantly simplify alignment and improve image quality in multi-projector setups.
Warping and Edge Blending Configuration Steps
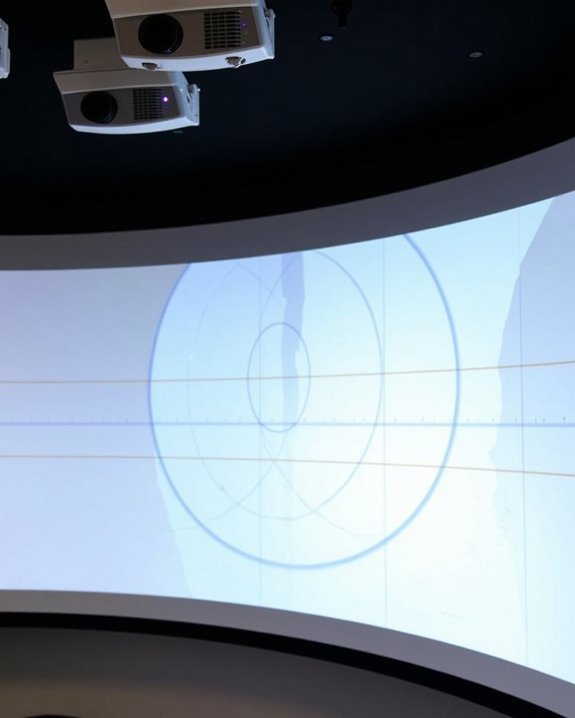
Creating a truly seamless multi-projector display requires mastering both warping and edge blending techniques, which work together to eliminate visible boundaries between projected images. Begin by using your projector’s built-in geometry correction tools or specialized software like ProPresenter or HeavyM to adjust keystone settings and correct image distortion.
For effective edge blending, you’ll need to configure overlap percentage (typically 10-30%), define blend start points, and adjust blend curves for smooth transitions between images. Proper projector positioning is critical; carefully adjust angles, orientation, and mounting to achieve ideal overlap. Pay close attention to color synchronization and brightness matching across all units.
When troubleshooting, watch for visible seams, which often indicate misalignment or color inconsistencies. Warping techniques address geometric issues, while edge blending focuses on creating uniform transitions in the overlapping areas. Utilizing projectors with auto keystone correction can significantly streamline setup and enhance alignment accuracy.
Color Calibration and Brightness Matching Techniques
Although warping and edge blending create geometric harmony in multi-projector setups, true display unification isn’t possible without proper color calibration and brightness matching. You’ll need to address color gamut variations between projectors through techniques like gamut matching or cubic B-spline approaches, which construct color transfer functions to reduce non-uniformities.
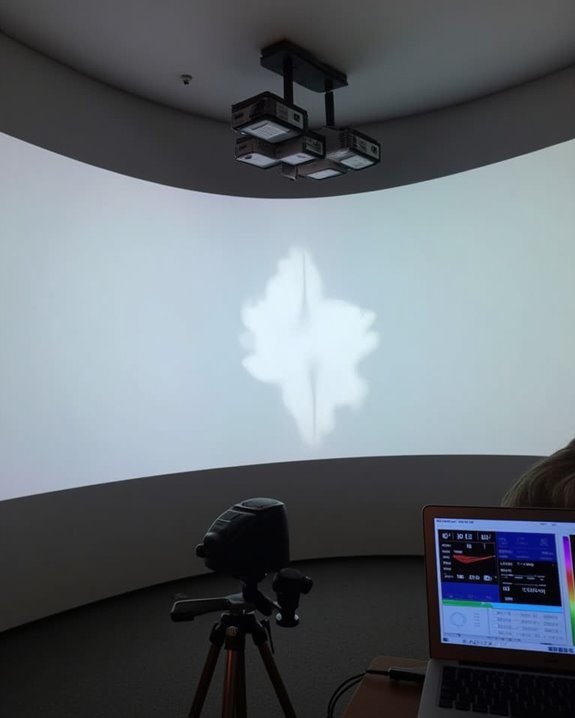
For luminance uniformity, employ camera-based reconstruction to measure maximum spatial luminance variation and black offset. Implement gradient-based optimization or linear programming to modify each projector’s brightness response, ensuring consistent illumination across the entire display. Consider using spectroradiometers to precisely measure color outputs at various spatial locations, creating a common color profile for all projectors. These photometric calibration steps, though technically complex, are essential for eliminating distracting brightness differences that would otherwise fragment your unified display.
Troubleshooting Common Seamless Display Issues
Even the most meticulously planned multi-projector systems will inevitably encounter performance issues that can disrupt your seamless display. When faced with image alignment problems, first check that your projection surface is flat and appropriate for your setup, then adjust keystone correction to compensate for any angular distortions. Network latency often causes synchronization issues between multiple units, resulting in disjointed visuals and audio synchronization problems that require bandwidth optimization or dedicated signal processors.
For flickering displays or color inconsistencies, verify all HDMI connections are secure and that environmental factors like ambient light aren’t interfering. Regular maintenance, including lens cleaning and air filter replacement, prevents many common issues. When troubleshooting fails, don’t hesitate to power cycle your entire system or perform factory resets on individual components before seeking professional assistance.
Frequently Asked Questions
What’s the Typical Cost Difference Between Hardware Versus Software Blending Solutions?
You’ll find hardware solutions involve higher upfront costs but lower ongoing expenses, while software options offer lower initial investment with more recurring fees. Installation complexity also impacts your cost comparison between these approaches.
How Do Seamless Projector Setups Handle Content With Fast Motion or Gaming?
Like a baton passing seamlessly between relay runners, you’ll need high refresh rates to combat motion blur, and low latency projectors (4.2ms in models like ViewSonic) for responsive gaming in your multi-projector setup.
Can Consumer-Grade Projectors Achieve Professional-Level Seamless Results With Proper Calibration?
You can achieve professional-grade results with consumer-grade projectors through meticulous calibration, but you’ll face limitations in color accuracy, brightness uniformity, and edge blending capabilities compared to true professional systems.
What Power and Cooling Requirements Should Facilities Plan for Multi-Projector Installations?
Don’t bite off more than you can chew. You’ll need to plan for power requirements of 366-647 watts per projector and install cooling solutions like dedicated ventilation systems to prevent overheating in your multi-projector setup.
How Do Environmental Factors Like Ambient Light Affect Long-Term Calibration Stability?
Ambient light will cause significant calibration drift over time. You’ll need to plan for regular recalibration, especially in spaces with changing light conditions or when maintaining color accuracy is vital.