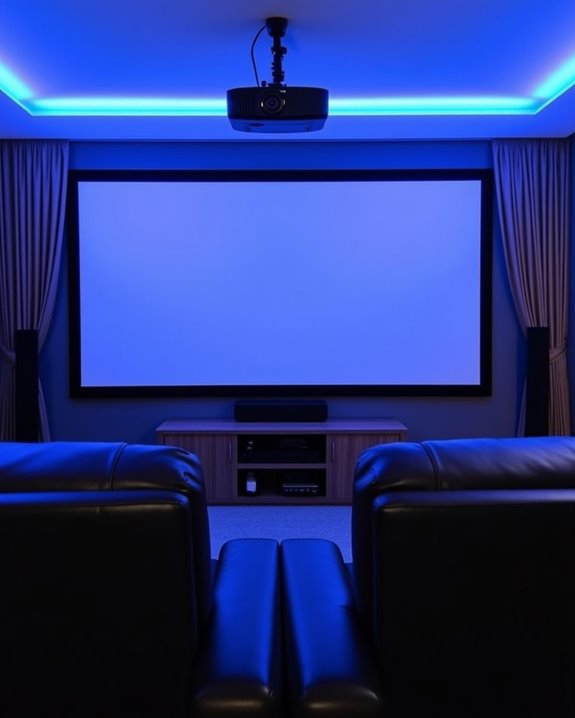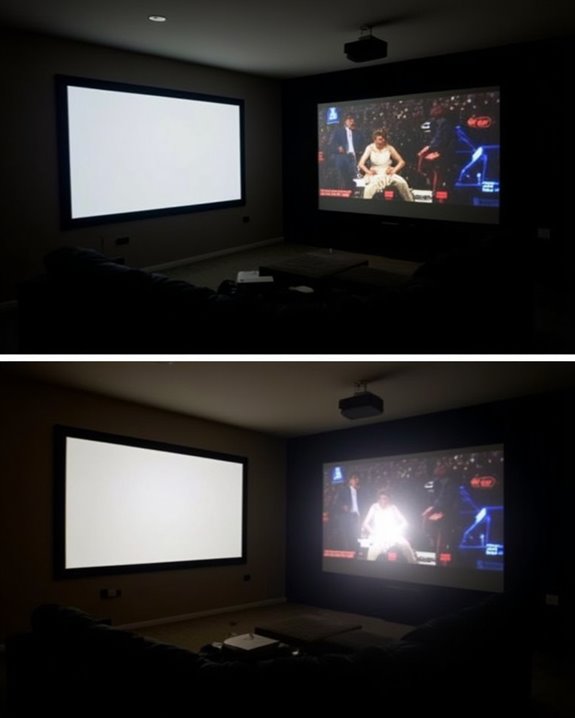
While many projector owners neglect screen maintenance until visible stains appear, regular cleaning is essential for preserving image quality and extending your screen’s lifespan. You’ll notice a significant difference in brightness, color accuracy, and contrast when you properly maintain your projection surface, especially with high-definition content. Dust particles, fingerprints, and household residues gradually accumulate on your screen’s delicate surface, creating a hazy film that diminishes your viewing experience. The right cleaning technique depends on your specific screen material, and using incorrect methods could permanently damage its special coatings.
Key Takeaways
- Always start with compressed air to remove loose dust before any wet cleaning methods.
- Use a solution of 95% warm water and 5% mild dish soap for stubborn stains on most screens.
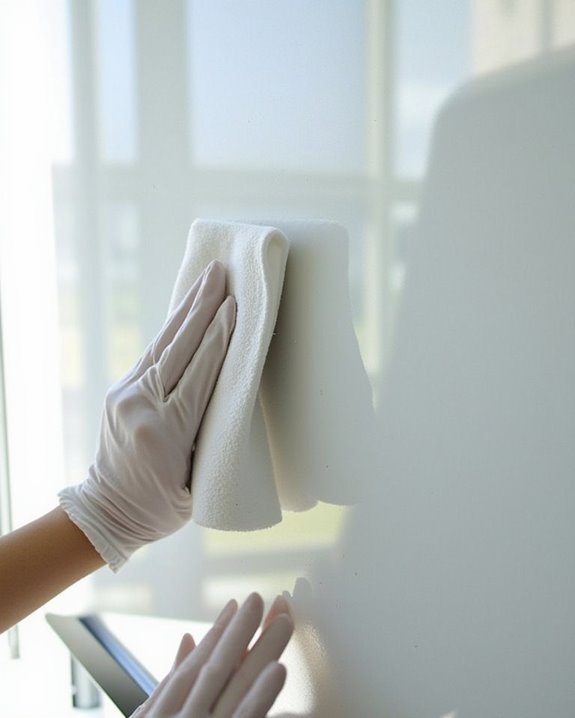
- Clean with a slightly damp microfiber cloth using left-to-right motions, avoiding circular wiping patterns.
- Consult manufacturer guidelines for your specific screen type before applying any cleaning solutions.
- Test cleaning solutions on an inconspicuous screen area first to avoid damaging specialty coatings.
Understanding Different Types of Projector Screens
Before you attempt to clean your projector screen, it’s essential that you understand the type of screen you’re working with, as different materials require specific cleaning approaches. Projector screens generally fall into several categories based on screen material and installation environment, including front projection, rear projection, fixed frame, electric roll-up, and free-standing options.
Hard screens, typically found in fixed installations, require different cleaning methods than soft screens used in retractable models. Additionally, specialized surfaces like ALR (Ambient Light Resistant) screens feature optical coatings that demand gentler treatment to preserve their light-reflecting properties. Your installation environment also impacts cleaning considerations—dedicated theater rooms with fixed frames present different challenges compared to multi-purpose spaces with roll-up screens that collect dust differently when retracted. Identifying your specific screen type is the vital first step in proper maintenance. For optimal image quality, it is also important to consider the brightness and room lighting conditions where the projector and screen are used.
Essential Cleaning Supplies and Tools
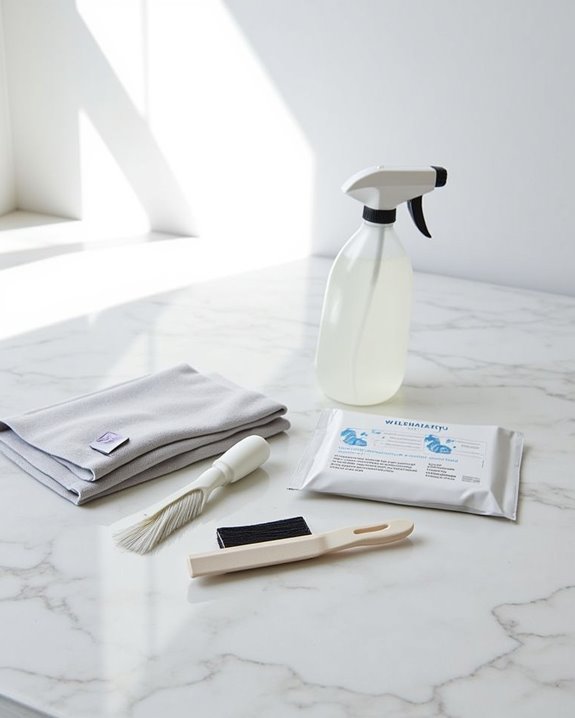
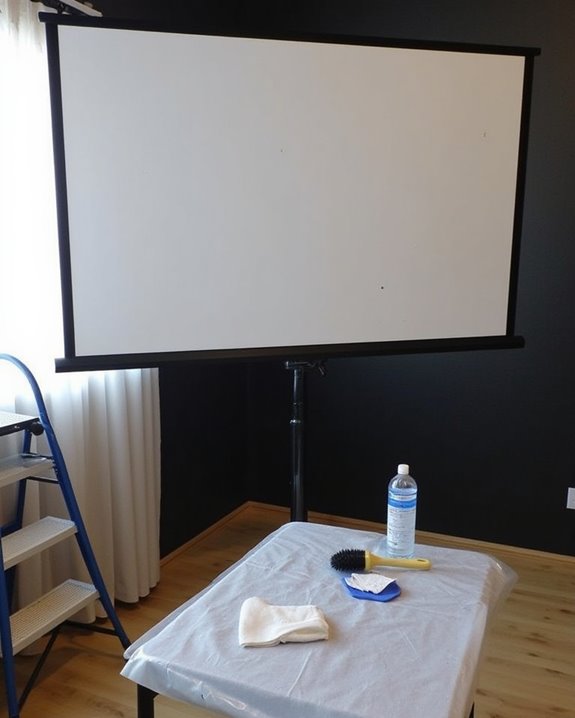
Ensuring you’ve assembled the right supplies before starting any screen cleaning project will dramatically improve your results and protect your valuable projection surface from damage. Your cleaning arsenal should include microfiber cloths for lint-free wiping, compressed air for removing loose dust, and a mild dish soap solution (95% warm water, 5% soap) for stubborn prints.
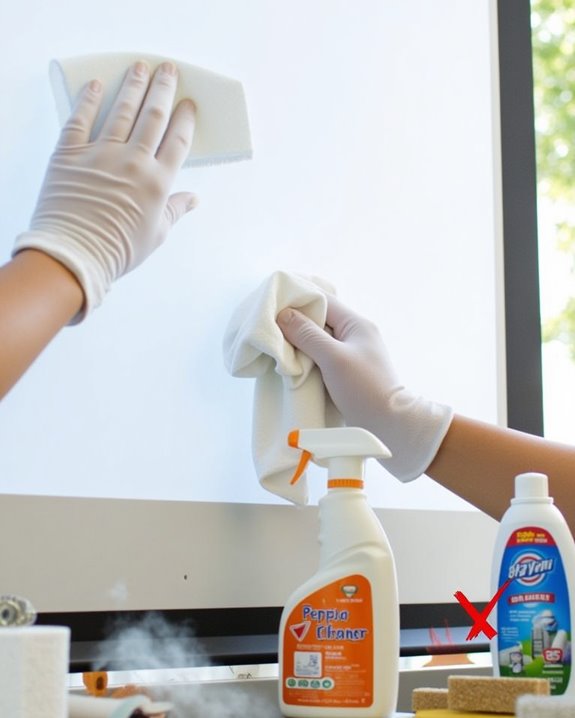
For specialized screens, consider investing in screen-specific tools like VividStorm’s cleaning kits for UST ALR screens or TheatreCare professional-grade products. When selecting cleaning chemicals, avoid harsh solutions that can damage reflective coatings, opting instead for distilled water or manufacturer-recommended fluids. Don’t forget protective gear like gloves to prevent transferring oils from your hands to the screen. Regular maintenance with these appropriate tools will extend your screen’s life and maintain most favorable image quality. Additionally, maintaining high contrast ratios on your projector screen can significantly enhance image clarity and viewing experience.
Pre-Cleaning Preparation and Safety Measures
Once you’ve gathered the appropriate cleaning supplies, properly preparing your workspace and adopting safety measures will considerably reduce the risk of damaging your projector screen. Before beginning, consult your manufacturer guidelines to verify compatible cleaning chemicals for your specific screen material, as vinyl, fabric, and coated screens each require different approaches.
Don protective gear such as lint-free gloves to prevent transferring oils from your fingers to the screen surface. Position your screen securely on a stable surface, away from direct airflow that might disturb dust particles. Assess your screen’s current condition, noting any stains or damaged areas that may need special attention. Turn off and unplug any connected equipment, then allow sufficient time for the screen to cool completely if it’s been recently used. For the best results, consider using cleaning products that are recommended for screens with HDR10 support to preserve image quality and color accuracy.
Step-by-Step General Cleaning Process
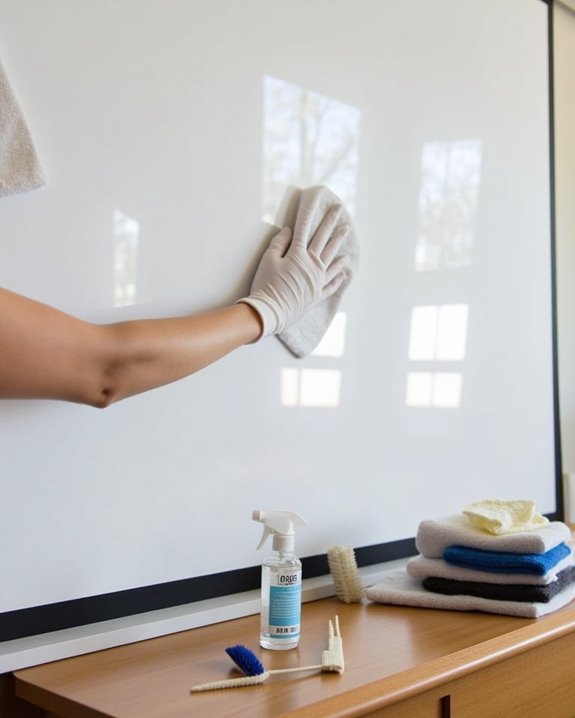
The proper cleaning of your projector screen begins with a systematic approach that’ll preserve its quality while removing accumulated dust and stains. First, hold a can of compressed air about an inch away from the screen’s surface to remove loose dust particles without making contact. Next, prepare a solution of 95% warm water and 5% mild dish soap for deeper cleaning needs.
When wiping the screen, always use a soft, lint-free microfiber cloth, moving in a left-to-right motion to prevent streaking—never use circular strokes. For larger screens, divide them into manageable sections for thorough cleaning. Your cleaning frequency should depend on usage and environmental conditions, but regular dusting between deep cleanings will extend your screen’s lifespan. Finally, gently pat the surface dry with a soft towel to prevent water spots.
Tackling Stubborn Stains and Marks
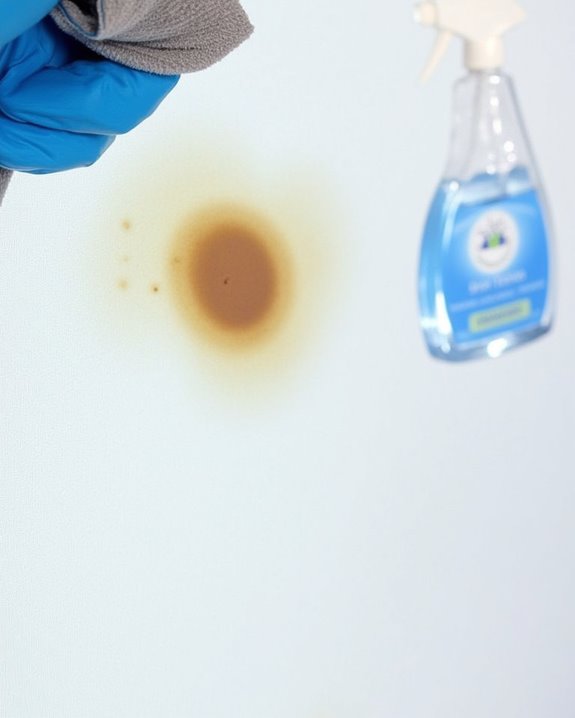
When stubborn stains and marks appear on your projector screen, you’ll need specialized techniques beyond regular cleaning methods, as different materials require specific approaches to avoid damage. First, identify your screen material—vinyl and woven fabric screens respond differently to cleaning solutions and techniques.
For persistent spots, apply a small amount of mild detergent mixed with warm water using a Q-tip or soft cloth, gently dabbing rather than rubbing in circular motions. For more stubborn marks, isopropyl alcohol applied with a Q-tip works effectively on small areas. Always test cleaning solutions on an inconspicuous area first, and avoid using abrasive materials like magic erasers that can permanently damage your screen’s surface. After spot cleaning, remove any remaining moisture with a dry microfiber cloth to prevent water spots or streaking.
Special Considerations for High-Gain and Specialty Screens

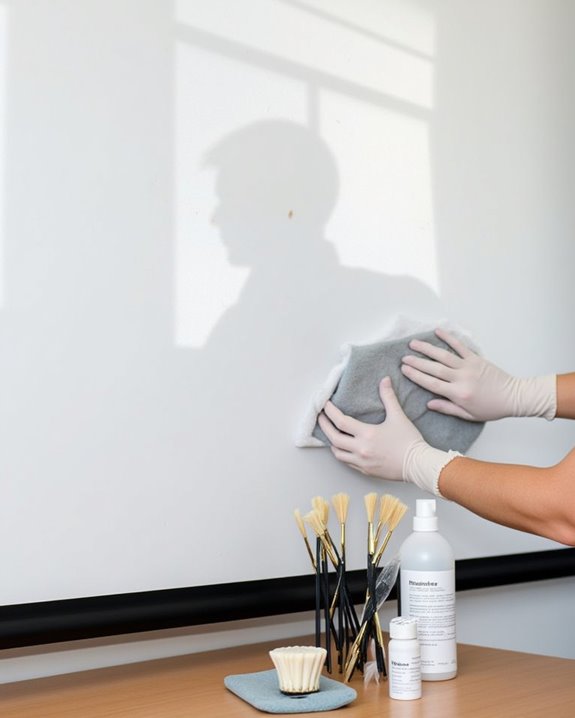
High-gain and specialty projector screens require distinctive cleaning approaches, as their specialized surfaces can easily lose their unique optical properties if treated improperly. For high-gain screens, use a soft brush to gently sweep away dust without applying pressure that might damage the reflective screen surface. Always opt for dry cleaning methods, avoiding water and harsh chemicals that can permanently impair the screen’s performance.
Coated specialty screens demand similar caution—use only a fine soft brush or microfiber cloth for dust removal, never introducing moisture. When handling any specialty screen, wear gloves to prevent skin oils from transferring to the delicate surface. Unlike standard screens, specialty varieties shouldn’t be cleaned with soaps or detergents, even mild ones. Remember to occasionally clean the backside of your screen as well to prevent dust accumulation.
Maintenance Tips to Extend Screen Life
Regular maintenance of your projector screen doesn’t just improve image quality; it considerably extends the lifespan of your investment. Keep retractable screens rolled up when not in use to prevent dust accumulation, and perform scheduled checks for signs of wear or damage. For *ideal* performance, maintain proper screen calibration and implement light optimization in your viewing environment.
Establish a consistent cleaning schedule based on your usage frequency, controlling humidity and reducing environmental pollutants around your screen area. When not in use, consider utilizing protective covers, especially for fixed screens that can’t be retracted. Store your cleaning supplies in a clean, dry place to prevent contamination when you next need them. Regular maintenance isn’t just about cleanliness—it’s about preserving both image quality and screen integrity for years to come.
Common Cleaning Mistakes to Avoid
Despite your best intentions, you’re likely making several common mistakes that could be damaging your projector screen each time you clean it. Using harsh cleaning chemicals containing ammonia or bleach can permanently damage your screen’s reflective surface, reducing image quality and shortening its lifespan.
Many owners mistakenly use abrasive tools like scrub brushes or rough cloths, creating microscopic scratches that accumulate over time. Instead of circular motions, which can create swirl marks, always wipe left-to-right. Don’t overlook the importance of dryness level—a cloth that’s too wet leads to water spots and potential material damage. Finally, remember that cleaning too frequently or using fingernails to remove stubborn spots causes unnecessary wear. Always consult your manufacturer’s instructions for recommended cleaning intervals and approved solutions to maintain ideal performance.
Frequently Asked Questions
Can I Use Regular Glass Cleaner on My Projector Screen?
No, you shouldn’t use glass cleaner on your projector screen. It contains harsh chemicals that can cause screen damage, strip special coatings, and leave streaks. Instead, use a microfiber cloth or specialized screen cleaner.
How Often Should I Clean My Projector Screen?
You should clean your projector screen every 1-3 months as part of your maintenance routine. Cleaning frequency depends on your environment—dustier spaces require monthly attention, while cleaner areas can go longer between cleanings.
Is It Safe to Clean a Screen While It’s Still Warm?
It’s not recommended to clean your screen while it’s still warm. For temperature safety, wait until it’s cooled completely. Proper cleaning timing prevents potential damage to sensitive screen materials.
Can I Use Microfiber Cloths Meant for Eyeglasses?
You can indeed use eyeglass microfiber cloths for your screen. They’re perfectly safe due to their softness and lint-free properties. Microfiber safety is assured as they’re designed for delicate surfaces.
Will Cleaning Affect My Screen’s Acoustic Properties?
Yes, improper cleaning can affect your screen’s acoustic properties. Use only manufacturer-recommended methods to protect your screen material. Gentle cleaning with microfiber cloths and avoiding harsh chemicals will help maintain ideal sound quality.