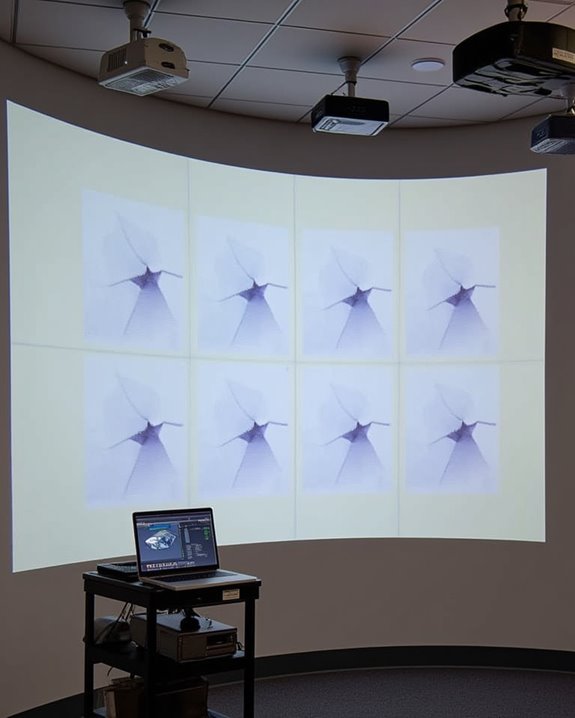
When you’re tackling the challenge of blending nine projectors into one cohesive image, you’ll need to master several technical elements working in concert. Your success depends on precise physical alignment, calibrated brightness levels across all units, and specialized software to manage the overlapping zones. The seemingly impossible task of creating a giant, seamless display becomes achievable once you understand the fundamental principles of edge blending and geometric correction. The process may seem intimidating at first, but with the right approach, the spectacular results will justify your efforts.
Key Takeaways
- Match all 9 projectors for identical resolution, brightness, and color temperature to ensure visual consistency.
- Configure overlap zones of approximately 10% between adjacent projectors and apply feathering techniques for smooth transitions.
- Utilize specialized edge-blending software with camera-based calibration to achieve sub-pixel accurate alignment across all projectors.
- Implement precise geometric correction to compensate for surface irregularities and projector positioning variations.
- Perform regular color and brightness calibration to maintain uniformity across the entire display as lamps age at different rates.
Understanding the Fundamentals of Multi-Projector Edge Blending
When you’re working with multiple projectors to create a single unified display, understanding edge blending becomes essential to achieving professional results. Edge blending involves creating overlapping zones between adjacent projectors, typically 10% of the image width, where brightness gradually transitions from one projector to another.
Without proper edge blending, these overlap regions appear noticeably brighter than the rest of the image, creating distracting seams. The process requires meticulous alignment of projectors, precise geometric adjustments, and careful color calibration across all nine projectors in your array. You’ll need to implement feathering techniques that create gradual opacity gradients in these overlap zones, ensuring viewers perceive a continuous, seamless image rather than individual projected sections with obvious transition points. Using specialized Ambient Light Rejection (ALR) screens can further enhance image quality by reducing ambient light interference in blended multi-projector setups.
Selecting Compatible Projectors and Hardware for Your Setup
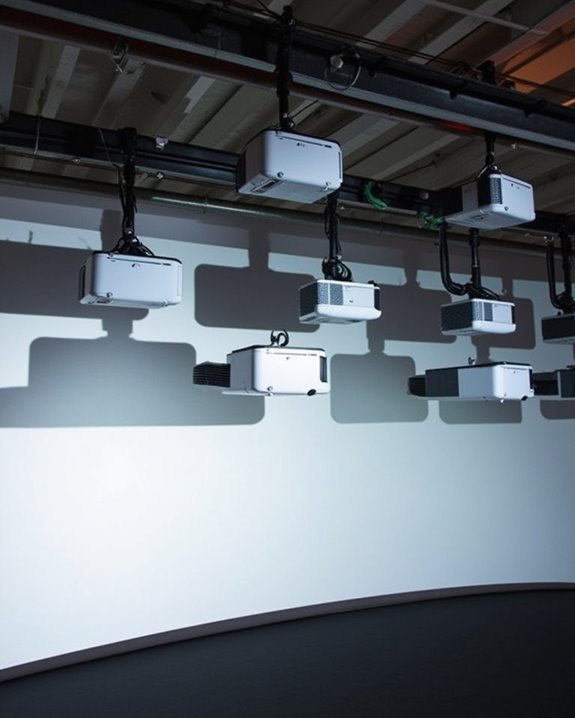
Now that you understand the fundamentals of edge blending, your next challenge involves selecting hardware that’ll work together seamlessly. Choose projectors with matching native resolutions and brightness levels to guarantee uniform image quality across your display wall.
For a 9-projector setup, select graphics cards supporting 6-8 outputs, such as Matrox M-Series cards, which offer native edge blending capabilities without additional hardware. Verify Power Supply Compatibility by verifying your computer can handle the power requirements of high-performance GPUs. Connect all components using consistent cable types, preferably HDMI or DisplayPort, to maintain signal integrity throughout the system. Regular Projector Maintenance will be essential for consistent performance, as dust or lamp degradation can create noticeable discrepancies in your blended image. Use a single computer running Windows 10/11 or recent macOS to simplify synchronization and reduce potential latency issues. Additionally, ensuring your projectors have auto keystone correction capabilities can greatly simplify setup and improve the seamlessness of the blended image.
Calculating Optimal Placement and Overlap Regions
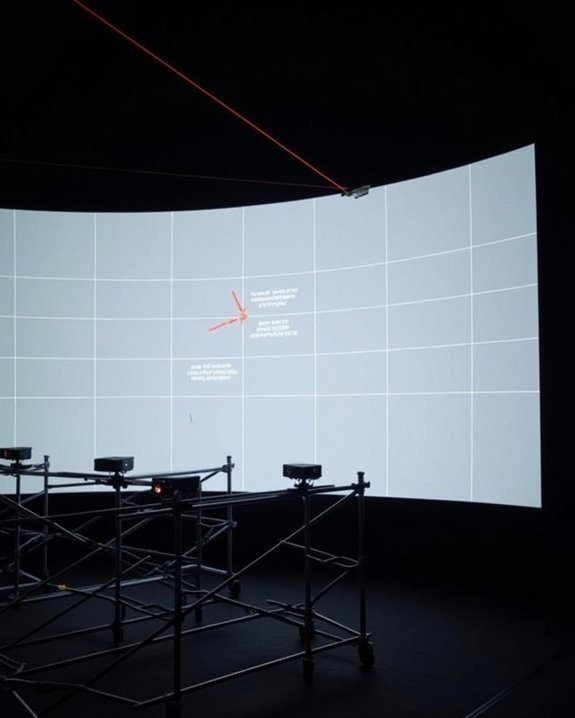
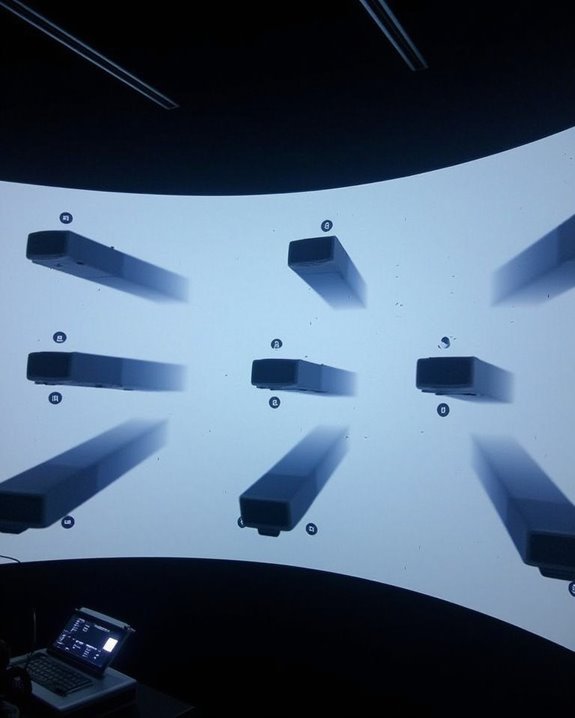
Determining the perfect placement and overlap regions stands as the most critical aspect of your multi-projector setup, since even minor misalignments can ruin the entire viewing experience. To achieve seamless blending, you’ll need to implement camera-based geometric registration techniques that can deliver sub-pixel accuracy, even when working with all nine projectors simultaneously.
Start with edge detection algorithms to identify the boundaries between projector images, then apply overlap optimization methods to create soft edge blending zones. Your software should calculate precise projector-to-camera pixel mapping, which allows for automatic calibration of both flat and curved surfaces. For ideal results, the overlap regions require careful attention to both size and shape, along with intensity normalization to ensure uniform brightness across the entire display surface. Utilizing projectors with ultra-short throw design can help maximize space efficiency and improve alignment precision in multi-projector configurations.
Setting Up the Software Framework for 9-Projector Integration
After establishing your projectors’ physical configuration, you’ll need to implement a robust software framework that orchestrates all nine projectors into a cohesive display system. Open-source solutions like Splash offer cost-effective options with flexible software licensing terms, supporting multi-output setups across Windows, Linux, or ARM-based systems.
Your chosen software should feature an intuitive user interface that simplifies the complex process of non-linear mapping and image registration. Implement tessellated grids and two-pass rendering algorithms to properly warp and blend overlapping regions. For automatic calibration, consider Scalable Display Technologies or Christie Digital solutions, which can register projected features in the camera image plane. When selecting your framework, ensure cross-platform compatibility and plan for future multi-computer synchronization capabilities, particularly if you’ll eventually expand beyond nine projectors.
Calibrating Brightness, Color, and Geometry Across All Units
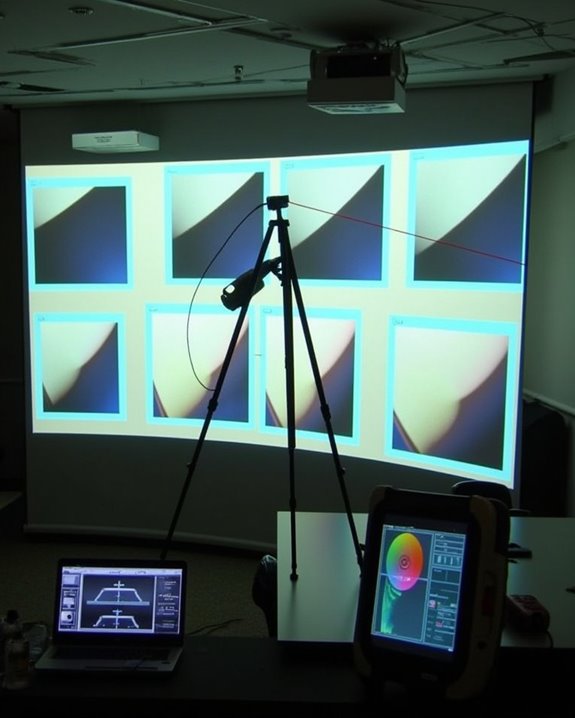
Once your physical setup and software framework are in place, the most critical phase of multi-projector integration begins: calibrating brightness, color, and geometry across all nine units. Achieving color consistency requires creating and applying custom profiles to each projector, ensuring they all operate within the same color space despite variations in individual unit quality.
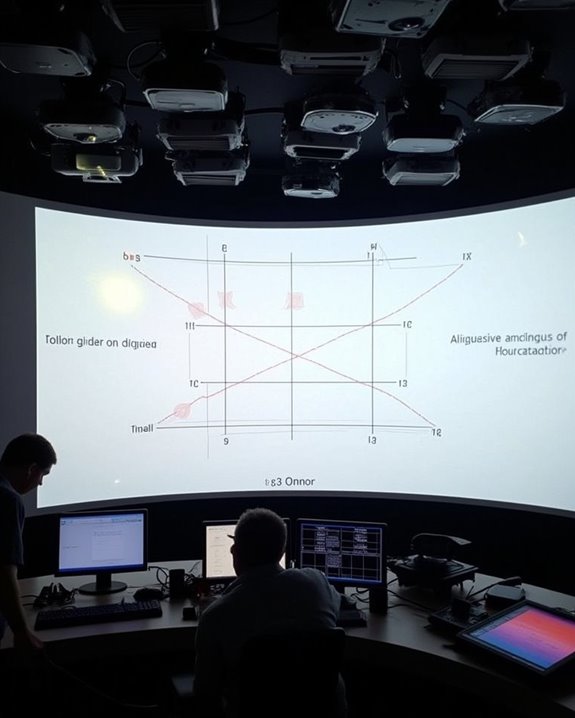
Brightness calibration involves photometric adjustments that equalize light intensity across your array, with automatic systems detecting and correcting disparities based on ambient lighting conditions. For geometric alignment, camera-based calibration constructs homography trees that register each projector to a global frame, ensuring perfect edge blending. Vision-based systems with real-time feedback capabilities can maintain these calibrations over time, automatically adjusting for any environmental changes that might affect your seamless display.
Troubleshooting Common Issues in Large Multi-Projector Arrays
When working with large multi-projector arrays, you’ll inevitably encounter technical challenges that can disrupt your seamless display. Image alignment issues often stem from improper projector mounting, requiring systematic adjustment of each unit’s position and angle to eliminate visible seams. Connection errors can manifest as signal loss or interference, particularly with complex cable arrangements spanning long distances.
You’ll need to check for shadow and occlusion problems, especially when projectors are mounted at varying heights. Remote control issues frequently arise in larger setups, so consider using network-based control systems instead of infrared remotes. Monitor output quality continuously, watching for hot spots or brightness inconsistencies that indicate lamp degradation. When clipping or overlap problems occur, recalibrate your edge blending settings to ensure content transitions smoothly between projectors.
Frequently Asked Questions
How Does Ambient Lighting Affect Edge Blending Quality?
Ambient light reduces your image contrast, making blend seams more noticeable. You’ll see less defined edges and washed-out colors. Control your environment’s lighting when possible for ideal edge blending quality.
What’s the Typical Power Consumption for a Nine-Projector Setup?
Did you know high-end projector setups can use as much power as 50 LED bulbs? Your nine-projector setup typically consumes 2,475 watts total. You’ll want to contemplate energy efficiency measures to reduce this substantial power consumption.
Can Edge Blending Work Effectively With Mixed Projector Brands?
Yes, you can blend different brands, but you’ll face brand compatibility issues. You’ll need specialized software and patience for calibration challenges. Success depends on matching brightness, color profiles, and resolution across projectors.
How Often Should Recalibration Be Performed in Permanent Installations?
Like tending a garden, you’ll need a calibration schedule every 3-6 months for your installation. You should also recalibrate after lamp changes, physical disturbances, or seasonal temperature shifts to maintain ideal performance.
What Cooling Solutions Are Needed for Multi-Projector Enclosed Spaces?
You’ll need active thermal management with ducted systems for enclosed multi-projector spaces. Optimize airflow using foam dividers and filtered intakes. Regular cleaning and sufficient ventilation space prevent overheating while maintaining consistent performance in your installation.