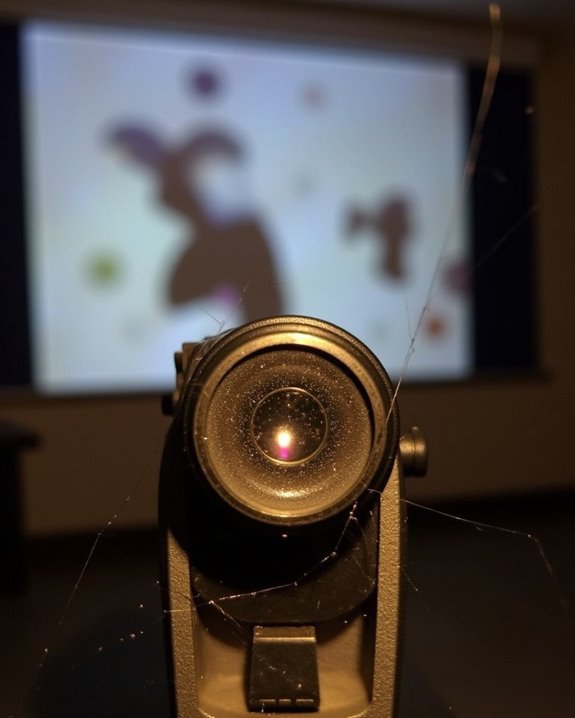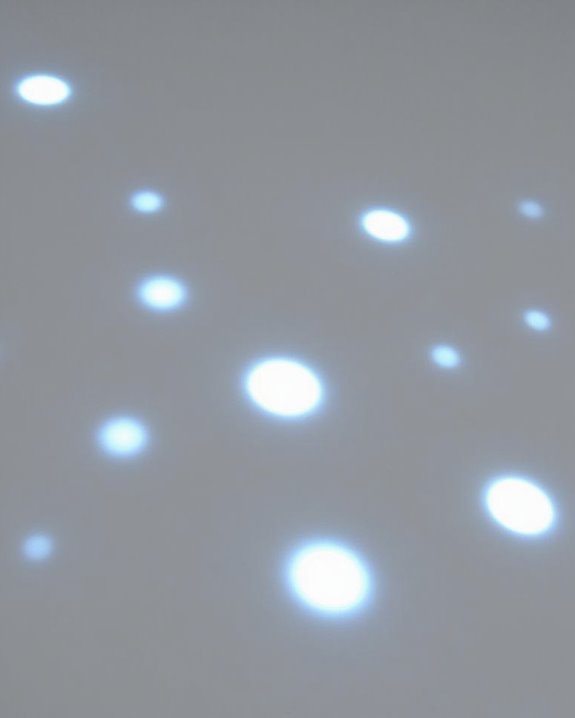
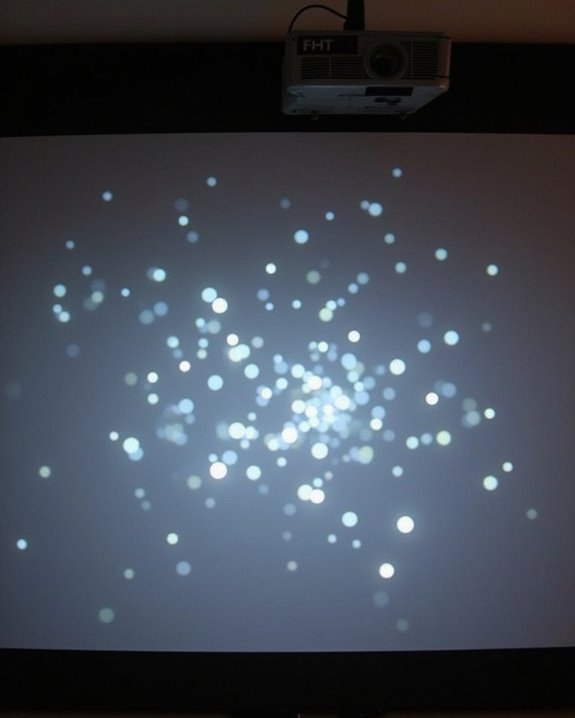
If you’ve noticed white dots appearing on your projector screen, you’re experiencing a common issue that affects many projector owners. These persistent specks, sometimes called the “starfield effect,” typically stem from internal problems in your projector rather than issues with the screen itself. The dots might indicate DMD chip failure, dust accumulation inside the optical path, or damaged microscopic mirrors that control light reflection. Understanding the specific cause of these white spots will determine whether a simple cleaning can resolve the problem or if you’ll need more extensive repairs.
Key Takeaways
- DMD chip failures in DLP projectors cause micromirrors to stick in the “on” position, creating persistent white dots known as the “starfield effect.”
- Dust particles settling on optical components like lenses and DMD surfaces scatter light, resulting in visible white spots.
- Overheating can damage the DMD chip permanently, especially when ventilation is poor or dust blocks cooling vents.
- Moisture infiltration causes capillary condensation, making mirrors stick in the “on” position and creating white spots.
- White dots from dust can usually be removed through cleaning, while persistent spots after cleaning likely indicate permanent pixel damage.
Why Are There White Dots on My Projector Screen?
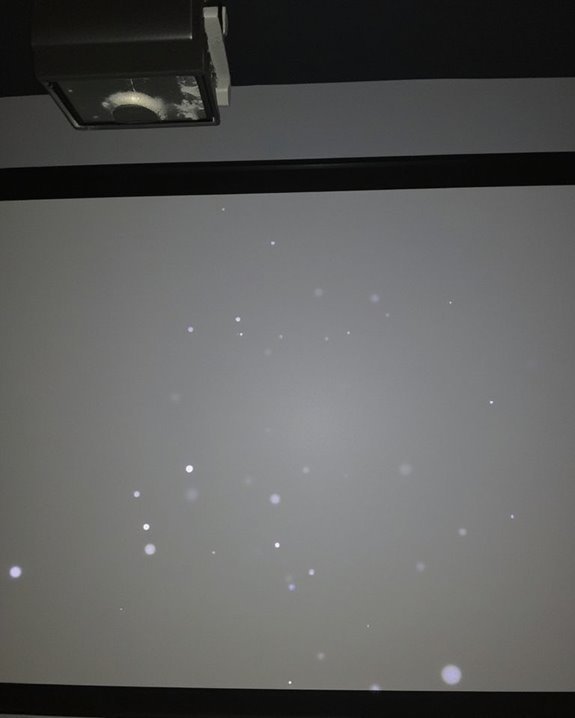
If you’ve noticed small white spots appearing on your projected image, you’re experiencing a common issue that affects many projector owners, particularly those with DLP technology. These white dots, sometimes called the “starfield effect,” typically result from either DMD chip failure or dust accumulation inside your projector, regardless of your screen resolution settings or color calibration adjustments.
When a projector’s DMD chip overheats, individual micromirrors can fail permanently, creating fixed white spots on dark backgrounds. Alternatively, dust particles may enter through air vents, especially in projectors with inadequate filtering systems, causing similar white dots. The problem often worsens with age and usage, particularly if you haven’t maintained your projector properly. Regular cleaning and proper ventilation are vital for preventing these distracting imperfections from compromising your viewing experience. Additionally, choosing projectors with effective auto-focus and keystone correction features can aid in maintaining optimal image clarity and reduce the visibility of such defects.
The Science Behind DMD Chip Failure
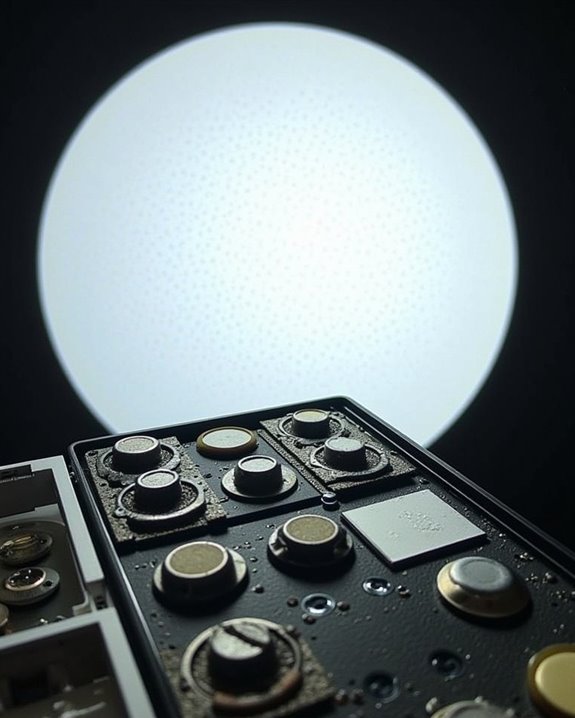
To understand why those pesky white dots appear on your projection, we need to examine the technical heart of the problem – the Digital Micromirror Device (DMD) chip. These sophisticated components contain thousands of microscopic mirrors that rapidly switch between “on” and “off” positions to create your image. When a DMD failure occurs, individual mirrors become permanently stuck, resulting in white dots on your screen.
Moisture effects represent one of the primary culprits behind DMD failure. When humidity infiltrates the sealed chip package, it creates capillary condensation between mirror components. This moisture generates powerful adhesive forces through surface tension, causing mirrors to stick permanently in the “on” position. Early DMD designs were particularly susceptible to this issue, though manufacturers have markedly improved reliability through enhanced sealing techniques and contamination control processes. Many modern projectors also incorporate advanced cooling systems to help maintain stable operating conditions and reduce the risk of such failures.
How Dust Accumulation Creates Visible Spots
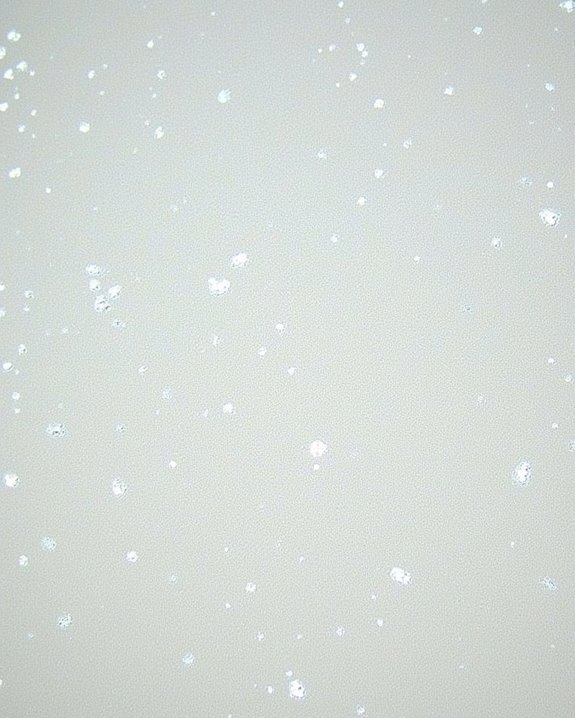
While DMD chip failures account for many white spot issues, dust accumulation represents another common culprit behind those distracting dots on your projection screen. When dust particles enter through gaps or settle on optical components, they create visible blemishes by scattering light in unexpected directions. This scattered light appears as white spots, particularly noticeable during dark scenes where contrast is critical.
The projector’s lens coating, designed to reduce glare and improve image quality, can actually highlight dust problems when particles accumulate on its surface. Dust doesn’t just affect the lens; it can settle on LCD panels, the DMD chip surface, and inside the optical engine. As light passes through these contaminated components, each dust particle creates a distinct illuminated spot on your screen, compromising image clarity and color accuracy while potentially causing overheating issues if air vents become blocked. Regular cleaning and maintenance of optical components can help prevent these issues and maintain optimal projector performance.
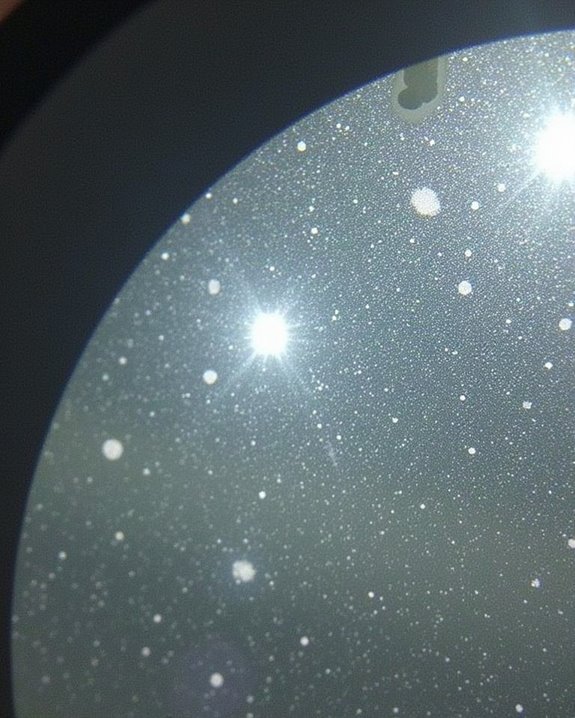
Distinguishing Between Dead Pixels and Dust Particles
When you’re troubleshooting those frustrating white spots on your projector screen, determining whether you’re dealing with dead pixels or dust particles becomes crucial for finding the right solution. Dead pixels are permanent defects that remain consistent regardless of screen resolution adjustments or color calibration attempts. Unlike dust, these malfunctioning pixels stay fixed in position and won’t respond to cleaning efforts.
Dust particles, conversely, can often be removed through proper maintenance. To differentiate between the two, try gently cleaning your projector’s lens and internal components according to manufacturer specifications. If the spots persist after thorough cleaning, they’re likely dead pixels, which typically appear as unchanging black, white, or colored dots unaffected by content changes. This distinction helps you decide whether simple maintenance will suffice or if component replacement might be necessary.
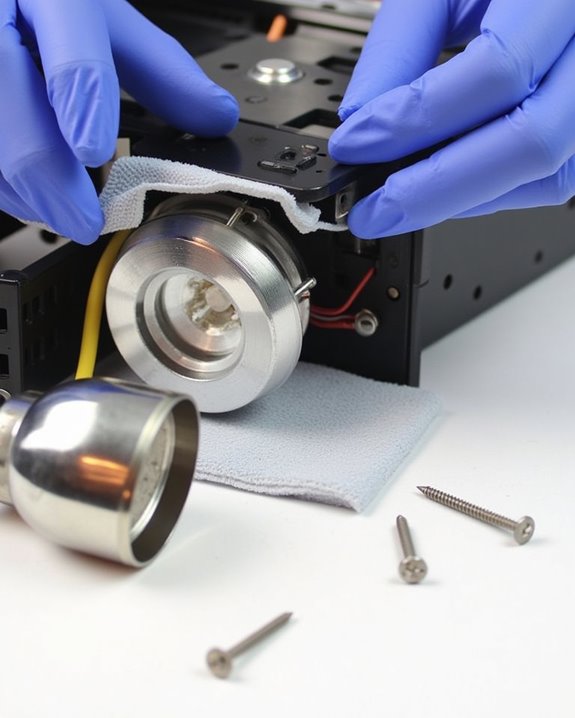
Proper Cleaning Techniques for Projector Lenses
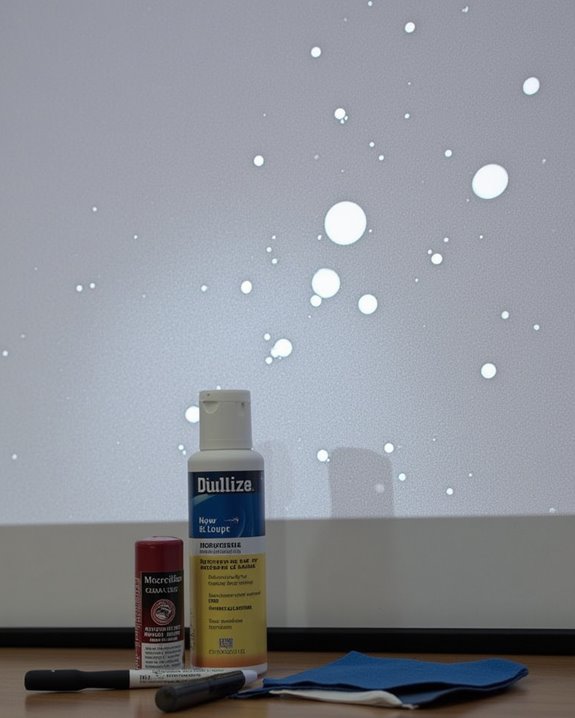
Keeping your projector lens pristine isn’t just about aesthetics; it’s essential for maintaining image clarity and eliminating those distracting white dots that can plague your viewing experience. Before beginning any lens cleaning, power off your projector, unplug it, and allow at least 20 minutes for cooling.
Start dust removal by using a lens blower to gently dislodge loose particles, followed by a soft brush in circular motions to clear remaining debris from edges and corners. For deeper cleaning, dampen a lint-free microfiber cloth with a non-abrasive lens solution—never spray directly onto the lens. Wipe in gentle circular motions from center outward, avoiding excessive pressure that might damage the lens coating. After cleaning, carefully inspect the lens for any remaining smudges or residue.
Heat Management: Protecting Your Projector’s Components
Effective heat management serves as the foundation for your projector’s longevity, performance, and image quality, directly influencing whether those pesky white dots appear on your screen. When components overheat, they can malfunction and create visual artifacts that disrupt your viewing experience.
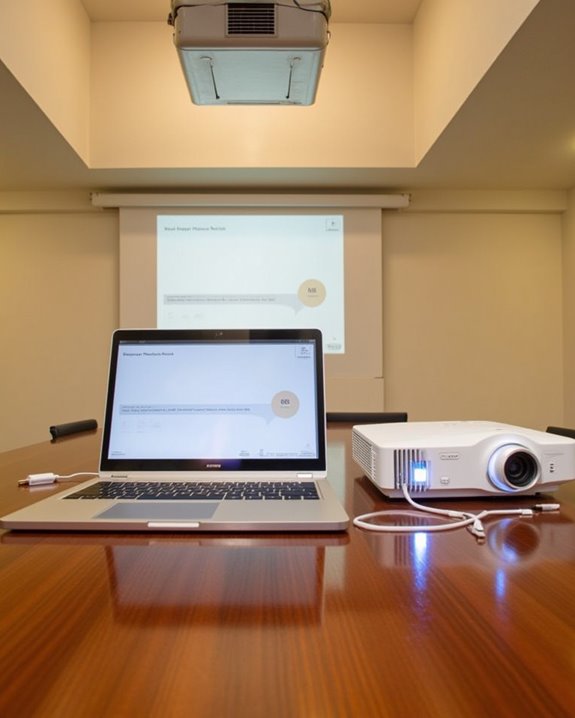
Strategic placement of your projector is essential, allowing proper ventilation while accounting for ambient lighting conditions that might increase temperature. Install your device in a well-ventilated area with at least 6-12 inches of clearance on all sides. Regular maintenance, including dust removal from cooling vents and fans, prevents airflow obstruction that leads to overheating. Advanced cooling systems, such as liquid cooling or thermoelectric options, offer superior protection for high-end projectors requiring precise color calibration and peak performance in challenging environments.
When to Replace vs. When to Clean Your Projector
The distinction between when to clean your projector and when to replace components becomes critically important as you maintain your equipment over time, building directly on proper heat management practices. Begin with non-invasive cleaning methods, using compressed air to clear dust from the lens and vents, which can affect both color calibration and image clarity. Regular maintenance prevents dust accumulation that might compromise your projector’s performance, especially in spaces with varied ambient lighting conditions.
However, when you notice numerous persistent white dots after cleaning, this typically indicates DMD chip failure due to overheating or damaged micromirrors. At this point, replacement becomes necessary despite the cost. Consult a professional to evaluate whether the expense of chip replacement justifies the investment compared to purchasing a new projector entirely.
Common Misconceptions About White Dots on Screens

While many projector owners immediately blame hardware failures for white dots appearing on their screens, several common misconceptions often lead to unnecessary repairs or replacements. Many users incorrectly assume that cleaning the external lens will resolve all white dot issues, when the problem frequently lies with the internal DMD chip or clogged vents. Similarly, screen reflections are often mistaken for permanent white dots, when adjusting your projector’s positioning might eliminate these artifacts entirely.
You might believe that color calibration issues create white specks, but this rarely causes distinct dots. Another prevalent myth is that all white dots require professional repair or complete replacement, when many cases can be resolved through proper maintenance procedures. Don’t assume warranties automatically cover these issues, as dust accumulation is typically considered normal wear rather than a manufacturing defect.
Preventative Maintenance to Extend Projector Life

Regular maintenance of your projector isn’t just about fixing issues after they arise, but rather establishing proactive habits that prevent white dots and other problems from developing in the first place. The longevity of your equipment depends considerably on how you care for it daily.
Ensure proper ventilation around your projector to prevent overheating, which can damage internal components and affect screen coating integrity. Clean filters monthly, as dust accumulation restricts airflow and forces your projector to work harder. For dust prevention, keep retractable screens rolled up when not in use and use compressed air to remove particles before they become embedded. Adjust brightness settings according to your room’s lighting conditions to reduce lamp strain. Remember to power down your projector completely after use, giving it proper cooling time before storage or transport.
Professional Repair Options for Persistent White Dots
When persistent white dots plague your projector screen despite your best maintenance efforts, professional repair services offer specialized solutions that may be necessary for complete resolution. DMD repair is the most common fix for DLP projectors, with specialized companies like FixMyGPU providing expert chip replacement services. Though costs typically range around $400 for models like Dell projectors, these services guarantee proper handling of the delicate mirror and legs of the DMD assembly.
Before investing in repairs, check your warranty coverage, as manufacturers often provide free or reduced-cost repairs for faulty DMD chips. The technical complexity of disassembling the projector and replacing the chip makes professional service worth considering, especially when comparing the potential risks of DIY repair with the expertise and efficiency of specialized technicians.
Frequently Asked Questions
Can Humidity in My Room Cause White Dots to Appear?
Humidity effects can contribute to white dots, but it’s not the primary cause. Moisture buildup inside your projector typically causes haze rather than distinct dots. DLP chip failure is a more likely culprit.
Do Different Projector Brands Have Varying Rates of White Dot Issues?
Yes, different projector brands do have varying rates of white dot issues. When making a brand comparison, consider that higher-end manufacturers like Leica typically have better tech specifications and quality control than budget brands.
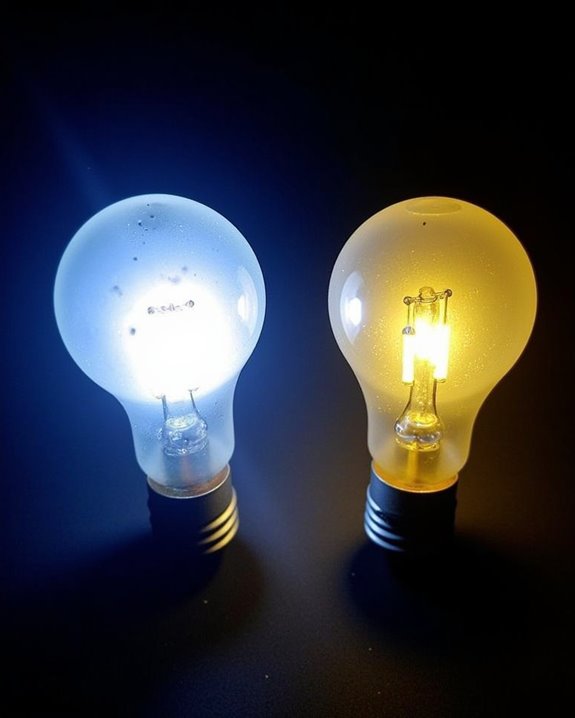
Will Using Eco-Mode Reduce the Likelihood of White Dots Appearing?
Yes, eco-mode can reduce white dot occurrence by lowering operating temperatures. You’ll extend projector longevity since less heat means less strain on the DMD chip, though regular maintenance is still necessary for ideal performance.
Are There Special Screen Coatings That Minimize White Dot Visibility?
Yes, you’ll find specialized screen coatings that can minimize dot visibility. ALR, anti-reflective, matte finish, and micro-textured coatings all help diffuse light and reduce the appearance of white spots on your projection surface.
Can Power Surges Contribute to DMD Chip Damage and White Dots?
Yes, electrical fluctuations can damage your DMD chip, potentially causing white dots. Power surges create static interference that stresses delicate components. Always use a surge protector to safeguard your projector from these harmful events.