Whether you’re presenting to a boardroom, teaching a class, or watching movies at home, you’ll need to understand the basics of projector operation. You’ve likely seen a projector in action before, but setting one up yourself might seem intimidating at first. Don’t worry—projectors are designed with user-friendly interfaces that make operation straightforward once you know the fundamentals. The steps from connection to projection follow a logical sequence, and mastering these steps will transform you from novice to confident operator in no time.
Key Takeaways
- Connect your device to the projector using HDMI, then select the correct input source from the menu.
- Position the projector on a stable surface facing a white wall or screen, away from direct light.
- Power on the projector, allow it to warm up, then adjust focus and zoom until the image is clear.
- Ensure proper ventilation with at least 6 inches of clearance around all sides to prevent overheating.
- Use keystone correction to square the image if the projector isn’t perfectly aligned with the screen.
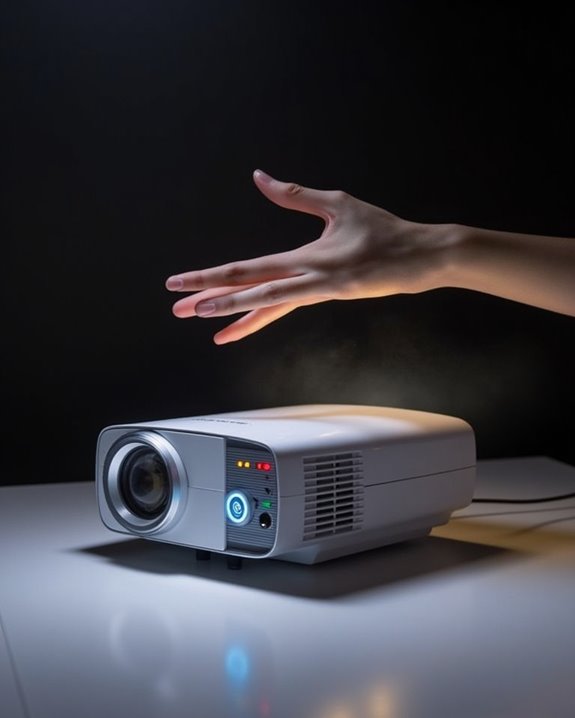
Understanding Basic Projector Components and Controls
Before you can effectively operate a projector, you’ll need to familiarize yourself with its basic components and controls. Most projectors feature a lens that focuses light onto your screen, indicator lamps that display operational status, and a control panel with buttons for power, menu navigation, and lens adjustments. Remote controls offer convenient access to these same functions from across the room, allowing you to adjust settings without standing near the device.
The external connections, typically located on the back or side panel, include HDMI and DisplayPort for digital devices, power connectors, and sometimes audio outputs for external speakers. Proper installation on projector mounts ensures ideal image placement and prevents overheating by keeping ventilation areas clear. Many modern projectors also include auto-focus and keystone correction features that simplify setup and help achieve a perfectly aligned image quickly. Understanding these fundamental elements will help you confidently set up and operate your projector in any environment.
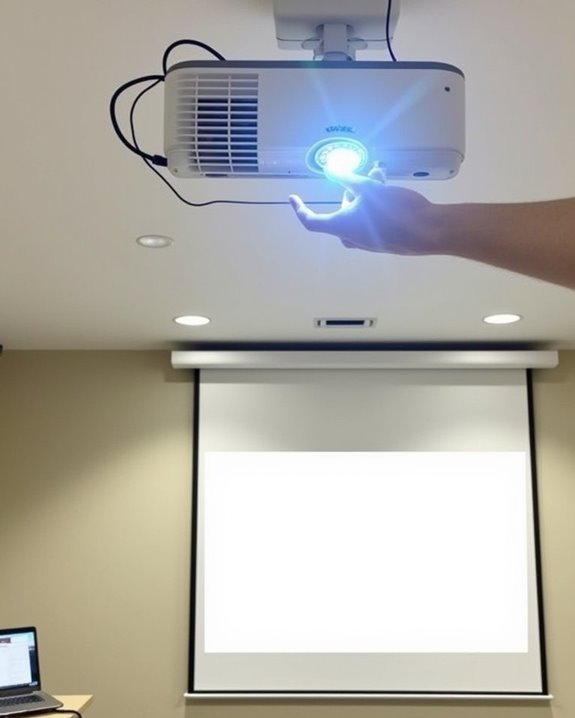
Setting Up Your Projector in the Perfect Location
Now that you’re familiar with your projector’s components, finding the perfect location for setup will profoundly impact your viewing experience. Choose a spot with minimal ambient light to enhance image clarity, and ensure your projection surface is uniform and free of distractions like light switches.
For projector mounting, consider ceiling installations for permanent setups or stable tables for temporary use. Either way, position the lens parallel to your screen, as angled projections cause distortion that even keystone correction can’t perfectly fix. The distance between your projector and screen should accommodate your desired image size based on the throw ratio.
Screen material matters considerably—high-quality screens reflect light more effectively than walls, improving brightness and clarity. Position your screen away from windows and light sources to prevent unwanted glare. Additionally, using a screen in a controlled lighting environment can significantly improve the visibility of full-color projection and laser effects.
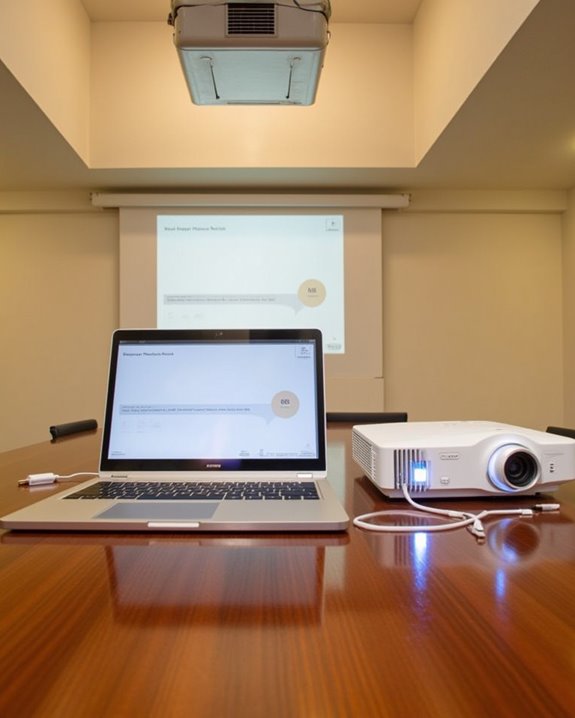
Connecting Input Sources to Your Projector
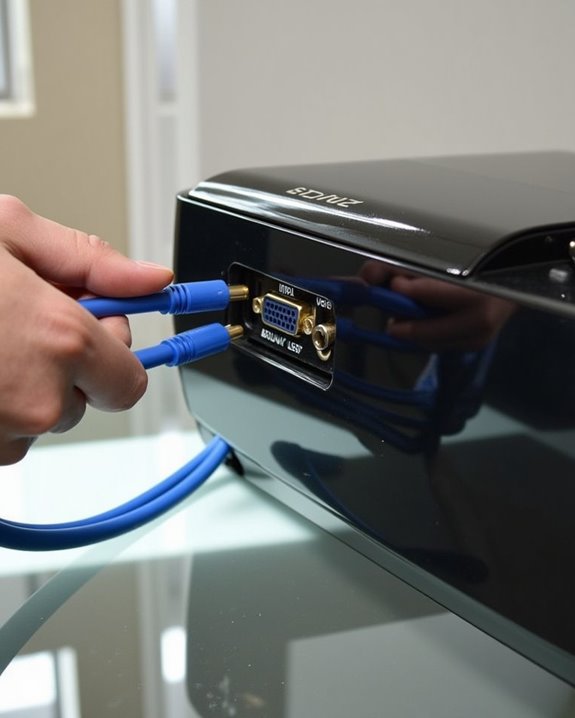
Connecting your projector to input sources might seem intimidating at first, but understanding the various connection types will simplify the process considerably. Modern projectors feature multiple input ports to accommodate various devices, including HDMI, VGA, DisplayPort, DVI, and USB connections.
HDMI cables provide the simplest solution for most computers and media players, delivering high-definition audio and video through a single cable. For older devices with VGA or DVI outputs, connection adapters can bridge compatibility gaps, allowing nearly any device to work with your projector. USB connections offer convenient Plug ‘n Play functionality, eliminating the need for bulky video cables while enabling direct presentation from USB drives without a computer. When connecting your device, remember to select the corresponding input source from your projector’s menu system for proper signal detection. Using cables with gold-plated connectors and braided shielding helps maintain high image clarity and signal reliability for the best projection experience.
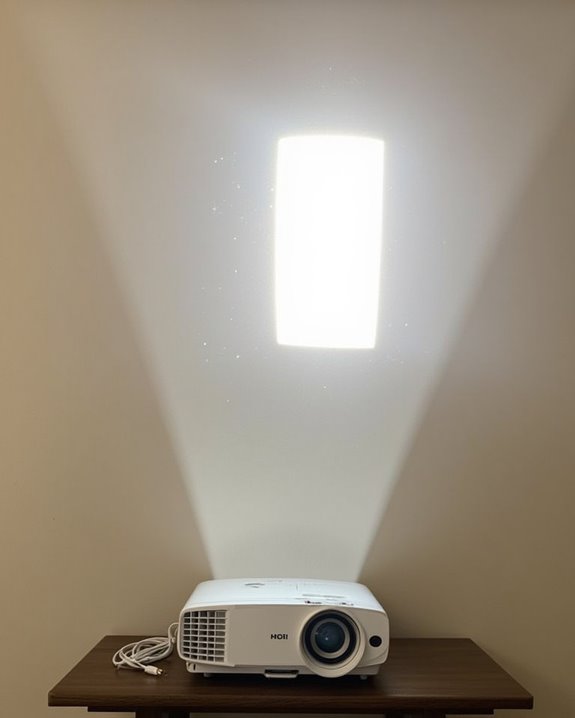
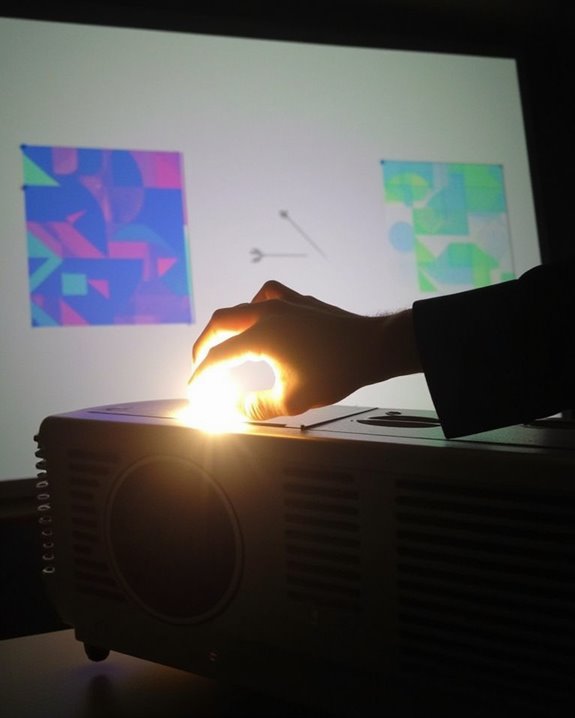
Powering On and Starting Your First Projection
Once you’ve successfully connected your input sources, it’s time to power on the projector and begin your first presentation. First, verify your projector is on a stable surface with the lens cover removed, then connect the power cord to an electrical outlet. Press the power button on the projector or utilize the remote features to activate it. The power standby indicator will appear orange initially, then flash green during warmup.
While waiting, turn on your connected device and prepare your presentation materials. If you’ve enabled Direct Power On, the projector will start immediately when plugged in. Use the Source Search button to detect your input signal, then adjust resolution and volume settings as needed. If no image appears, confirm that all connections are secure and that your device is outputting a compatible signal.
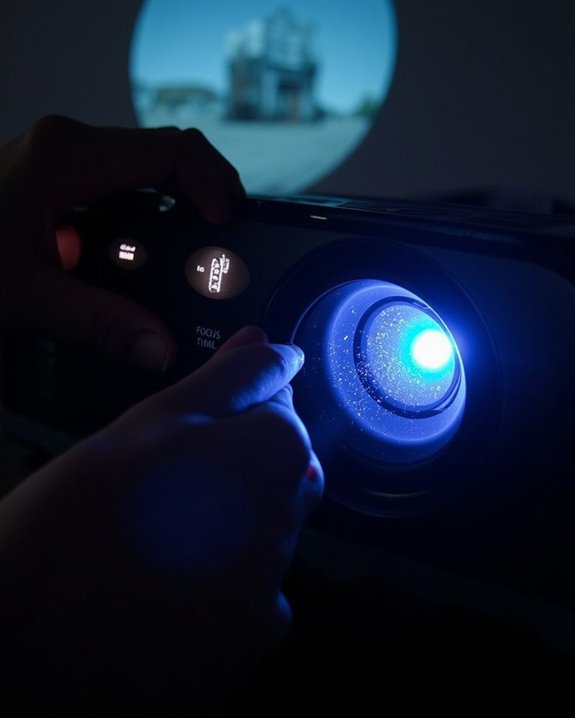
Adjusting Focus, Zoom, and Image Size
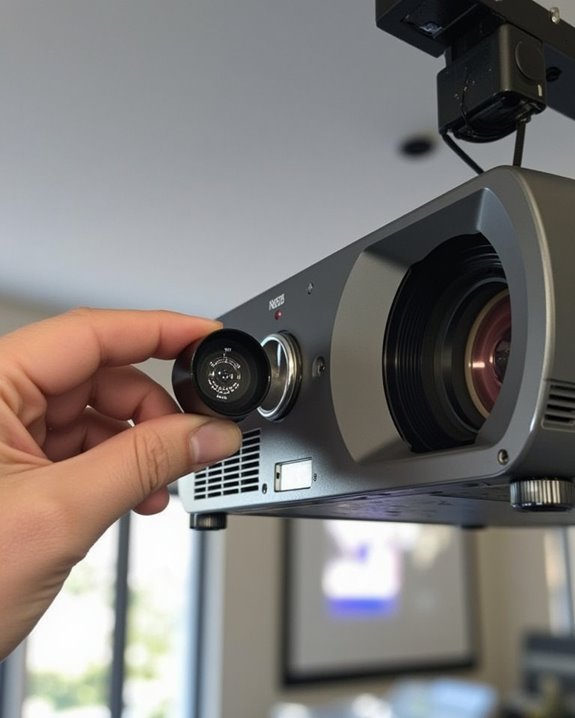
After you’ve established your connection and powered on the projector, achieving the perfect image requires careful adjustment of focus, zoom, and size settings. Allow your projector to warm up for at least 20 minutes before beginning lens calibration to guarantee stable performance. Locate the focus control, typically a dial or digital option, and adjust it slowly until text appears crisp and details become sharp.
For ideal focus techniques, utilize built-in test patterns with lines or crosshairs to verify sharpness across the entire image. If one side remains blurry while the other is clear, check that your projector is perfectly square to the screen. When adjusting zoom to resize your image, remember to refocus afterward, as zoom changes affect clarity. Calculate the proper projection distance using your projector’s throw ratio specifications to maintain image quality.
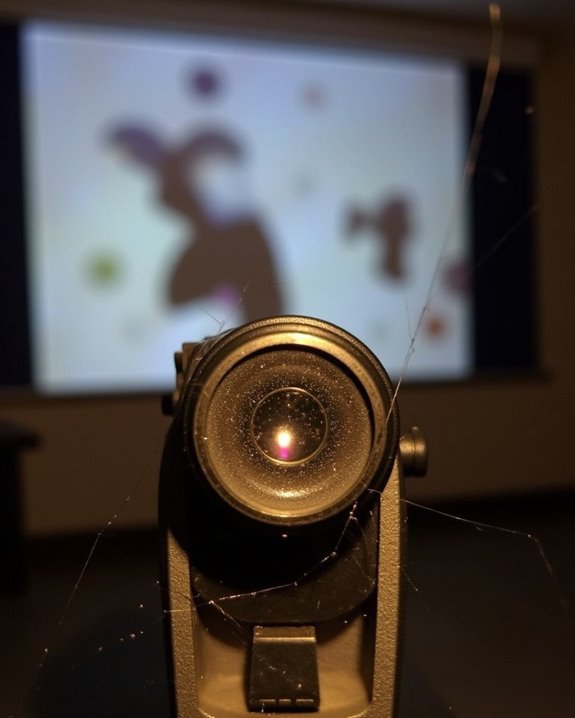
Correcting Image Distortion and Alignment Issues
Even with the perfect connection and brightness settings, a distorted image can ruin your presentation experience, making keystone correction and alignment essential skills for any projector user. When you notice trapezoidal distortion, first try physically leveling your projector parallel to the screen, adjusting the feet or mount to minimize initial misalignment.
For ideal image quality, utilize lens shift if your projector offers this feature, as it allows you to move the image vertically or horizontally without digital distortion. If physical adjustments aren’t sufficient, access your projector’s keystone correction menu to fix remaining trapezoid shapes. Manual keystone correction typically preserves better resolution than digital methods, but modern projectors with automatic or 2D keystone correction can quickly address complex distortions while maintaining acceptable image clarity.
Optimizing Picture Quality for Different Environments
With your projector properly aligned, you’ll now want to make certain your image quality matches your environment. Controlling ambient light is critical; consider installing blackout curtains or positioning your projector away from windows to prevent image washout. For nighttime viewing, dim room lights for enhanced contrast and color saturation.
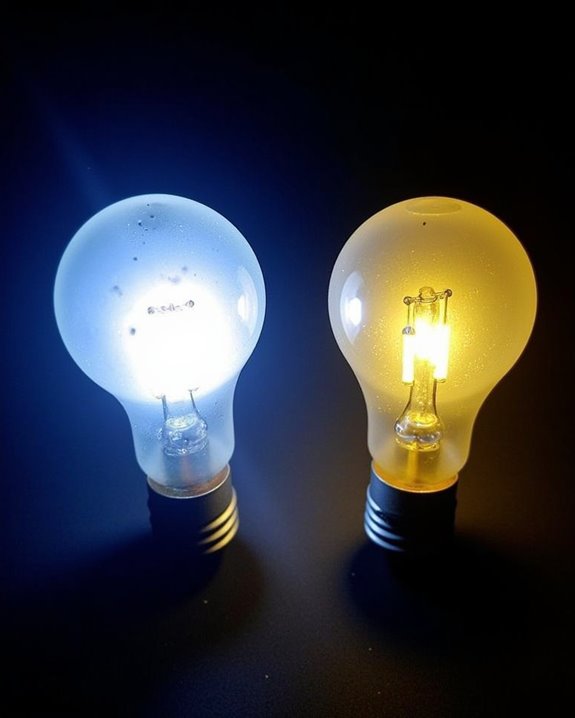
Proper color calibration markedly impacts viewing experience. Select appropriate picture modes based on your content—”Cinema” or “Movie” for films, “Dynamic” for presentations. Adjust brightness to match room lighting conditions, fine-tune contrast to avoid overblown whites, and select color temperature (Warm, Neutral, or Cool) based on content type. For ideal results, ensure your source device matches your projector’s resolution capabilities and use high-quality HDMI cables to maintain signal integrity.
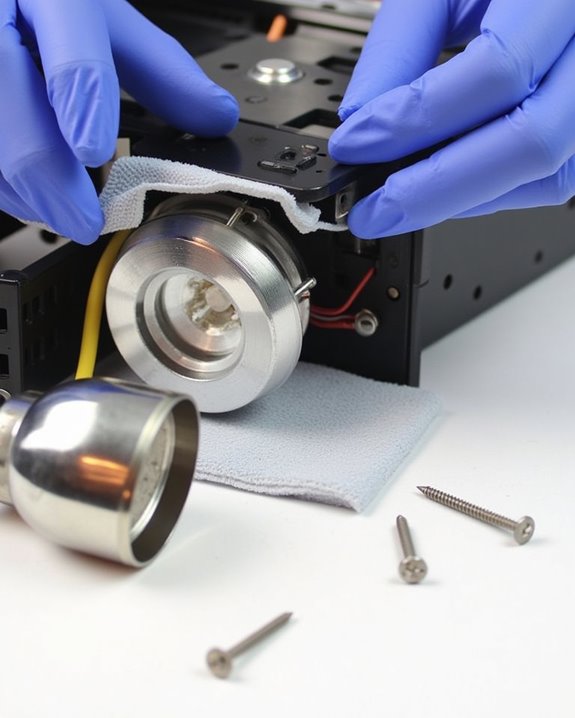
Essential Maintenance to Extend Your Projector’s Life
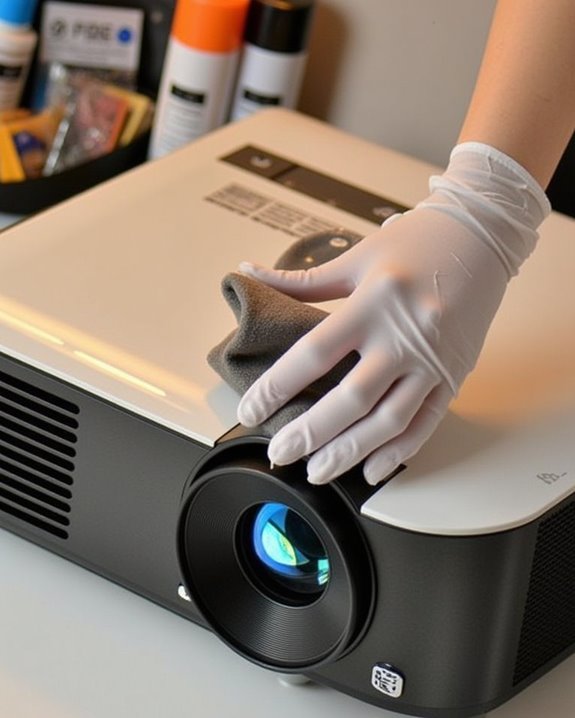
Proper maintenance of your projector isn’t just recommended, it’s essential for maximizing both performance and longevity of your investment. Regular dust prevention measures, including using a protective cover when not in use and cleaning the lens with a soft, lint-free cloth, will maintain image clarity and prevent internal contamination.
Filter maintenance should be performed monthly, checking and cleaning the air filter to guarantee ideal airflow and prevent overheating. Keep ventilation areas unobstructed, allowing at least 6 inches of clearance around all sides of your projector. Monitor lamp hours carefully, replacing bulbs according to manufacturer specifications rather than waiting for failure. When storing your projector, choose environments with moderate temperature and low humidity to prevent damage to sensitive electronic components and optics.
Troubleshooting Common Projector Problems
When your projector encounters issues, a systematic approach to troubleshooting will save you time and frustration. First, check the basics—power connections, indicator lights, and proper ventilation—before moving to more complex solutions. If your display appears distorted, adjust the focus ring and keystone correction to achieve proper alignment.
For wireless connectivity problems, verify your network settings and ensure both devices are on the same network. Audio synchronization issues often stem from incorrect input selection or cable connections; inspect all cables for damage and confirm they’re securely attached. If image quality suffers, clean the lens and check lamp condition, as aging bulbs considerably reduce brightness and color accuracy. For persistent problems like overheating or unusual fan noise, ensure proper ventilation, clean filters regularly, and consider activating ECO mode to reduce heat output.
Frequently Asked Questions
Can Projectors Damage Eyes When Looking Directly at the Beam?
Yes, looking directly at a projector beam can damage your eyes due to its high beam intensity. It’s essential for eye safety that you never stare into the light source as it can cause discomfort or injury.
How Much Electricity Does a Projector Typically Consume?
In summary, your projector’s energy consumption typically ranges from 50 watts (portable models) to 800 watts (high-end versions). You’ll find power usage varies with lamp technology, brightness settings, and projection size you’re using.
Can I Use a Projector Outdoors During Daylight?
Yes, you can use projectors outdoors during daylight, but you’ll need at least 4000 lumens for visibility. Consider outdoor lighting conditions and projector durability when choosing your equipment. Shaded areas work best for ideal viewing.
Are Wireless Projectors as Reliable as Wired Models?
No, despite improvements in wireless connectivity, wired projectors still offer superior stability. You’ll face less interference and latency with wired models, making them more reliable for critical presentations where consistent performance matters.
Does Projector Placement Affect Fan Noise Levels?
Like a tree whispering closer to your ear, your projector’s fan noise increases with proximity. Yes, placement substantially impacts noise levels you’ll hear, while ventilation efficiency and ambient temperature also influence how loudly it operates.