Like a conductor seamlessly bridging instruments to create harmony, you’ll need the right connections to link your laptop and projector effectively. When preparing for a presentation, few technical challenges can derail your confidence faster than display issues. You’ll discover that mastering this essential skill requires understanding just a handful of connection types and settings adjustments. The difference between a polished, professional display and a frustrating technical delay often comes down to knowing these simple but vital steps.
Key Takeaways
- Check which connection ports (HDMI, VGA, USB-C, DisplayPort) are available on both your laptop and projector for compatibility.
- Connect your laptop using an HDMI cable for best quality, ensuring both devices are powered off before connecting.
- For laptops without HDMI ports, use appropriate adapters like USB-C to HDMI that support digital signals.
- Activate projection by pressing Windows+P (Windows) or using Display Settings in macOS after connecting.
- Test wireless projection options by connecting both devices to the same network and using built-in casting functions.
Understanding Different Connection Types for Projectors
When you’re preparing to connect your laptop to a projector, understanding the various connection types is essential for achieving the best possible display quality. Modern projectors offer several options, including DisplayPort compatibility, which provides high-bandwidth transmission for both video and audio signals, supporting higher resolutions than HDMI and multi-monitor capabilities.
For older equipment, you might need to rely on Component connection options, which use separate red, green, and blue RCA connectors for video transmission. While these deliver good quality video, they require multiple cables and don’t carry audio signals. VGA connections, common on older laptops and projectors, also lack audio capabilities and offer lower resolution than digital alternatives. USB connections provide an alternative method, allowing for plug-and-play functionality and direct presentation from storage devices. Many projectors now include multiple ports such as HDMI and USB, ensuring broad compatibility with gaming consoles, laptops, and streaming devices.
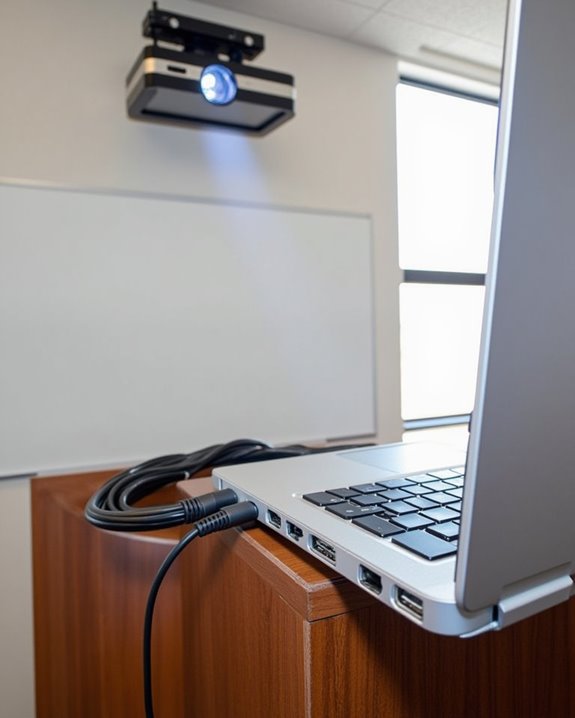
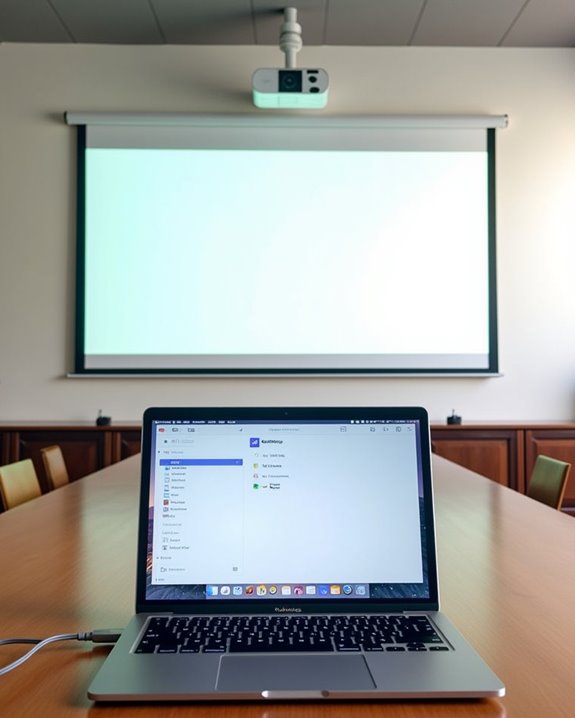
The Step-by-Step HDMI Connection Guide
Because HDMI represents the most common and reliable way to connect your laptop to a projector, following a methodical approach guarantees ideal performance without technical complications. Begin by confirming your laptop has an HDMI port or acquiring the appropriate adapter, such as USB-C to HDMI for newer laptops. Proper cable selection is vital; ensure you’re using a high-quality HDMI cable that supports your desired resolution.
Power considerations should not be overlooked during setup. Always power off both devices before connecting cables to prevent potential damage. Insert the cable firmly into both your laptop and the projector’s HDMI port, then power on the projector first, followed by your laptop. Once connected, access your laptop’s display settings to select your preferred projection mode and adjust resolution if necessary. For optimal image clarity and signal reliability, choose cables with gold-plated connectors and braided shielding.
Connecting Your Laptop Using VGA Cables
Despite newer connection technologies dominating the market, VGA remains a reliable option for connecting your laptop to a projector in many professional environments. Before making the connection, verify VGA compatibility between your devices and power off both your laptop and projector to prevent electrical damage.
Connect the VGA cable to both devices, taking care to fully insert and tighten the screws for proper cable securing. Once connected, power on your devices—the projector should automatically detect your laptop. If not, access your display settings to manually configure the connection. For audio, you’ll need a separate cable connected to your laptop’s headphone jack and the projector’s audio input. Remember to regularly inspect your VGA cables for wear and store them properly when not in use. Modern projectors often include multiple connectivity options such as HDMI and USB, providing greater versatility beyond VGA.
Wireless Projection Options for Modern Devices
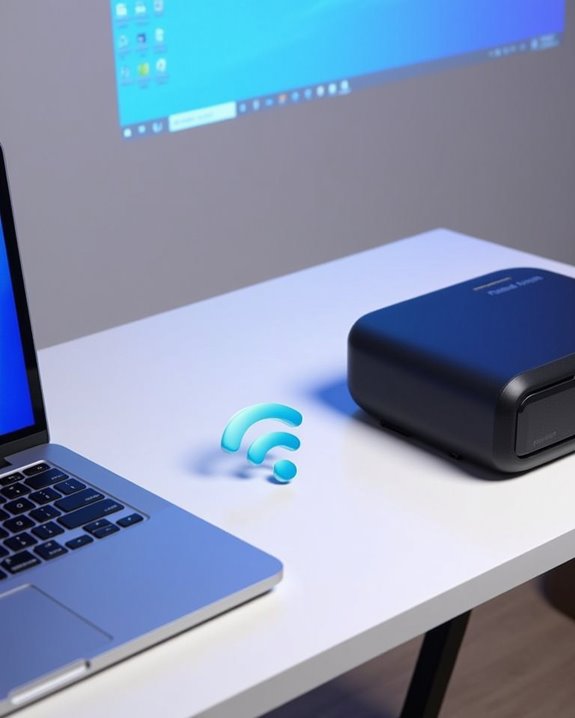
While VGA connections serve their purpose in many settings, modern technology has opened up a world of cable-free alternatives for projecting your laptop’s display. Smart projectors with built-in Wi-Fi support offer wireless compatibility with both Windows and Mac devices, eliminating cable clutter and simplifying your setup process. To connect wirelessly, verify both your laptop and projector are on the same network, then use Windows + K or macOS AirPlay to discover available devices.
For projectors without built-in wireless capabilities, external adapters like Chromecast or Apple TV provide excellent streaming options. Simply plug the adapter into the projector’s HDMI port, connect to your network, and start casting. Remember to check device compatibility before purchasing any adapter, as not all systems work universally with every projector model.
Setting Up Audio for Optimal Presentation Sound

How often have you delivered a presentation with perfect visuals but lackluster sound? To guarantee your audience enjoys both stellar images and clear audio quality, you’ll need to properly connect your laptop’s sound output to your projection system. HDMI cables conveniently transmit both video and audio signals, making them ideal for most setups, while a 3.5mm audio jack offers another reliable option for external speakers. For wireless flexibility, consider Bluetooth-compatible speakers if your projector supports this feature.
After establishing the physical connection, don’t forget sound optimization through your laptop’s audio settings. Select the correct output device, adjust volume levels appropriately, and fine-tune equalization settings for clarity. If you encounter issues like audio delay or no sound, check your connections and ensure your default playback device is properly configured.
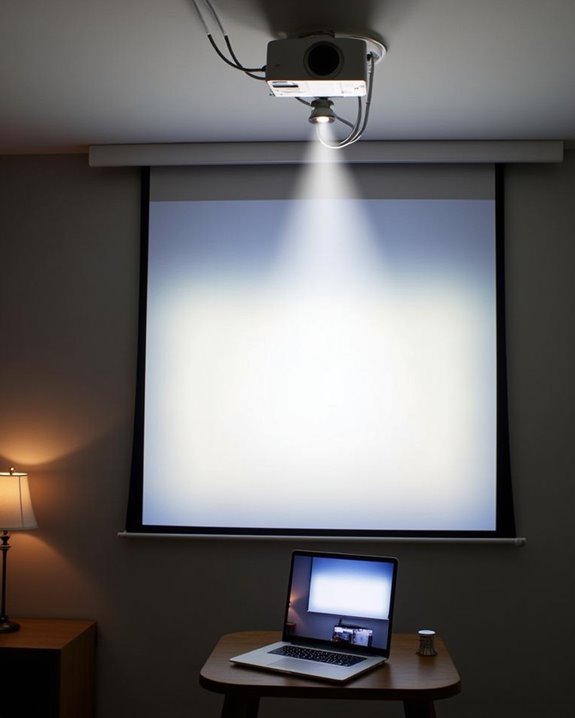
Adjusting Display Settings for Perfect Projection
Now that your presentation’s audio is properly configured, the visual component demands equal attention. To adjust display settings, right-click on your desktop and select “Display Settings” in Windows, or navigate to “System Preferences” and “Displays” on macOS. You’ll need to determine whether to mirror your screen (showing identical content) or extend it (using separate screens for different content).
For best clarity, set your projector’s display resolution to match its native capabilities, preventing distorted images or text. Windows users can access “Advanced Display Settings” for precise adjustments, while macOS users can drag the white menu bar to switch the primary display. Don’t forget to check screen orientation if you’re projecting onto uniquely positioned surfaces. After configuring these settings, test your presentation by running through slides to ensure seamless visual delivery.
Quick Fixes for Common Projection Problems

Even perfectly connected projectors can sometimes develop unexpected issues during presentations. When you encounter a blank screen, first verify connection security by checking that all cables are firmly seated in the correct ports. Next, confirm your laptop’s display settings are set to “extend” or “duplicate” rather than single-screen mode. For persistent problems, try a projector reset by powering off completely, holding the power button for 15-20 seconds, and restarting.
Troubleshooting tips for image quality issues include adjusting the focus and zoom rings for sharpness, cleaning the lens of dust particles, and correcting keystone distortion through the projector menu. If connection problems persist, update your laptop’s graphics drivers and check if your adapters are video-compatible, especially when using USB-C connections with newer laptops.
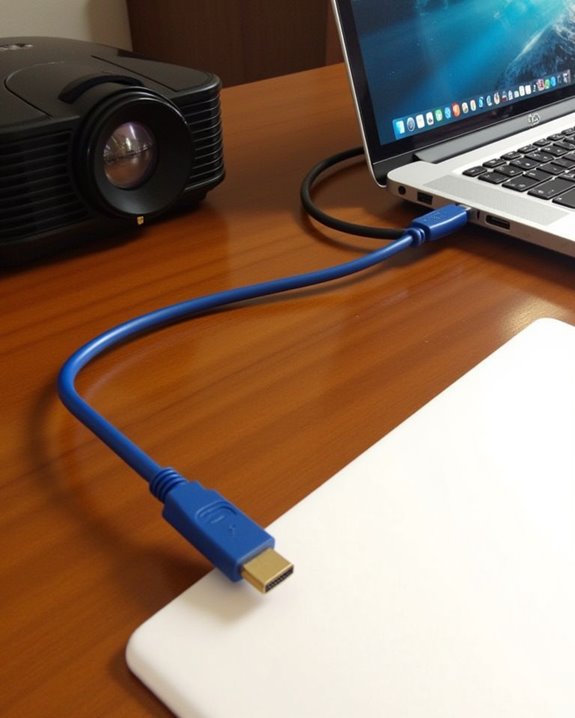
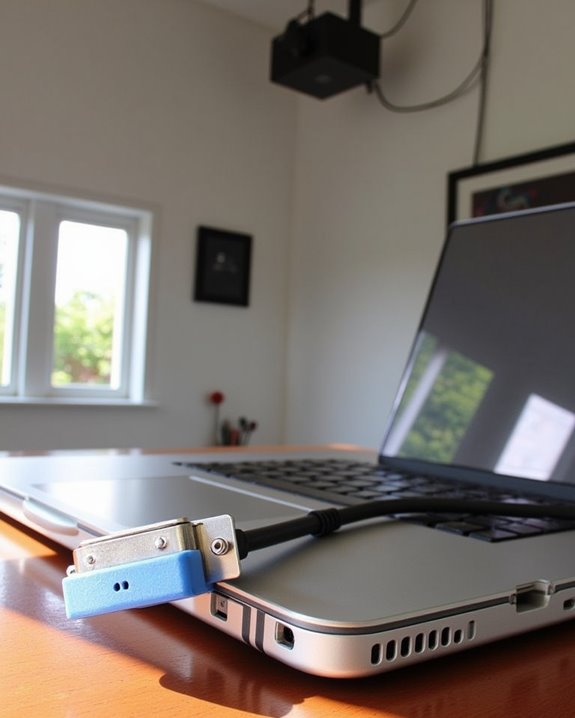
Essential Adapters for Any Projection Situation
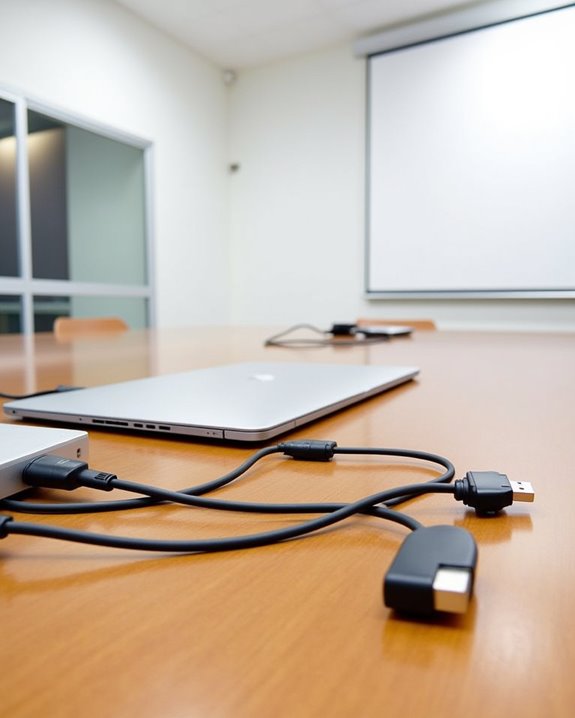
Successfully resolving connection issues often comes down to having the right adapters on hand. For ideal adapter compatibility, consider your laptop’s output ports and your projector’s input options before selecting the appropriate converter. HDMI-to-VGA adapters are essential when connecting newer laptops to older projectors, while USB-C adapters have become indispensable for ultrabooks lacking traditional video ports.
For effective cable management, invest in a multi-port adapter that accommodates various connection types, including HDMI, VGA, and DisplayPort. Keep your presentation toolkit stocked with Mini DisplayPort-to-HDMI and USB-C-to-HDMI adapters, which cover most modern connection scenarios. When selecting adapters, remember that direct digital connections (like HDMI-to-HDMI) provide better quality than converted analog signals, especially when audio transmission is required.
Frequently Asked Questions
Can I Project From a Tablet or Ipad Instead of a Laptop?
Yes, you can project from your tablet or iPad using tablet compatibility adapters (HDMI, USB-C) or iPad mirroring features. You’ll need appropriate adapters or wireless connections, but it’s definitely possible and quite convenient.
How Do I Prevent My Laptop From Going to Sleep During Presentations?
Properly prevent presentation problems by adjusting your power settings. You’ll want to modify sleep mode to “never” when plugged in. Alternatively, you can use software like Mouse Jiggler to keep your laptop awake during presentations.
Will Different Projector Brands Affect My Connection Process?
Different projector brands rarely affect compatibility. You’ll find most projectors have standard connection ports like HDMI. Just identify your laptop’s outputs and match them with available inputs on the projector you’re using.
Can I Control My Presentation Using a Remote Rather Than My Laptop?
Could you imagine never having to touch your laptop again? Yes, you can use a presentation remote control for better presentation management. Most wireless presenters work universally with your laptop, giving you freedom to move around.
How Far Can My Laptop Be From the Projector?
Your laptop’s distance from the projector depends on your connection type. With cables, you’re limited by cable length (typically 15 feet), but wireless connections offer greater range, often up to 30 feet depending on your setup.