Small projectors often use different connection standards than typical computer monitors, making compatibility a potential hurdle for first-time users. You’ll need to identify which ports are available on both your computer and projector before purchasing any cables or adapters. Most modern laptops feature HDMI or USB-C outputs, while projectors might offer HDMI, VGA, or specialized mini-ports that require specific connectors. Understanding these connection types will save you time and frustration, especially when you’re preparing for an important presentation or entertainment setup that depends on a properly functioning display.
Key Takeaways
- Check which ports are available on both your projector and computer (HDMI, VGA, DisplayPort, or USB-C).
- Connect devices using an appropriate cable, ensuring both are powered on before establishing the connection.
- Select the correct input source on your projector that matches your connection (HDMI 1, VGA, etc.).
- Adjust your computer’s display settings to either duplicate or extend your screen to the projector.
- For wireless connectivity, ensure both devices support Wi-Fi or Bluetooth and are connected to the same network.
Understanding the Different Connection Types
When connecting your small projector to a computer, you’ll need to understand the various connection types available to guarantee compatibility between your devices. Most projectors offer HDMI ports, which transmit both high-definition video and audio through a single cable, while VGA connections provide reliable analog signals for older laptops. DisplayPort offers high-bandwidth transmission with backward compatibility, and DVI supports quality digital video for desktop setups.
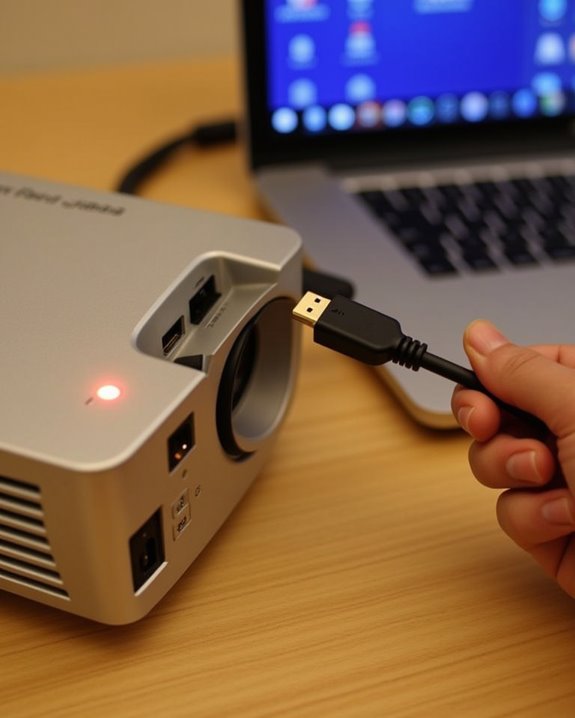
For flexible setups, consider portable cable options like mini-HDMI or micro-HDMI adapters that work well with compact projectors. Wireless alternatives are increasingly popular, eliminating cable clutter while maintaining connection quality. USB connections enable plug-and-play functionality and PC-free presentations, particularly useful when traveling. Each connection type offers specific advantages depending on your computer’s available ports and your presentation requirements. Many modern projectors also support dual-band WiFi and Bluetooth connectivity to enable seamless wireless streaming and device pairing.
Selecting the Appropriate Cable for Your Devices
Selecting the appropriate cable for your devices guarantees ideal performance and seamless connectivity between your computer and small projector. HDMI cables, supporting resolutions up to 8K, represent the most versatile option for modern setups, while DisplayPort provides similar high-quality video transmission with excellent audio support. Cable quality directly impacts signal integrity, with poorly shielded cables causing signal degradation, especially at lengths exceeding 15 feet.
For older projectors, you might need DVI or VGA connections, often requiring adapters to connect with newer computers. When choosing HDMI cables, verify the version (HDMI 2.1 offers superior performance) and bandwidth rating (18Gbps recommended for high-definition content). Remember that mini and micro HDMI connectors serve specific devices, so examine your projector’s input ports carefully before purchase. Additionally, many modern projectors support WiFi 6 & Bluetooth connectivity as alternative options for wireless streaming and device mirroring.
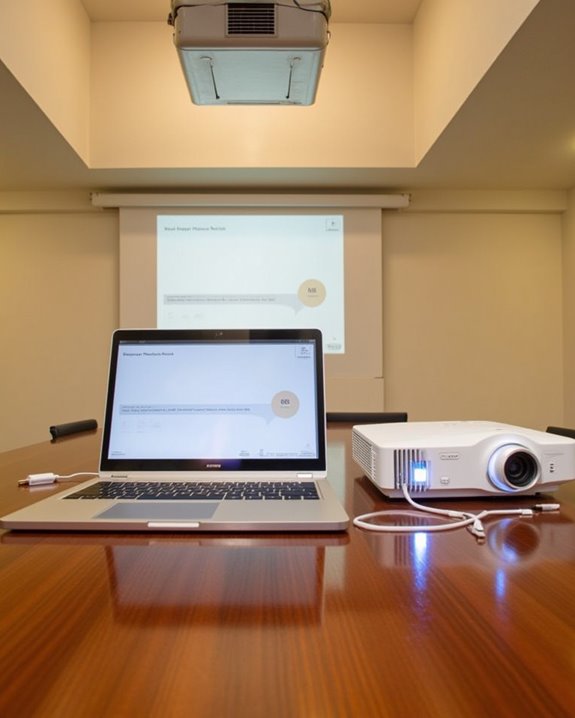
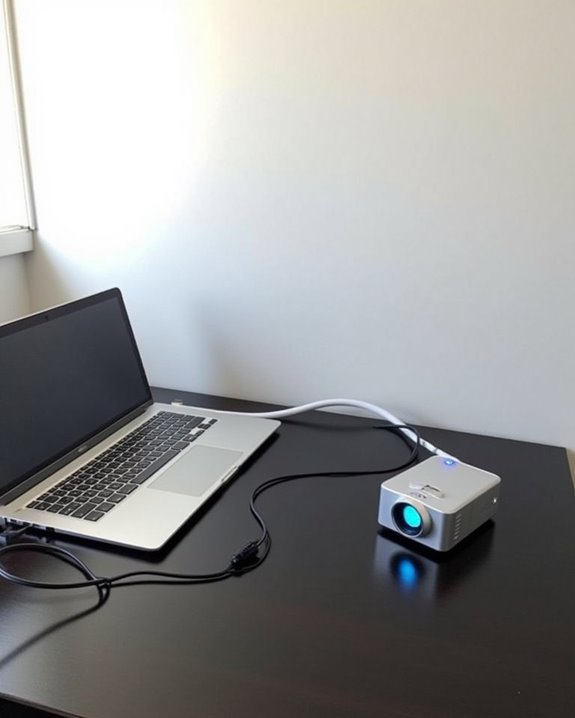
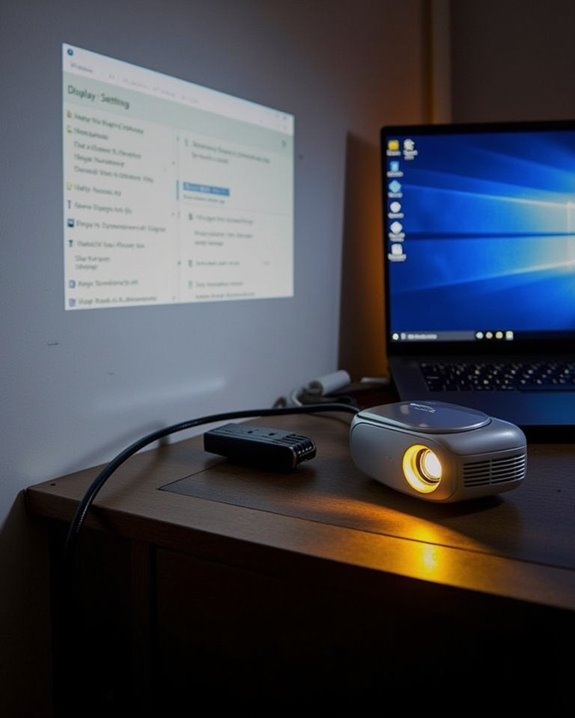
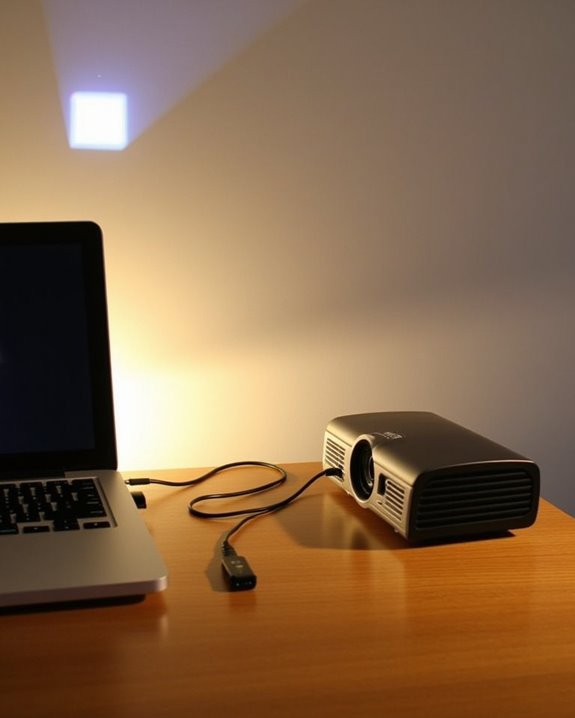
Setting Up a Wired Connection
A properly established wired connection between your computer and projector guarantees ideal image quality, reliable performance, and minimal technical difficulties. Begin by identifying compatible ports on both devices, ensuring cable durability through careful handling and proper storage when not in use. Connect your selected cable (HDMI, VGA, DisplayPort, or USB-C) securely to avoid signal interference from loose connections.
Power on your projector first, then select the corresponding input source that matches your connected cable. For maximum results, adjust your computer’s display settings to either extend or mirror your screen according to your presentation needs. If you encounter image problems, verify that both devices are set to compatible resolutions. Remember that longer cable runs may increase susceptibility to signal interference, so position your equipment to minimize cable length when possible. Using a projector stand with a stable base can help maintain optimal projector positioning and reduce cable strain during use.
Establishing Wireless Connectivity
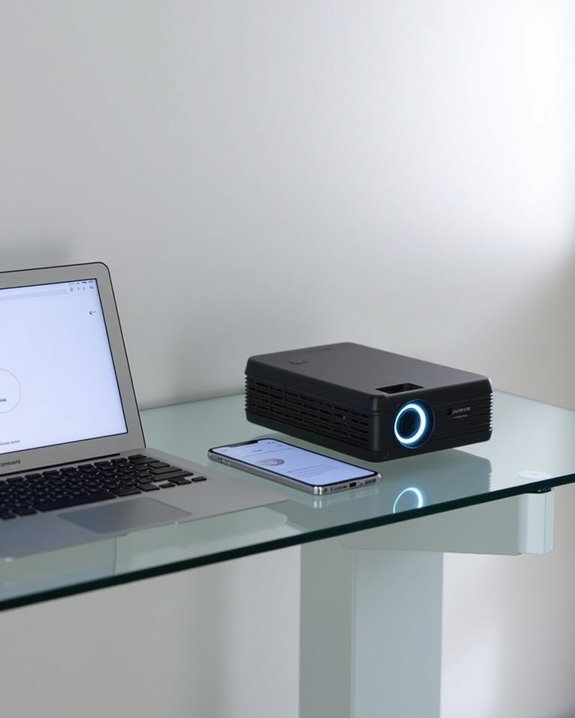
Wireless connectivity offers freedom from cables while maintaining the functionality you need for presentations and media display. To begin, verify that both your projector and computer have compatible wireless technologies, such as Wi-Fi or Bluetooth pairing capabilities. Turn on both devices and ensure they’re connected to the same network, adjusting display settings as needed for *ideal* performance.
For most setups, you’ll need to install specific software like Epson iProjection or utilize built-in features like Miracast on Windows devices. Keep your devices within reasonable proximity to minimize wireless interference, which can cause connection drops or poor image quality. If you experience connectivity issues, check for network congestion, restart both devices, or update your software to the latest version.
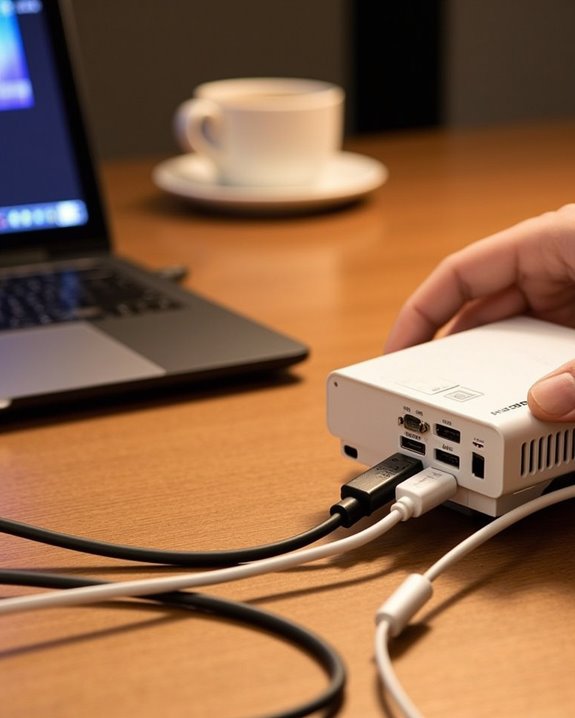
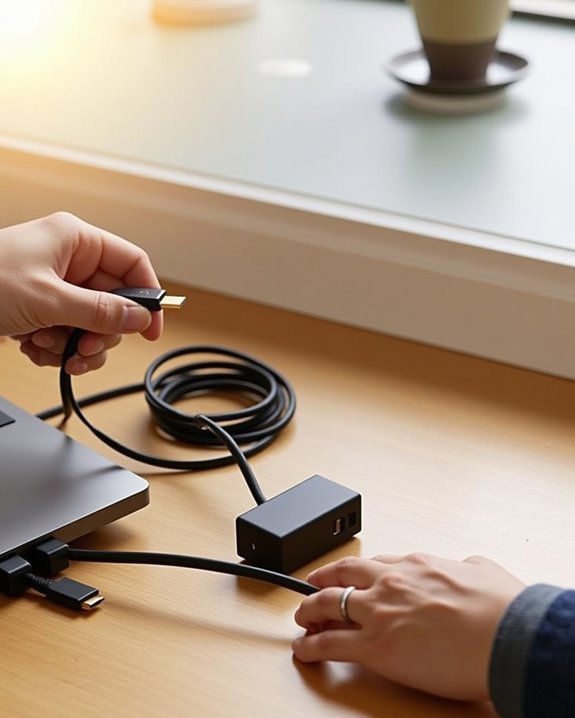
Using Adapters for Incompatible Ports
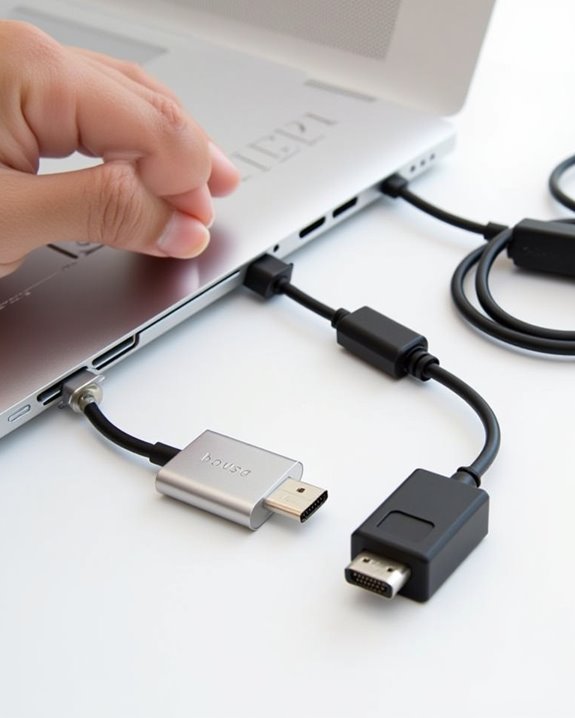
When your computer’s output ports don’t match your projector’s input options, you’ll need the right adapter to bridge the gap between devices. Adapter compatibility depends on the specific ports available on both your computer and projector, with HDMI-to-HDMI connections being the most straightforward option for modern equipment.
For newer laptops with only USB-C ports, a USB-C to HDMI adapter provides reliable signal conversion without quality loss. If your projector only accepts VGA input while your computer offers HDMI output, you’ll need an HDMI-to-VGA adapter that can properly convert the digital signal to analog. DisplayPort users connecting to HDMI-equipped projectors should verify their adapter supports the desired resolution, as some budget adapters limit output quality or introduce latency during signal processing.
Configuring Display Settings on Your Computer
Properly configuring your computer’s display settings ensures the projector will show your content exactly as you intend it to, with ideal resolution and arrangement for your presentation needs. Access these settings by right-clicking on your desktop and selecting Display Settings, or using the Windows+P shortcut for quick adjustments. Choose between extending, duplicating, or using only the projector display based on your presentation requirements.
For perfect image quality, match the projector’s native resolution and adjust the aspect ratio to prevent distortion. Color calibration is essential for accurate representation of visuals, particularly for presentations involving detailed graphics or images. If using wireless projection, press Windows+K to connect, ensuring your projector supports this technology. Should display issues arise, verify input sources and update video drivers for better performance.
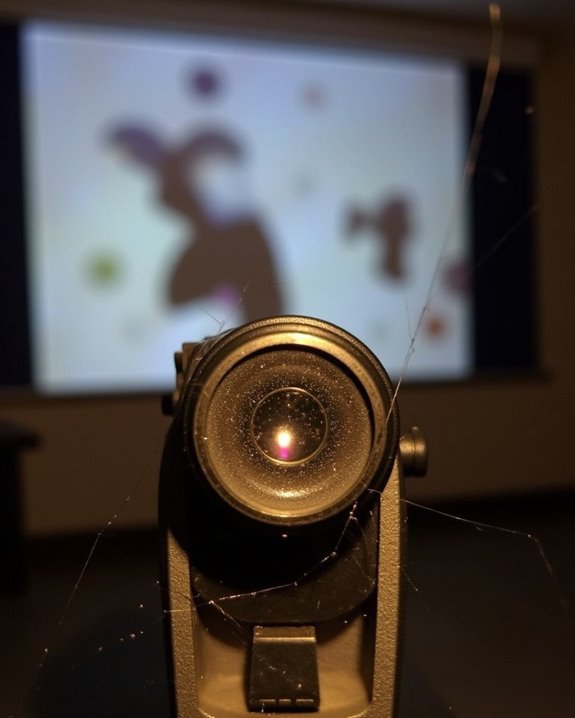
Optimizing Projector Settings for Best Performance
Once you’ve successfully connected your projector to your computer, optimizing the device’s settings becomes essential for achieving crystal-clear, vibrant presentations that will impress your audience. Start by selecting the appropriate picture mode, typically “Cinema” or “Movie” for balanced color accuracy and reduced fan noise during extended use.
Adjust brightness and contrast to match your room’s lighting conditions, ensuring your image resolution appears crisp without washing out important details. For maximal clarity, fine-tune the focus and zoom until text appears sharp throughout the entire screen. Color calibration is vital for accurate representation; use your projector’s built-in presets or manual adjustments to achieve natural-looking colors. Reduce ambient light whenever possible by drawing curtains or dimming room lights, particularly when presenting content with dark sections that require good contrast levels.
Troubleshooting Connection Problems
Even the most carefully configured projector can occasionally experience connection issues that prevent your presentations from displaying properly. When troubleshooting, start with basic checks: ensure all cables are securely connected, verify the projector is powered on, and confirm you’ve selected the correct input source. If problems persist, adjust your computer’s display output settings using keyboard shortcuts like Windows + P to extend or duplicate your screen.
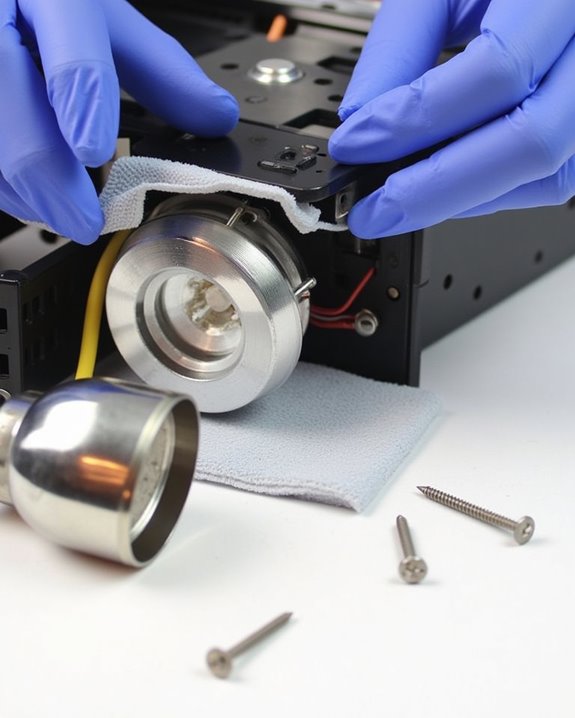
Hardware issues often require deeper investigation, such as checking for faulty cables or testing alternative ports. After projector bulb replacement, you might need to reconfigure your connection settings entirely. Similarly, proper projector screen calibration can resolve display quality problems that initially appear as connection failures. When all else fails, update your display drivers and restart both devices, which often resolves persistent connectivity problems.
Advanced Tips for Special Presentation Needs
Beyond basic connectivity, special presentation scenarios require advanced techniques to create truly memorable experiences. When designing immersive environments, consider incorporating interactive projectors that allow audience participation through touch interfaces or gesture recognition. For specialized presentations, augmented reality projections can blend virtual elements with real-world objects, creating dynamic visual experiences that captivate your audience.
Multi-screen setups offer expanded visual real estate for complex data visualization, allowing you to display complementary information simultaneously. To enhance your presentations further, integrate immersive audio systems that synchronize with your visual elements, creating a more complete sensory experience. For venues with unique architectural features, 3D projection mapping can transform ordinary surfaces into extraordinary display canvases, conforming your content to the specific contours and dimensions of your presentation space.
Frequently Asked Questions
Can My Projector Display 3D Content From My Computer?
Yes, your projector can display 3D content from your computer if it’s 3D-ready and compatible with your computer’s graphics card. You’ll need specialized 3D glasses and software like Stereoscopic Player for ideal viewing.
How Do I Connect Multiple Computers to One Projector Simultaneously?
For a multiple device setup, you’ll need either a switcher box, a network connection, or screen-sharing software. These shared display options let you connect several computers to one projector, switching between inputs as needed.
Will Using a Projector Drain My Laptop Battery Faster?
As the saying goes, “nothing comes without a cost.” Yes, your laptop’s battery consumption will increase when using a projector. You’ll want to adjust your power management settings to minimize this drain.
Can I Use My Smartphone as a Remote Control?
Yes, you can use your smartphone as a remote control by downloading a remote app. If your phone has an IR blaster or the projector supports wireless control, you’ll enjoy convenient operation without a physical remote.
What’s the Maximum Distance Between My Computer and Projector?
You’ve probably wondered if distance affects your setup. For HDMI, you’re limited to about 50 feet maximum, with better signal quality at 25 feet or less. For 4K, keep your cable length under 10 feet.