Is it really true that replacing a projector bulb requires professional expertise? You’ll find this maintenance task is actually quite manageable with the right guidance. When your projector starts dimming or displaying warning messages, it’s typically signaling that the lamp needs replacement. While the process involves careful handling and specific safety precautions, you don’t need specialized training to complete it successfully. The following steps will walk you through this essential maintenance procedure that can save you significant service costs.
Key Takeaways
- Power down the projector and allow at least 45 minutes for cooling before attempting to replace the bulb.
- Locate and access the lamp compartment by removing securing screws and keeping them in a safe place.
- Handle the new bulb only by its housing, avoiding contact with the glass surface to prevent oil transfer.
- Properly align the new bulb, secure all clips or screws, and reconnect wires before replacing the lamp housing.
- Test the projector after installation by powering on and verifying brightness, color, and proper operation.
Safety Precautions Before Starting
Before you begin replacing your projector bulb, it is vital to follow proper safety procedures to protect yourself and your equipment. Always ensure the projector is completely powered down and unplugged from the electrical outlet to avoid electrical hazards, and allow sufficient cooling time according to your model’s specifications. Wear protective gloves when handling bulbs, as oils from your skin can damage the glass and reduce bulb life.
Consider environmental considerations by working in a clean, well-lit area away from food preparation surfaces. Cover nearby equipment with plastic if necessary to prevent contamination. When removing the old bulb, avoid touching the glass portion and prepare for proper disposal according to local regulations. Verify your replacement bulb is compatible with your specific projector model before starting the replacement process. Additionally, understanding the brightness and performance specifications of your projector can help ensure optimal replacement bulb selection.
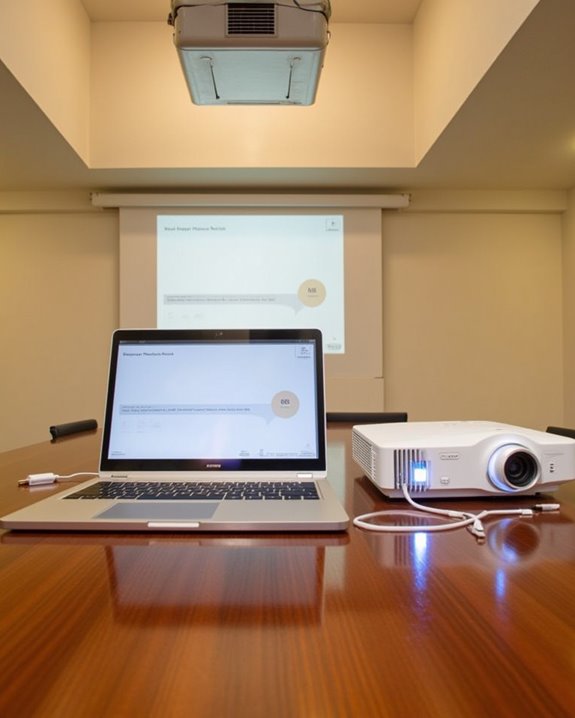
Tools and Materials You’ll Need
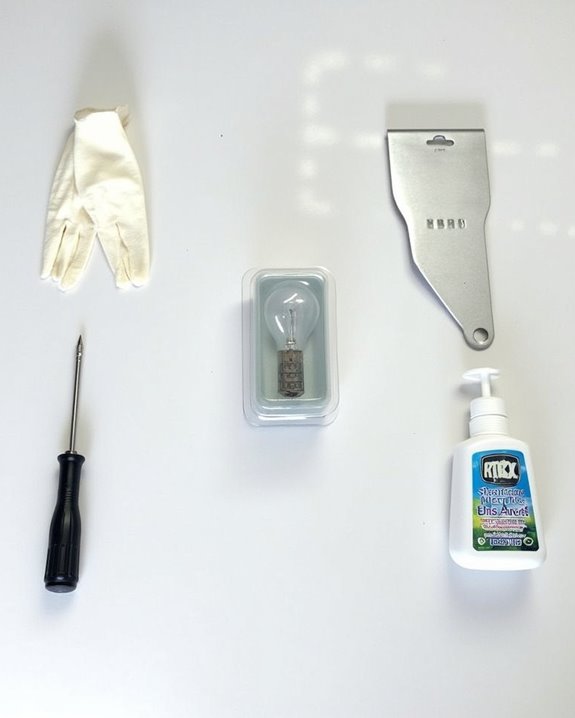
The proper tools and materials will make your projector bulb replacement much smoother and safer. You’ll need a screwdriver kit that includes both Phillips and flathead options, as these are commonly required to access the lamp compartment. For bulb compatibility, always check your projector’s manual to ensure you purchase the correct replacement, whether an OEM lamp module or compatible alternative.
To guarantee dust prevention during the process, have compressed air or a soft brush handy to clean the housing before installing the new bulb. Clean gloves or a lint-free cloth are essential for handling the new bulb, as fingerprints can cause hot spots and premature failure. Consider adding an anti-static wrist strap to your toolkit, particularly for higher-end projectors, to protect sensitive internal components from static discharge. Additionally, knowing the lamp life of your projector bulb can help you anticipate replacement timing and maintain optimal performance.
Preparing Your Projector for Lamp Replacement
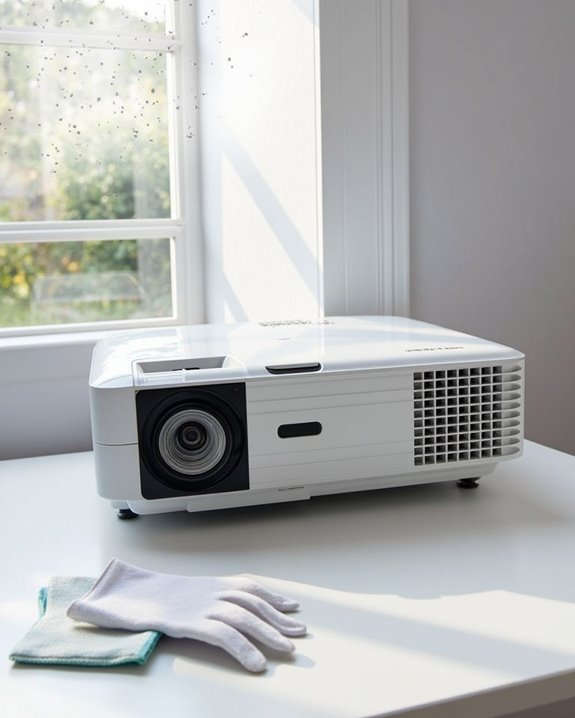
Now that you’ve gathered all your tools and materials, it’s time to properly set up your workspace for a safe and successful projector bulb replacement. First, turn off your projector and unplug it from the power outlet, allowing it to cool for at least 45 minutes before proceeding. While waiting, clean the projector’s exterior with a soft cloth to prevent dust from entering the unit during lamp replacement.
Ensure your workspace is clear of flammable materials and objects that might obstruct your access to the lamp compartment. After cleaning the projector, familiarize yourself with the lamp door location, typically found on the side or rear. Remember, proper cooling is vital before adjusting focus or handling any internal components. Consult your user manual for model-specific instructions, as lamp replacement procedures vary between manufacturers.
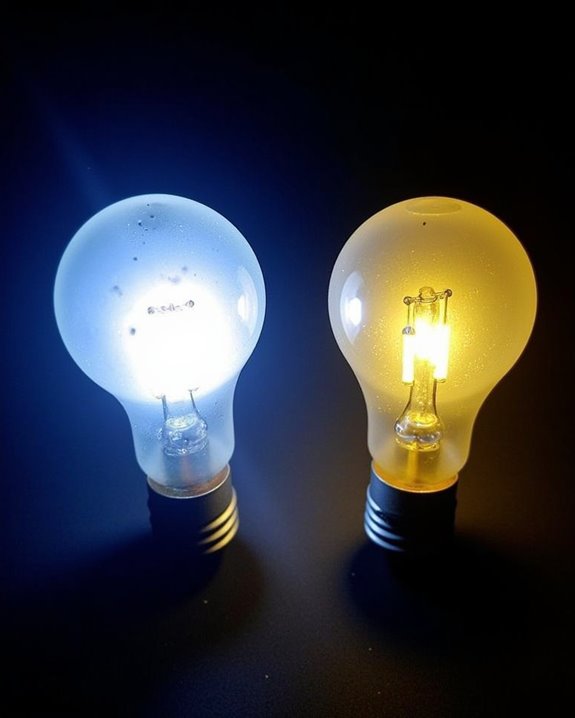
For longer projector lifespan, consider upgrading to a laser projector which offers up to 30,000 hours of maintenance-free operation.
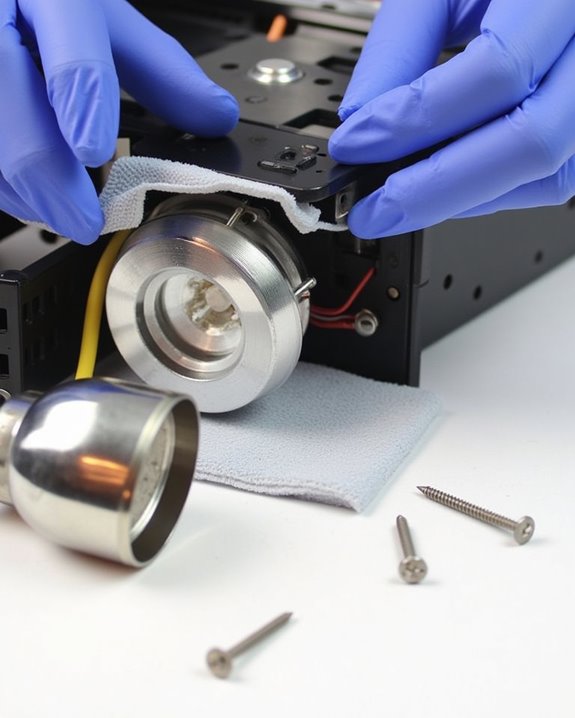
Accessing and Removing the Old Bulb
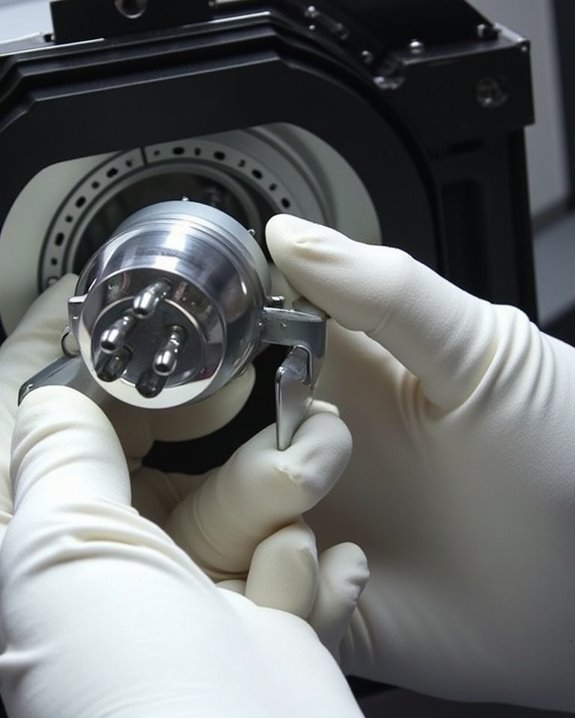
Once your projector has completely cooled down, it’s time to access the lamp compartment where the old bulb is housed. Locate the access panel, typically marked with a lamp symbol on the side or rear of the projector, and remove any screws securing it. Keep these screws in a safe place to avoid misplacement during the lamp replacement process.
With the compartment open, carefully disconnect the old bulb from its housing, being mindful not to touch any internal components of the projector. Gently release any clips or screws holding the bulb in place, then remove it completely. Proper bulb disposal is essential for environmental safety, as projector lamps contain materials that shouldn’t enter regular waste streams. Before installing the new bulb, inspect the compartment for dust or debris and clean if necessary.
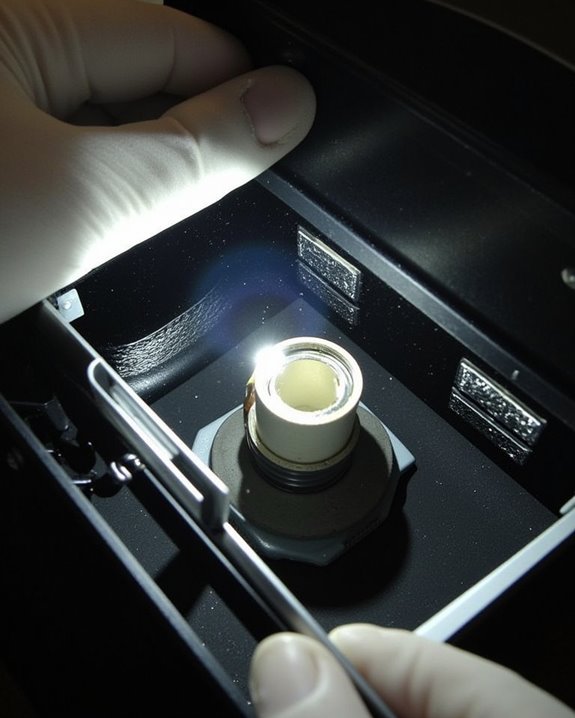
Proper Handling of the New Projector Lamp
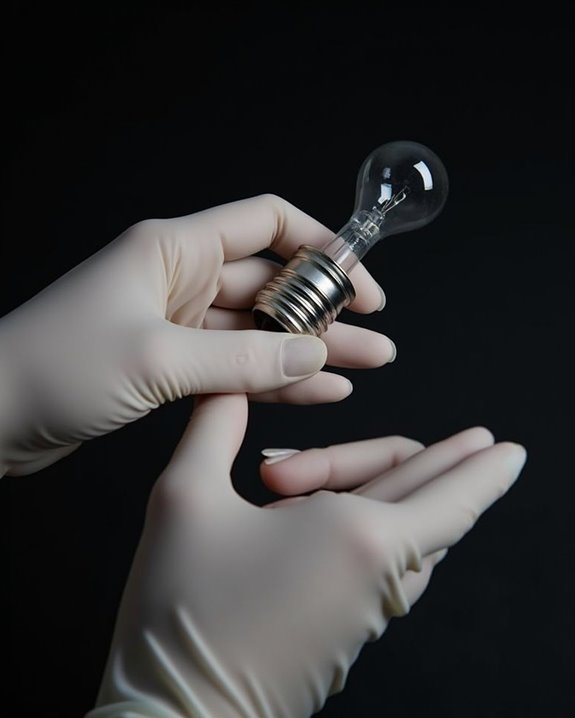
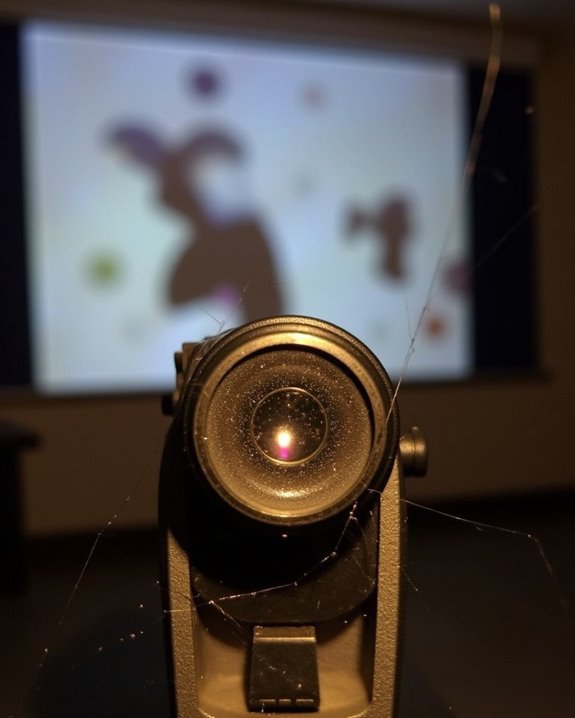
After removing the old bulb, you’ll need to focus on handling the new projector lamp with extreme care. Always wear handling gloves or use a soft cloth when touching the lamp module, as oils from your skin can considerably reduce the bulb’s lifespan and light output quality. Never touch the bare bulb directly with your fingers, as this can create hot spots that may lead to premature failure or even explosion.
When unpacking the new lamp, maintain a dust-free environment and hold the module by its housing only, avoiding any contact with the glass portion. For bulb safety, ensure you’re working in a well-ventilated area, as mercury-containing lamps can release toxic gases if damaged. Keep at least 50 cm of clear space around your workspace to prevent accidental bumps or drops.
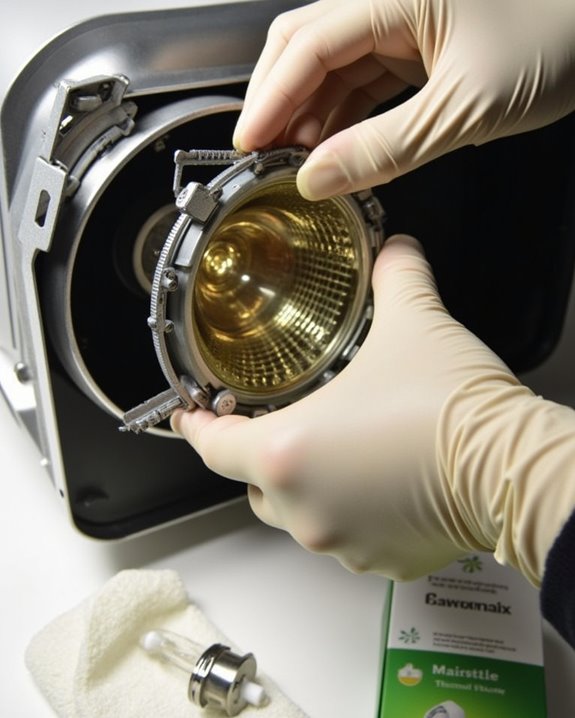
Installing the Replacement Bulb Correctly
The installation process begins with proper preparation and identification of your projector model, which guarantees the new lamp will fit correctly and function as designed. Ensuring lamp compatibility requires checking model specifications before purchasing a replacement, as dimensions and wattage must match precisely.
Remove the new bulb from its packaging with clean gloves to avoid transferring oils that could damage the surface, then carefully align it with the socket according to the manufacturer’s orientation guidelines. Apply gentle, even pressure when inserting the new lamp, paying close attention to connector pins that must align perfectly. Once positioned, secure any retaining clips or screws that hold the bulb in place, maintaining the exact specified torque to prevent damage. Proper bulb installation techniques also include reconnecting wires securely before replacing the lamp housing and access panel.
Testing Your Newly Installed Bulb
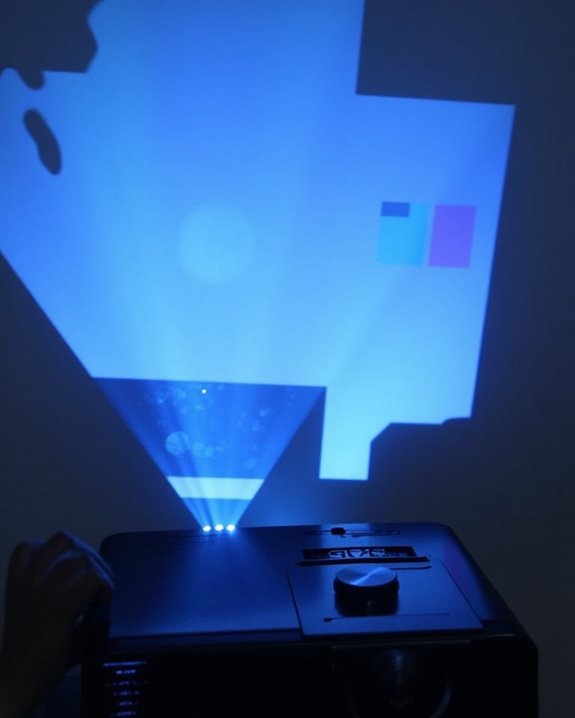
With the new projector bulb firmly in place, you’ll need to verify it’s working properly before considering the job complete. Plug in your projector, power it on, and observe the light output to confirm brightness and color accuracy. If the bulb doesn’t illuminate, don’t panic—electrical connection verification is your next step, checking that all connections are secure and undamaged.
Alternative testing methods may be necessary if you encounter issues. Check that the ballast is functioning correctly, as it supplies the voltage needed for proper operation. For high-intensity discharge lamps, specialized equipment provides more accurate testing results than standard multimeters. Remember to power cycle the projector several times, turning it on and off to ensure consistent performance. Monitor your new bulb’s output over the next few uses to catch any potential issues early.
Maximizing Your Projector Lamp’s Lifespan
Now that you’ve successfully replaced your projector bulb, extending its lifespan becomes your next priority, saving you money and preventing future hassles. Proper lamp maintenance starts with using eco-mode whenever possible, which reduces power consumption and heat generation, extending bulb life considerably.
Environmental factors play an essential role in projector longevity. Maintain proper ventilation around your device, confirm regular filter cleaning, and keep your projector in a dust-free, temperature-controlled environment. Avoid frequent power cycling by leaving the projector on if you’ll use it again soon, as thermal stress from on/off cycles damages bulbs prematurely. When shutting down, always allow the cooling fan to complete its cycle before unplugging. Store your projector in a cool, dry place, and consider using a voltage regulator in areas with unstable power supply.
Frequently Asked Questions
Can I Use Generic Replacement Bulbs Instead of OEM Lamps?
Yes, you can use generic bulbs instead of OEM lamps. They’re less expensive but may not match OEM compatibility, image quality, or lifespan. Consider your budget priorities and check warranty options before deciding.
How Do I Reset the Lamp Timer After Installation?
By Jupiter’s thunderbolt! To reset the lamp timer after installation, power on your projector, access the menu system, navigate to “Reset” or “Info” section, select “lamp reset” option, and confirm the timer adjustment.
What Should I Do if the New Bulb Doesn’t Work?
If your new bulb doesn’t work, first verify proper installation and compatibility. Check power connections and safety precautions. Troubleshooting issues might include inspecting for damage, testing the power supply, or consulting your manual for error codes.
Is It Dangerous if a Bulb Breaks During Removal?
Is broken glass dangerous? Absolutely. If a bulb breaks during removal, you’re at risk from glass cuts and chemicals. Always take safety precautions when handling broken bulbs, including wearing gloves and proper disposal.
Can Lamp Brightness Be Adjusted After Replacement?
Yes, you can adjust lamp brightness after replacement through your projector’s brightness settings. This flexibility helps optimize image quality and extend lamp lifespan by reducing intensity when full brightness isn’t needed.