Whether you’re presenting at work or sharing content at school, connecting your laptop to a projector doesn’t have to be complicated. You’ll find that with the right cables and settings, you can display your screen on a much larger canvas in just minutes. The process varies slightly depending on your laptop model and the projector type, but the basic principles remain consistent across most setups. Understanding these fundamentals will save you from those awkward technical difficulties that can derail your presentation before it even begins.
Key Takeaways
- Select the appropriate cable (HDMI, DisplayPort, USB-C, or VGA) based on available ports and desired quality.
- Connect the cable securely to both laptop and projector, then power on both devices and select correct input source.
- Choose between duplicate mode for mirroring content or extend mode for using projector as secondary display.
- Adjust display settings to match projector’s native resolution for optimal clarity and image quality.
- Troubleshoot common issues like “No Signal” by checking connections, cycling inputs, or using function keys to toggle displays.
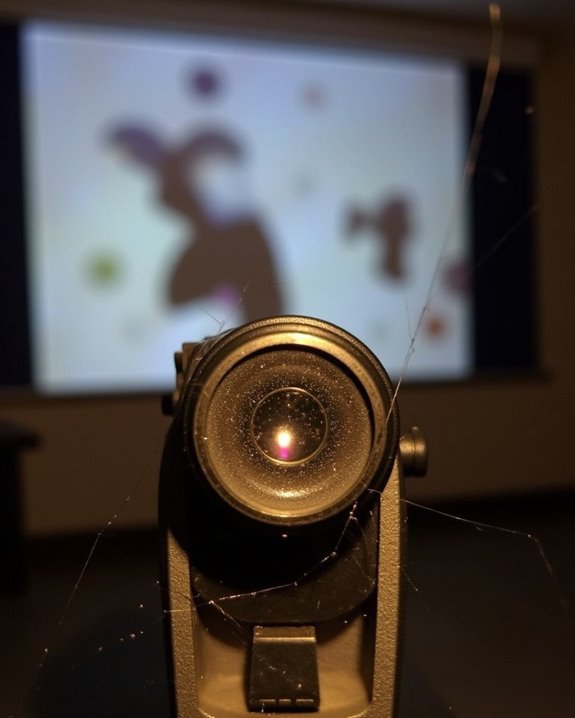
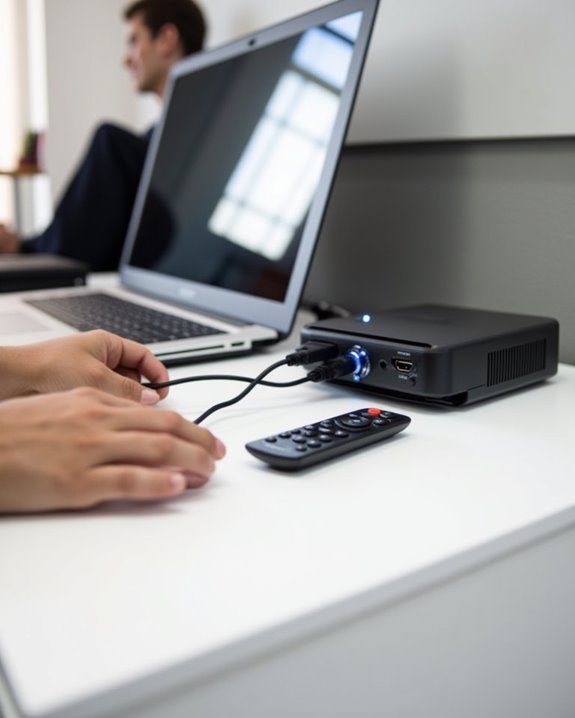
Choosing the Right Connection Cable for Your Setup
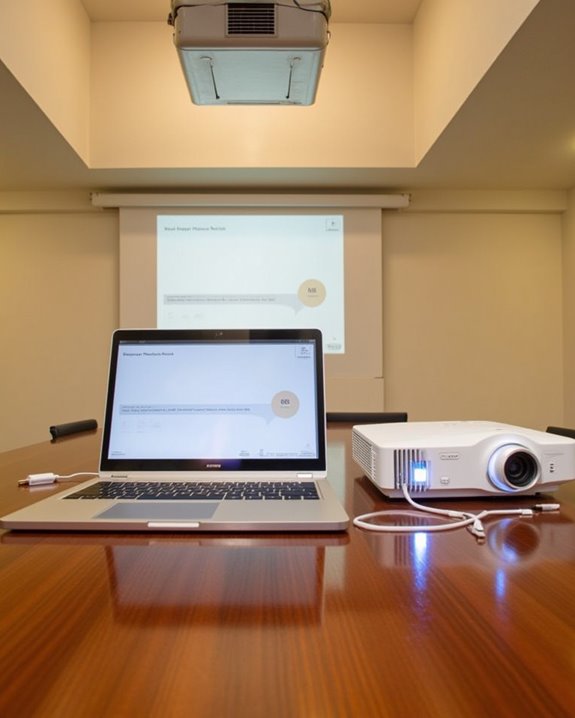
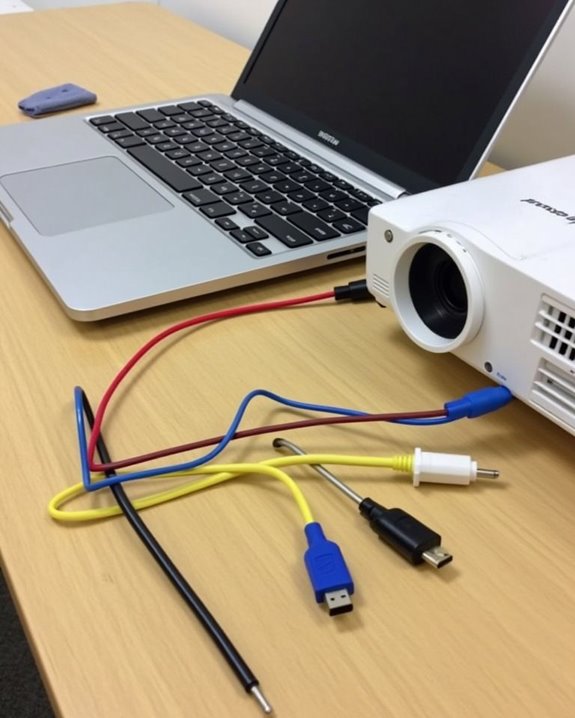
When you’re preparing to connect your laptop to a projector, selecting the appropriate cable is critical for achieving superior display quality and functionality. Most modern setups perform best with HDMI cables, which transmit both high-definition video and audio through a single connection. If your devices have different port types, you’ll need to consider adapter requirements based on your specific hardware configuration.
DisplayPort offers better performance for high-resolution presentations, while USB-C connections provide versatility for newer laptops. For older equipment, VGA cables remain a viable option, though they only transmit video signals without audio. When evaluating cable types, think about both your current needs and future compatibility, ensuring your selected connection supports your desired resolution, refresh rate, and multimedia requirements for optimal presentation results. To maintain image clarity and signal reliability, look for cables with features like gold-plated connectors and braided shielding.
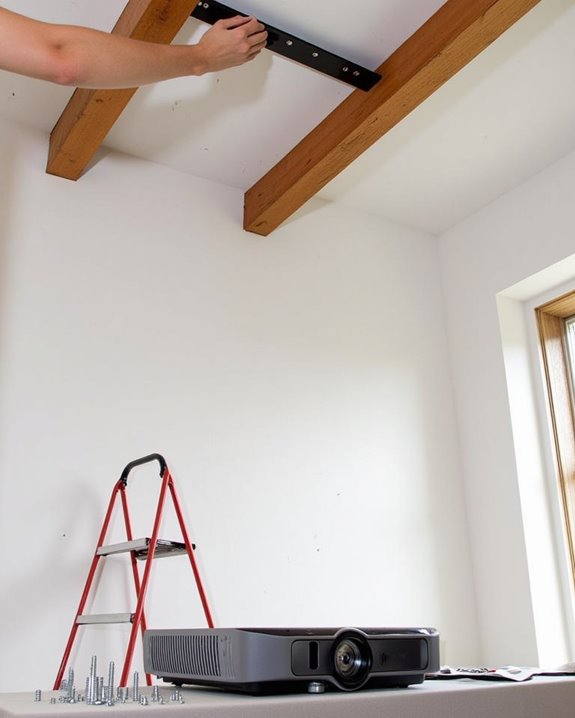
Essential Pre-Connection Preparation Steps
Before diving into the physical connection process, you’ll need to complete several critical preparation steps that guarantee a smooth, trouble-free presentation experience. Check both your laptop and projector for firmware updates, as outdated software can prevent wireless streaming features from functioning properly. Inspect all cables for damage, ensuring your HDMI or VGA connections are intact and free from fraying or bent pins.
Organize your presentation environment by managing cables, controlling ambient lighting, and positioning the projector ideally for your screen. If you’re planning to use voice control features, test microphone sensitivity and command recognition before your audience arrives. Adjust your laptop’s display settings to match the projector’s native resolution, and prepare backup connection methods should your primary option fail. Always download necessary media files locally rather than relying on streaming during critical presentations. For environments with ambient light, selecting a projector with sufficient brightness levels is crucial to maintain clear visibility and image clarity.
Step-by-Step Process to Connect and Configure
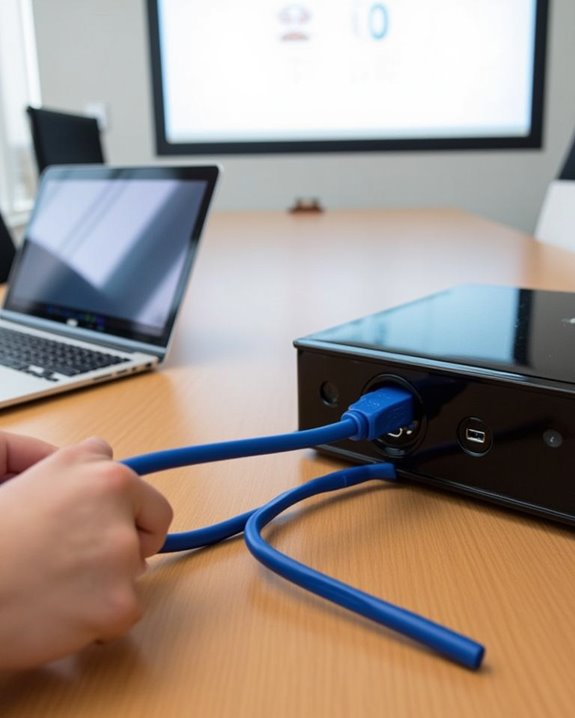
Connecting your laptop to a projector follows a logical sequence that, when executed correctly, guarantees a flawless display of your presentation materials. First, select the appropriate cable based on your laptop and projector ports, ensuring cable compatibility between both devices. For HDMI connections, insert the cable into corresponding ports on both devices, power them on, then select the HDMI input on your projector. VGA connections require similar steps but may need additional audio cables for sound transmission.
For wireless options, confirm both devices support technologies like Miracast or AirPlay, and connect them to the same network. Should issues arise, check that you’ve selected the correct input, examine cables for damage, update device drivers, or adjust your laptop’s display settings. Remember that wireless connections might introduce slight latency compared to direct cable connections. Additionally, using projectors with auto keystone correction can simplify setup by automatically adjusting image alignment for optimal viewing.
Optimizing Display Settings for Perfect Projection
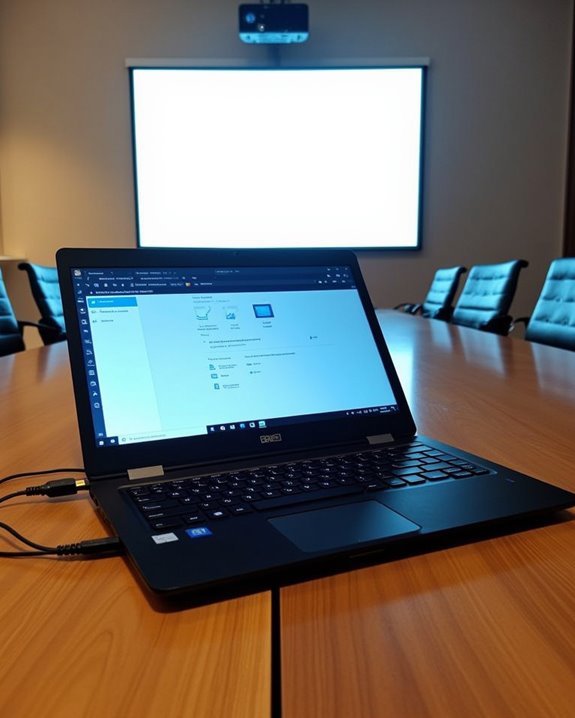
Once you’ve successfully connected your laptop to the projector, enhancing your display settings becomes essential for delivering a professional, high-quality presentation. Choose between duplicate mode, which shows identical content on both screens, or extend mode, which allows you to display slides on the projector while keeping notes on your laptop. Adjusting brightness and contrast through the projector’s menu ensures peak visibility, especially in rooms with variable lighting conditions.
Customizing orientation through keystone correction helps eliminate image distortion when the projector is positioned at an angle. For different content types, consider adjusting resolution settings to match the projector’s native resolution, which provides the sharpest image quality. Remember to set display priorities correctly so your audience sees what you intend, and use zoom controls to fit the projection perfectly to your screen size.
Solving Common Connection Problems and Their Fixes
Even if you’ve followed all connection steps perfectly, you’ll likely encounter projection problems at some point during your presentations. When facing “No Signal” issues, first check that your cables are securely connected at both ends, replacing any damaged cables immediately. Wireless options can eliminate cable problems altogether, though you’ll need to ensure compatible protocols between devices.
For input source problems, cycle through available sources using your projector’s remote until finding the correct one. If your laptop doesn’t recognize the projector, use function keys (typically Fn+F4 or similar) to toggle display modes to “Duplicate” or “Extend.” Audio integration issues often require separate troubleshooting, as video connections like HDMI should carry sound but sometimes don’t due to driver issues—updating graphics drivers frequently resolves both display and audio problems.
Frequently Asked Questions
Can I Connect Multiple Laptops to One Projector Simultaneously?
No, you can’t display multiple connections simultaneously. You’ll need a video switcher or presentation hardware to connect multiple laptops to one projector, allowing you to switch between inputs rather than showing true simultaneous display.
Will Projector Usage Drain My Laptop Battery Faster?
Picture your battery meter rapidly declining as colors dance on the wall. Yes, projector use will accelerate battery drain. You’ll want to adjust your power management settings or stay plugged in whenever possible.
How Can I Prevent Overheating When Using Laptop With Projector?
You’ll need to guarantee proper ventilation. Use cooling fans underneath your laptop, don’t block vents, place it on heat sinks or cooling pads, and take short breaks during extended projection sessions to prevent overheating.
Can I Use Touch Controls on Projected Presentations?
Like shadows cast on a wall, standard projections can’t feel your touch. Your laptop’s touchscreen compatibility remains limited to its own screen. You’ll need special interactive whiteboards or tools to enable gesture controls on projections.
Are Projector-Specific Drivers Needed for Optimal Performance?
No, you don’t need projector-specific drivers for ideal performance. Your laptop’s built-in display drivers typically handle everything. Only specialized projectors with advanced features might benefit from manufacturer-provided software for enhanced functionality.