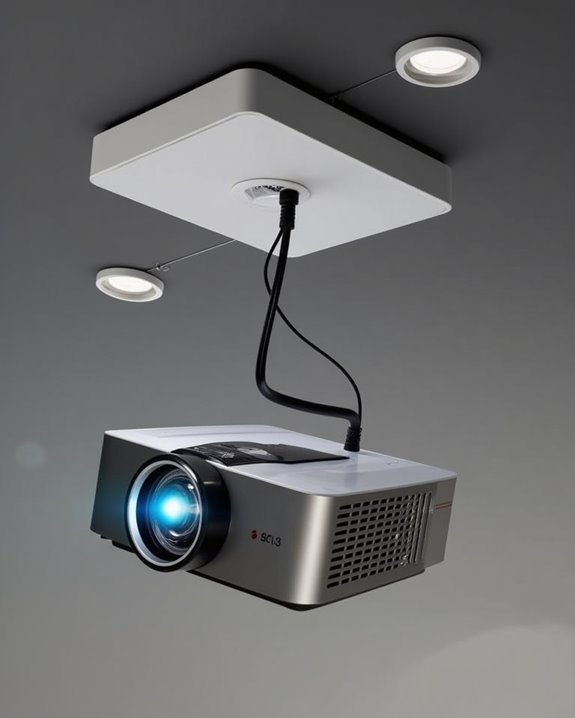
Mounting a projector upside down can feel like flipping your world view—disorienting at first, but ultimately revealing new possibilities for your home theater setup. You’ll find most modern projectors are designed with ceiling installation in mind, featuring internal mechanisms that properly orient the image and manage heat dissipation when inverted. Before you grab your drill and ladder, though, you’ll need to verify your specific model’s compatibility, proper mounting brackets, and structural support requirements. The difference between a professional-looking installation and a precarious ceiling hazard often comes down to these essential preliminary considerations.
Key Takeaways
- Most modern projectors are designed to be mounted upside down on ceilings with built-in image inversion settings.
- Check your projector’s manual to confirm support for inverted mounting before installation to avoid voiding the warranty.
- Proper ventilation is crucial when mounting upside down as heat rises and may affect the projector’s cooling system.
- Use mounting brackets specifically rated for your projector’s weight and secure them to ceiling joists or studs.
- After ceiling mounting, adjust the image orientation through the projector’s menu system to flip the display correctly.
How Upside-Down Mounting Affects Projector Performance
When you’re installing a projector on your ceiling, understanding how upside-down mounting affects performance is essential for achieving ideal image quality. Most modern projectors are designed to accommodate ceiling installation, featuring dedicated settings that correct image orientation automatically when mounted upside down. Without proper adjustment, you’ll experience severe image distortion with everything appearing reversed both horizontally and vertically.
The relationship between your projector’s position and screen material is equally important, particularly with specialized ALR/CLR screens. Incorrect orientation can compromise light reflection patterns, reducing the screen’s ability to reject ambient light. Ceiling-mounted projectors perform excellently when their orientation settings are correctly configured and paired with compatible screen materials that maintain proper light reflection characteristics in that specific mounting position. Additionally, considering power consumption is important to ensure efficient operation and avoid excessive energy use during extended ceiling-mounted use.
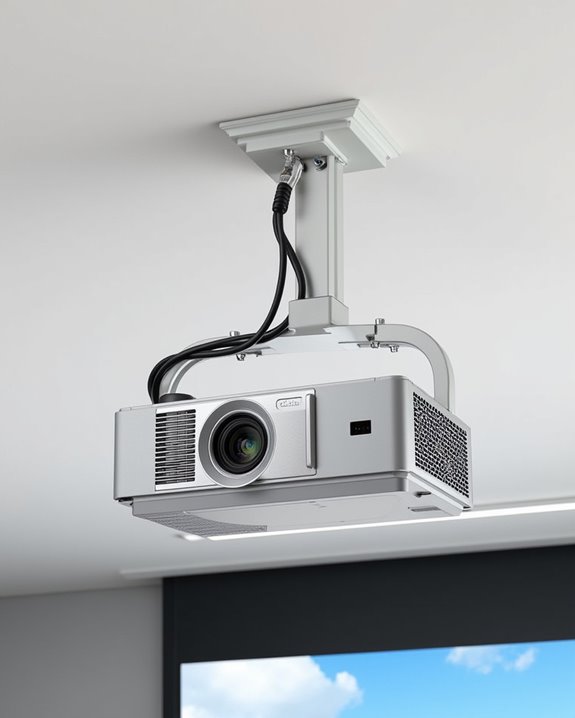
Ceiling Mount Design and Compatibility Factors
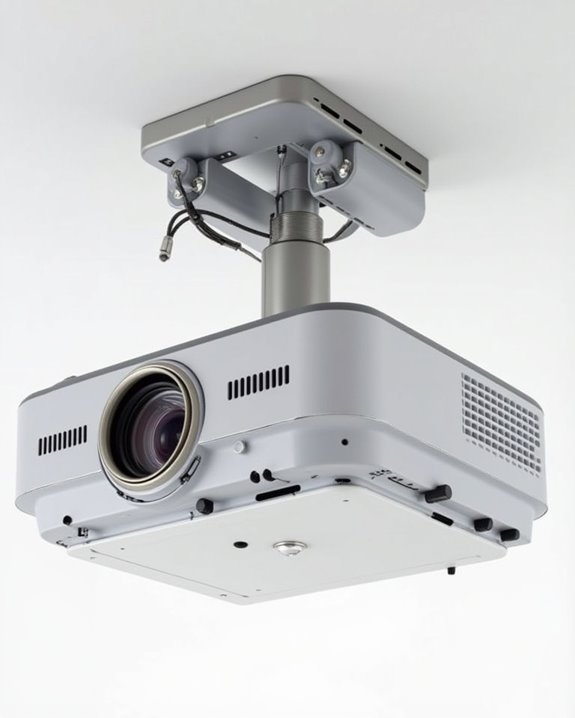
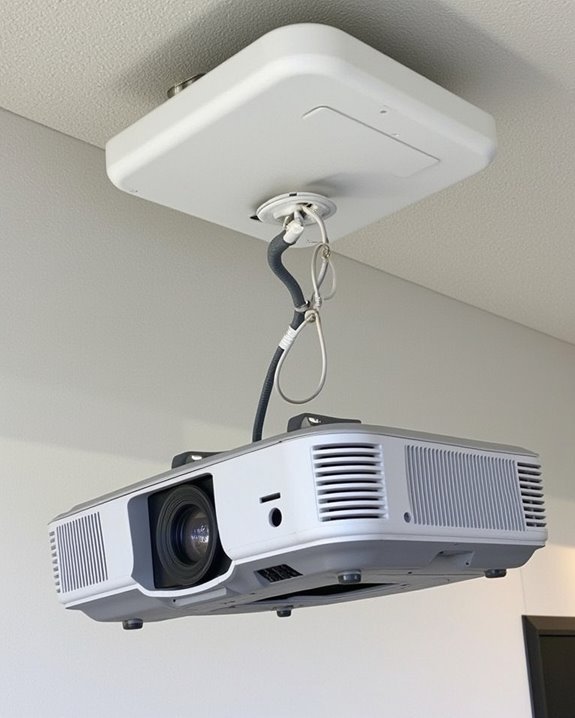
Selecting the right ceiling mount for your upside-down projector installation requires careful consideration of several key design and compatibility factors. Mount compatibility depends primarily on weight capacity and bolt hole configuration, with options ranging from 29.7 lbs (Mount-It MI-606B) to heavier models supporting up to 77 lbs (Mount-It MI-20147). When evaluating mounts, look for adjustable features that enhance ceiling aesthetics and functionality, including 360° rotation, tilt, roll, and swivel capabilities.
Height adjustability is vital for maximum positioning, with quality mounts offering ranges from 15″ to 45.1″ to accommodate various ceiling heights. Construction quality greatly impacts stability and longevity, with premium mounts utilizing cold-rolled steel for durability. For maintenance convenience, consider models with quick-release mechanisms and integrated cable management systems that maintain a clean, professional appearance. Additionally, many modern projectors feature auto-focus and keystone correction which ease alignment challenges when mounted upside down on ceilings.
Projector Inversion Features: What to Look For
A properly configured projector is just as important as the right ceiling mount for successful upside-down installation. When selecting a projector, prioritize models with built-in image inversion settings accessible through on-screen menus or wireless connectivity options. Most modern projectors include vertical, horizontal, or complete 180-degree flip capabilities, eliminating the need for awkward remote control navigation when ceiling mounted.
Look for projectors with substantial lens shift range, which allows you to adjust the projected image without physically moving the unit. Advanced models may feature automatic orientation detection, automatically flipping your image without manual intervention. Additionally, consider projectors with keystone correction technology to address any geometric distortion, though optical lens adjustments typically preserve better image quality than digital corrections. Finally, check if the manufacturer provides firmware support specifically for ceiling mounting configurations.
Also, ensure the projector’s brightness and contrast ratio are adequate for your room’s ambient lighting conditions to maintain image clarity when mounted on the ceiling with high contrast ratios.
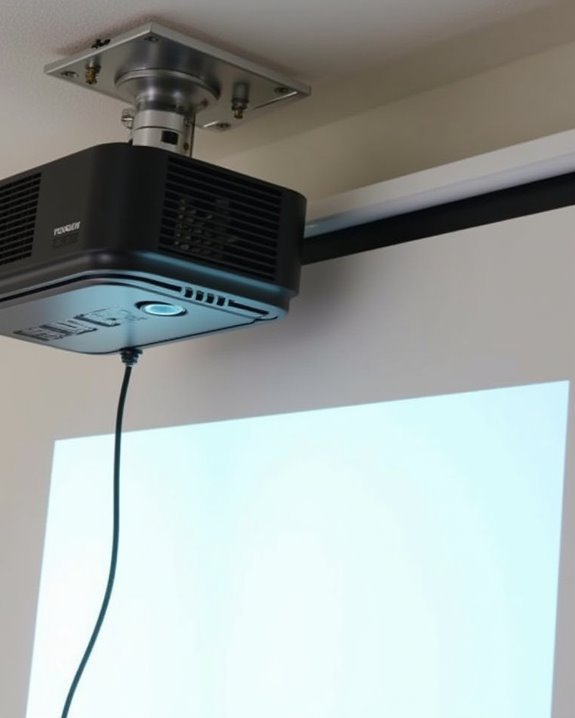
Ventilation Considerations When Mounting Upside Down
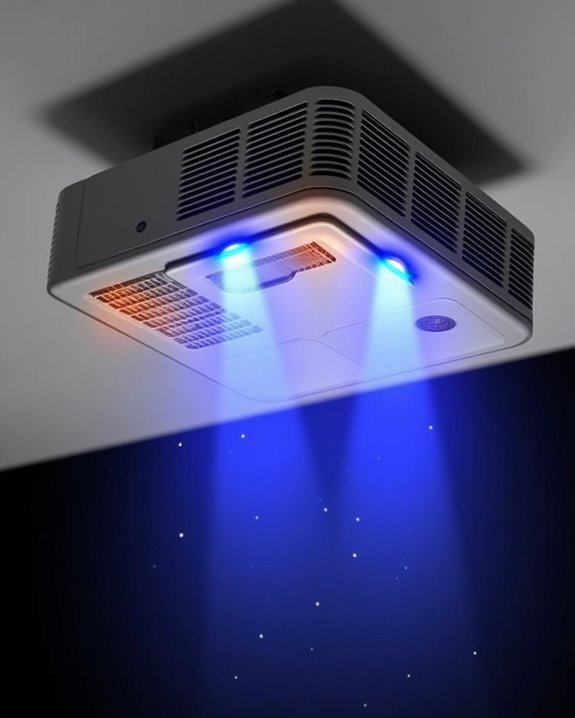
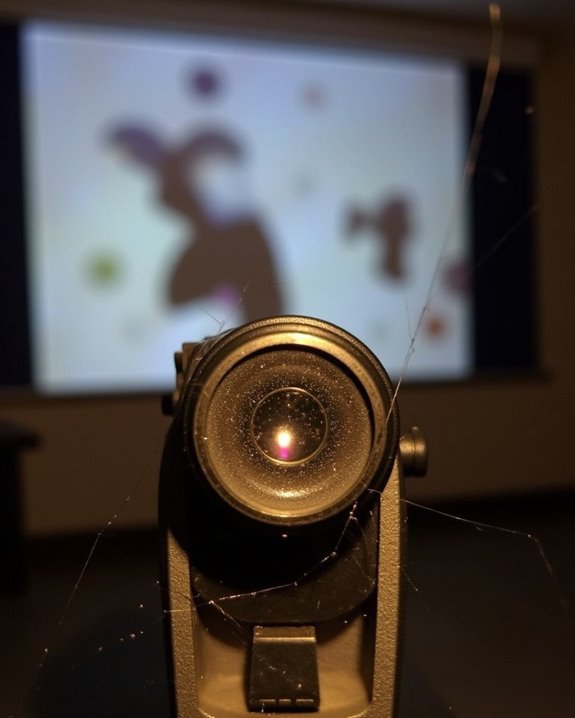
Proper ventilation becomes critically important once you’ve mounted your projector upside down, as heat naturally rises and can become trapped in the unit’s housing. When installing your ceiling mount, ensure there’s sufficient space around all sides of the projector for adequate air circulation, especially near fan outlets and intake vents. Regular cleaning is essential to prevent dust buildup, which can obstruct airflow channels and force fans to work harder, increasing ambient noise and potentially shortening your projector’s lifespan.
Consider your mount’s design carefully, selecting options that don’t obstruct ventilation ports and allow heat to dissipate efficiently. The room’s ambient temperature also affects cooling performance, so maintain consistent climate control in your space, keeping air conditioning vents unobstructed. For ideal results, monitor your projector’s temperature during extended use and install additional cooling accessories if necessary.
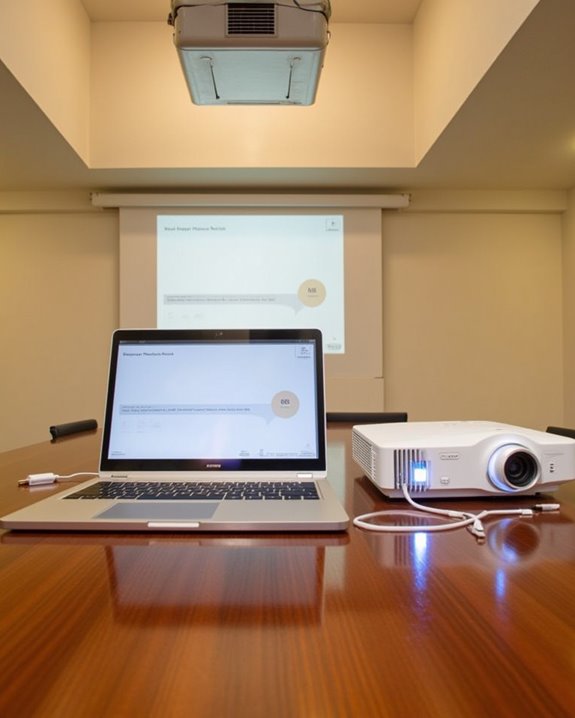
Step-by-Step Guide to Ceiling Installation
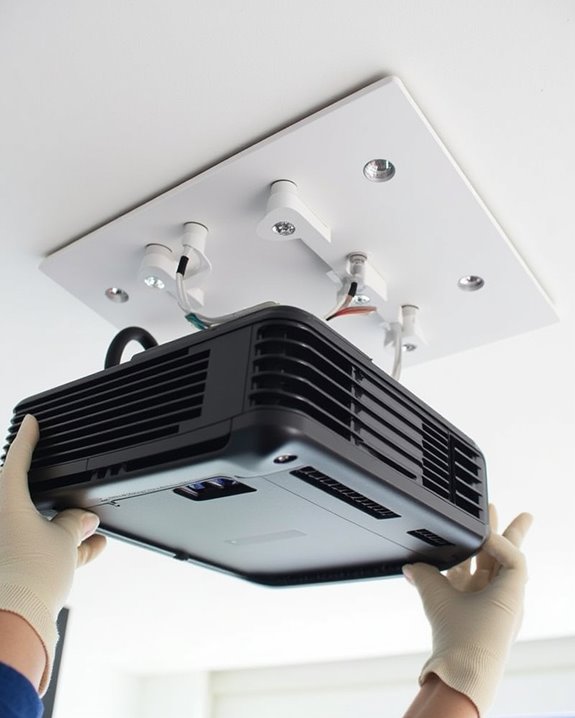
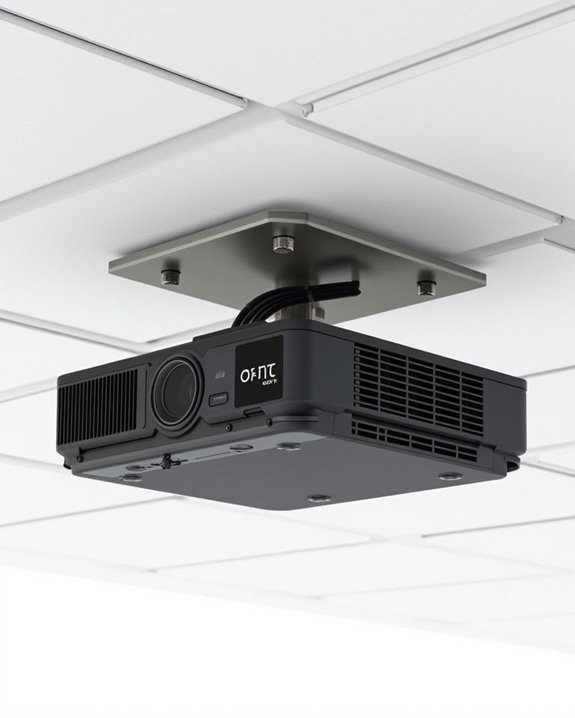
When you’re ready to mount your projector upside down, following a systematic installation process will guarantee both peak performance and safety. Begin by selecting an appropriate mount rated for your projector’s weight, then locate ceiling joists using a stud finder for secure attachment. Mark mounting holes precisely, drill pilot holes, and firmly attach the ceiling bracket with proper anchors if needed.
Secure the projector to the mounting plate using manufacturer-supplied hardware, enlisting help to hold the unit during installation. Before final tightening, adjust positioning to ensure proper image alignment, which will affect both color calibration and audio synchronization once operational. Make all necessary adjustments to horizontal offset, tilt, and swivel until achieving ideal projection, then tighten all components securely while routing cables neatly along the ceiling with appropriate management systems.
Adjusting Image Orientation and Keystone Settings
Once your projector is securely mounted upside down, you’ll need to adjust the image orientation to guarantee proper display on your screen. Access your projector’s menu system using the remote, steering to “Display” or “Settings” options where you’ll find “Orientation” or “Ceiling Mount” modes that automatically flip the image. Most modern projectors include these essential settings alongside power management features that optimize performance during ceiling operation.
Next, address any trapezoid distortion using keystone correction tools. While auto-keystone works for minor adjustments, manual fine-tuning delivers superior results, preserving color calibration accuracy that might otherwise be compromised. Remember that excessive keystone correction can degrade image quality, so prioritize physical alignment whenever possible. For premium results, projectors with lens shift capabilities offer distortion-free adjustment without compromising resolution or requiring extensive digital correction.
Weight Distribution and Structural Support Requirements
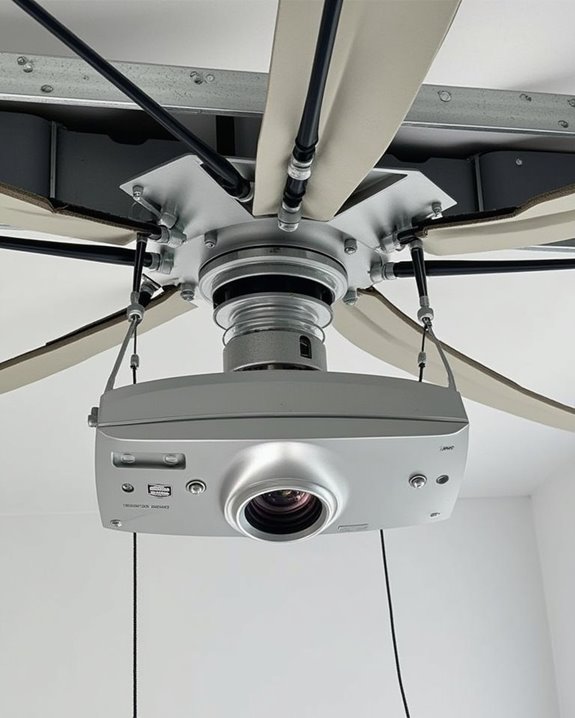
Successful ceiling mounting of your projector depends entirely on proper weight distribution and structural integrity considerations. Before installation, confirm your ceiling mount can support your projector’s weight, with most mounts accommodating between 18-30 pounds. You’ll need to secure the mount directly to ceiling joists, as false or dropped ceilings won’t provide adequate structural support for the hanging weight.
Choose a mount that distributes weight across multiple anchor points, reducing stress on any single connection. For heavier projectors, consider in-ceiling mounts rather than below-ceiling options, as they offer superior weight distribution capabilities. When installing, use appropriate mounting hardware including sturdy screws and brackets that exceed your projector’s weight requirements. If you’re uncertain about your ceiling’s structural capacity, it’s advisable to consult with a professional before proceeding with installation.
Common Challenges With Inverted Projector Setups
While projectors can technically be mounted upside down, you’ll face several challenges that demand careful planning and technical attention. Heat management becomes critical, as warm air naturally rises and can potentially cause overheating when your device is inverted. You’ll need to guarantee adequate ventilation space, especially for projector cleaning, which becomes more difficult when units are ceiling-mounted.
Image orientation requires adjustment through your projector’s menu system, while cable management demands thoughtful routing to prevent strain on connections. Regular maintenance becomes complicated due to limited accessibility, potentially affecting warranty considerations if manufacturer guidelines aren’t followed. Modern projectors typically support ceiling mounting, but some models, particularly ultra-short throw projectors, may not be designed for inverted operation, so always check your owner’s manual before installation.
Maintaining Your Ceiling-Mounted Projector
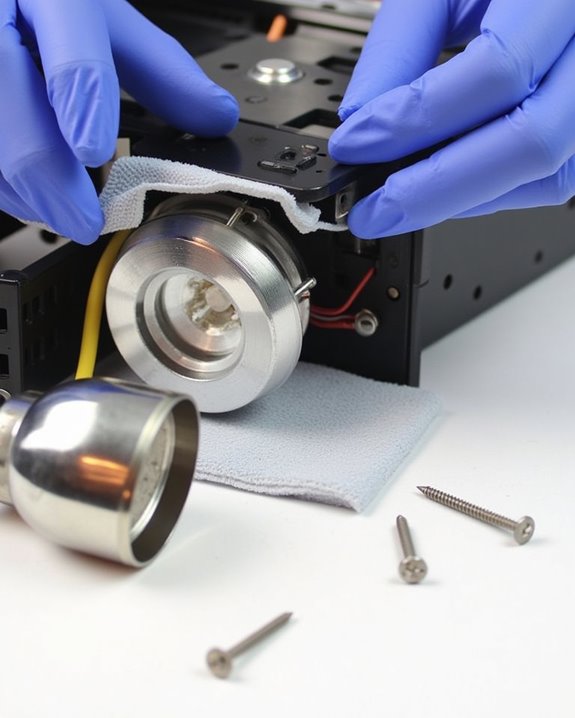
Proper maintenance of your ceiling-mounted projector is essential for extending its lifespan and guaranteeing ideal performance throughout years of use. Weekly inspection of air filters and vents prevents dust accumulation that can cause overheating, while regular lens cleaning maintains image clarity. Position your projector away from heat sources to avoid remote control interference and ensure proper temperature regulation.
Check your mounting brackets monthly, tightening screws and cleaning connection points to prevent wobbling that affects image stability. Power supply considerations include turning off the projector correctly using the designated switch rather than simply unplugging it. Annual thorough cleaning should address all components, including cables and connectors, while proactive lamp replacement when brightness dims will maintain optimal performance and prevent unexpected failures during important presentations.
Alternative Mounting Solutions for Difficult Spaces

Beyond standard ceiling installations, you’ll often encounter spaces where conventional mounting methods simply won’t work. When facing challenging environments, shelf or cabinet mounts offer cost-effective alternatives that provide excellent stability while keeping your projector accessible for maintenance. Wall mount brackets save valuable space and support heavier units, though proper stud attachment is essential for fire safety.
For more sophisticated solutions, recessed boxes create sleek integration but require careful planning for ventilation and cable management. Truss or pipe mounts at $80-$100 offer flexibility in industrial or temporary settings, with adjustable spider-legs for precise positioning. When selecting an alternative mounting solution, consider not only the physical constraints of your space but also how easily you’ll access the projector for cleaning and adjustments, ensuring both functionality and longevity.
Frequently Asked Questions
Does Mounting a Projector Upside Down Affect Its Lamp Lifespan?
No, mounting your projector upside down won’t affect its lamp lifespan as long as proper ventilation is maintained. You’ll still enjoy the same projection quality with appropriate airflow around the unit’s cooling vents.
Can Portable Projectors Be Safely Mounted Upside Down?
Just like you’ve probably flipped things upside down before, portable projectors can be mounted upside down if they’re designed for it. You’ll need to guarantee mounting stability and installation safety by following the manufacturer’s guidelines.
Will Upside-Down Mounting Void My Projector’s Warranty?
Upside-down mounting typically won’t void your projector warranty if you follow the manufacturer’s guidelines. Most projectors are designed for ceiling installation, but always check your specific model’s manual to confirm proper mounting procedures.
How Do Outdoor Projectors Handle Inverted Mounting in Varying Weather?
Did you know 70% of outdoor projector failures are weather-related? Your outdoor projector can handle inverted mounting if you guarantee proper mounting stability and maintain projection alignment with weatherproof enclosures and regular maintenance checks.
Are There Special Considerations for Short-Throw Projectors Mounted Upside Down?
Short-throw projectors require careful consideration of projection angle and installation height when mounting upside down. You’ll need precise positioning due to their limited throw distance, and some manufacturers advise against ceiling mounting with certain screen types.