As an Amazon Associate, we earn from qualifying purchases. Some links on this site are affiliate links at no extra cost to you. Our recommendations are based on thorough research and editorial judgment.
Why Is My Projector Blurry? Common Causes and Easy Fixes
A blurry projector can quickly ruin your presentation or movie night, causing frustration and distraction for viewers. You’re likely facing one of several common issues that affect image clarity, from simple lens dust to more complex resolution mismatches between your source and display. Understanding these potential problems is your first step toward a sharper picture, as most blur issues can be resolved without professional help. The following sections will guide you through step-by-step troubleshooting to diagnose and fix your specific situation, ensuring your projector performs at its best.
Key Takeaways
- Dust on lenses or internal components causes image distortion, requiring regular cleaning with microfiber cloths and compressed air.
- Incorrect focus adjustment needs manual fine-tuning, even after using auto-focus features as a starting point.
- Resolution mismatch between source device and projector creates digital blur, so align native resolutions for optimal clarity.
- Improper projection distance or misalignment with screen affects image sharpness and can be corrected through proper positioning.
- Textured or uneven projection surfaces distort pixels, while smooth, high-quality screens preserve image clarity and detail.
Understanding the Basic Causes of Projector Blur
When you’re frustrated with a blurry projector image, understanding the root causes can help you troubleshoot effectively. Blurriness typically stems from five primary issues: resolution mismatches between your source device and projector, improper focus adjustment, incorrect throw distance, motion blur from inadequate refresh rates, and poor-quality screen materials.
Your projector’s clarity is also affected by ambient lighting conditions, which can wash out images and reduce perceived sharpness. Color calibration plays a vital role too, as improper settings can make text appear fuzzy and details less distinct. To diagnose your specific issue, examine whether the blur occurs consistently or only during movement, if it affects the entire image or just portions, and whether adjusting focus temporarily improves clarity before returning to a blurry state. Additionally, ensuring your projector’s brightness level matches your room’s ambient light is essential for maintaining image sharpness and clarity, as models vary from 550 to over 1500+ ANSI lumens depending on use cases and environment brightness levels.
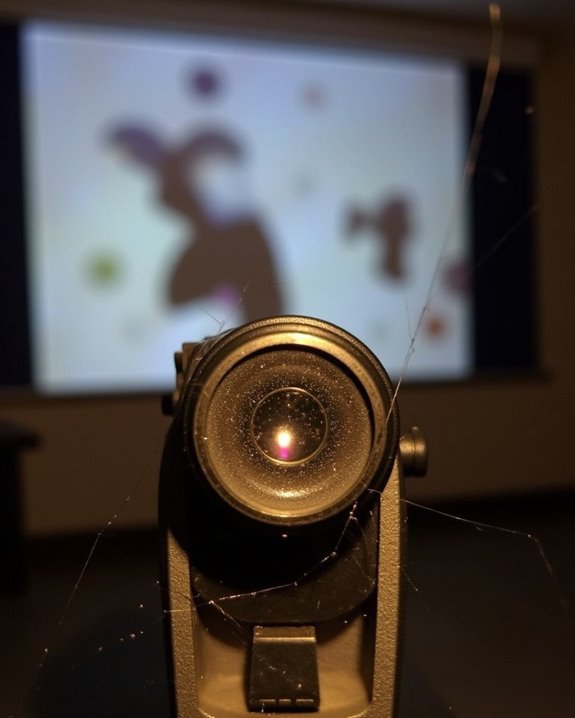
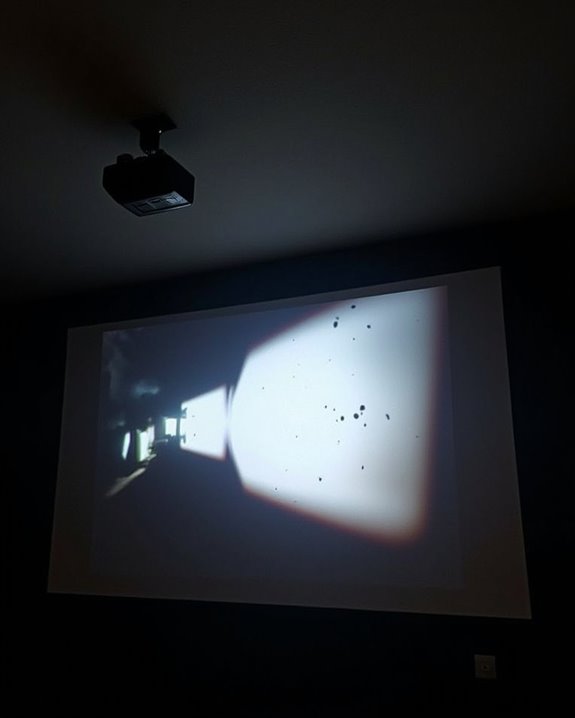
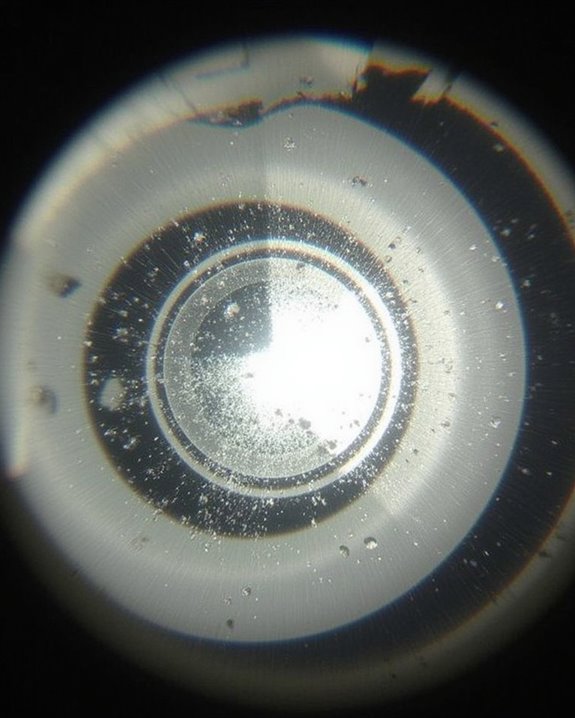
Dirty Lens: The Most Common Culprit
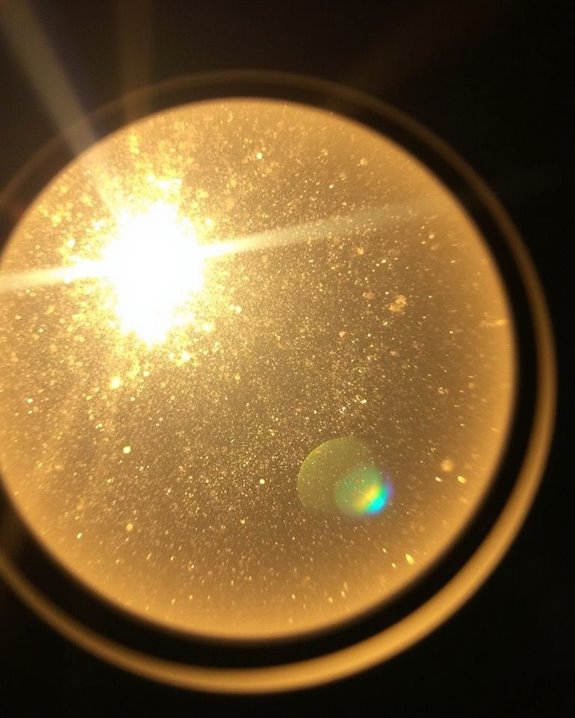
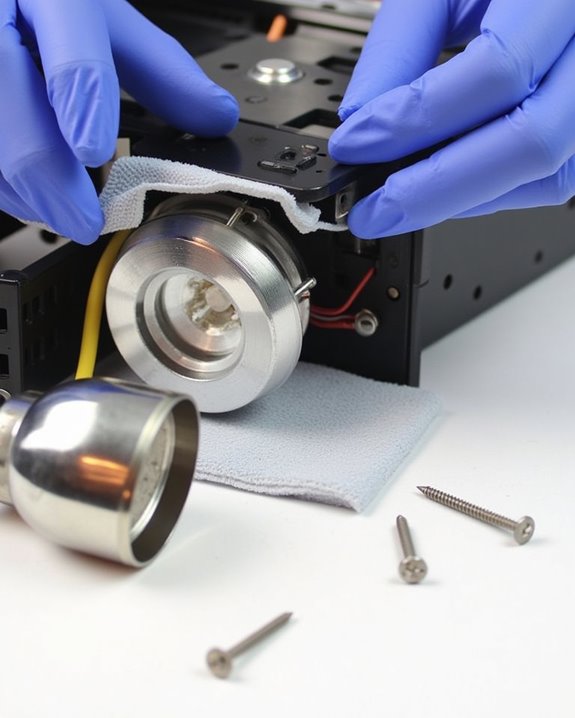
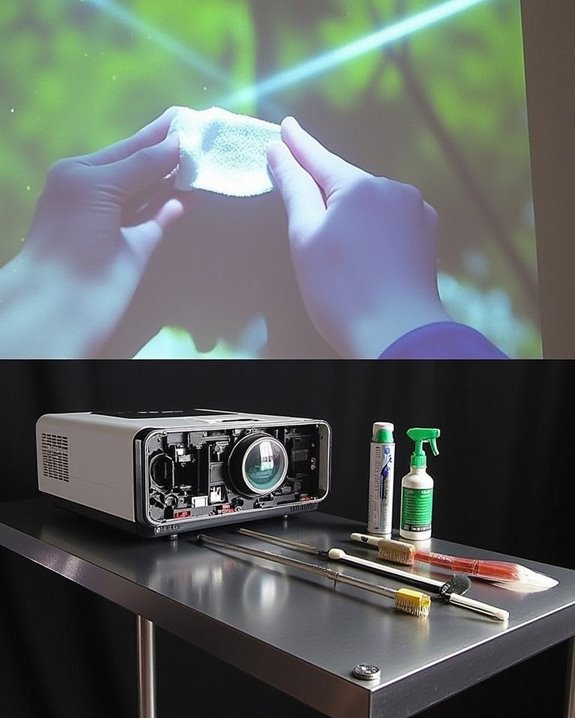
Among all the issues that can cause projector blurriness, a dirty lens stands out as the most frequent culprit that’s often overlooked by users. Your projector’s lens clarity can deteriorate due to dust accumulation, fingerprints, moisture, and improper cleaning techniques, resulting in diminished image quality.
For effective dust removal, you’ll need several tools: a blower or compressed air to dislodge particles, a soft brush for stubborn debris, and microfiber cloths for wiping. Always unplug your projector and allow it to cool before cleaning, and never spray solution directly onto the lens. Instead, apply it to your cloth and wipe in circular motions.
Regular maintenance prevents permanent damage, extends your projector’s lifespan, and maintains optimal focus and color accuracy over time. Proper care, including regular cleaning and maintaining ventilation, directly influences longevity and performance.
Recommended Products

CLEAN ANY CAMERA IN SECONDS...SAFELY FROM THE GROUND - Your cameras get dirty; spider webs, pollen, bird droppings, dust, and other debris can blur the critical video you need. CameraWand removes years of this grime in just a few seconds. A quick wipe, and they're back to like new!

[Air-Move Air Blower With Long Nozzle]: designed specially for removing the dust particles on the surface of the lens, hot-shoe and zoom ring. Which award the 2019 German Red Dot Design Award.

Professional Camera Cleaning Set : 2024 Newly upgraded replaceable cleaning pen + lens air blower + 25*25CM cleaning cloth*2 + replaceable full-frame cleaning swab*10 + Cleaning wipes*10 + vacuum galsses cleaning cloth*6 + anti-static gloves + storage bag *1.
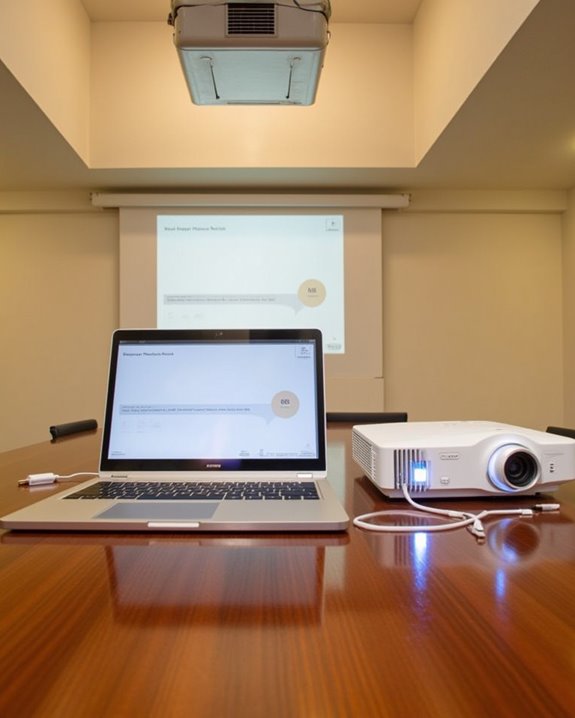
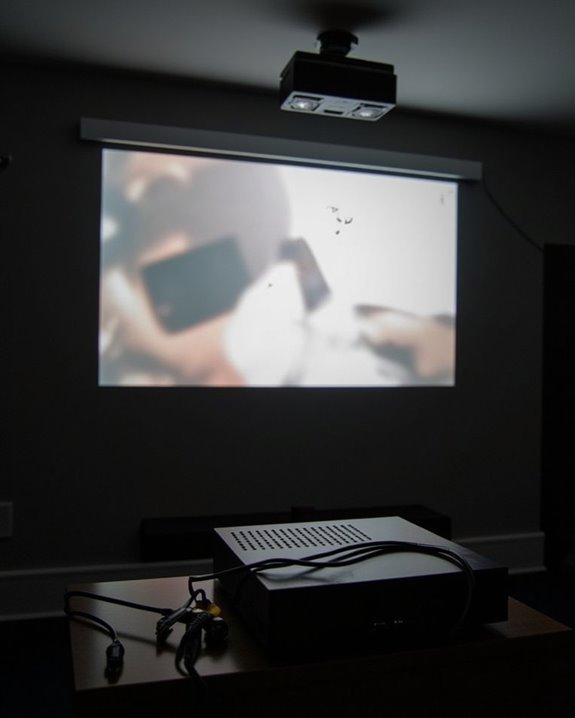
Focus and Distance Adjustments for Crystal Clear Images
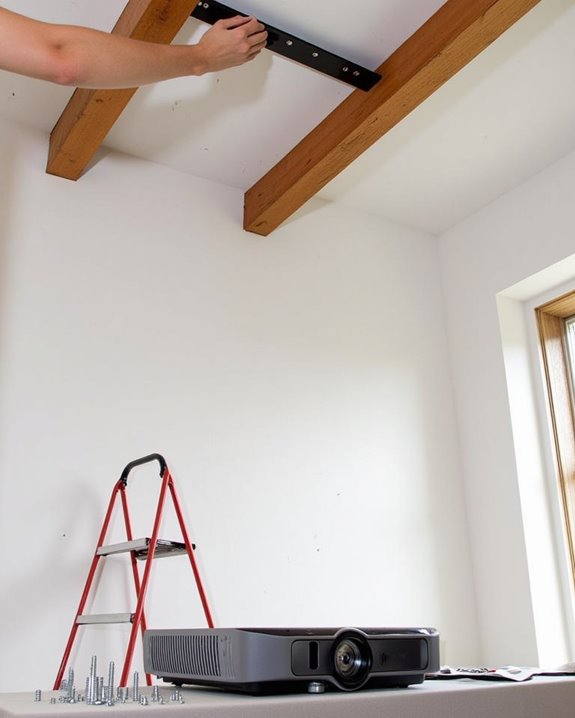
Even with a pristine lens, your projector’s image may remain frustratingly blurry if the focus and distance settings aren’t properly configured. Proper lens calibration begins with calculating the ideal throw ratio, which determines the best distance between your projector and screen for sharp imagery.
Most projectors offer manual focus adjustments through control rings or remote buttons, allowing you to fine-tune clarity with precision focus techniques. Auto-focus features can provide a good starting point, though they often require manual fine-tuning for optimal results. For best performance, ensure your projector is centered and properly aligned with the screen, adjusting mounting height as needed. If perfect alignment isn’t possible, utilize keystone correction to square the image or take advantage of lens shift capabilities, which maintain image quality better than keystone adjustment alone. Additionally, using projectors with auto-focus and keystone correction features can significantly reduce setup time and improve image sharpness.
Recommended Products

DIMENSIONS: 200-INCH DIAG. 16:9 Aspect Ratio. View Size: 97.6" H x 174.0" W. Overall Size: 149.4" H x 179.9" W. Lowest Point: 114.3" / Highest Point: 149.8".

[120-INCH 16:9 MOTORIZED PROJECTOR SCREEN] 120" diagonal electric screen with a 16:9 aspect ratio. View size: 58.8" H x 95.5" W with an 8" black top drop for optimal image positioning. Overall dimensions: 73.5" H x 114.7" W. Sleek white housing for a clean, modern installation.

【Ultra-Fast Freeze Mode & HSS】 Capture split-second action with the dedicated Freeze Mode, offering ultra-short flash durations from 1/2310s to 1/24,390s. Combined with High-Speed Sync (HSS) up to 1/8000s, it allows you to overpower the sun and achieve creative motion control in any lighting condition.
The Impact of Projection Surfaces on Image Quality
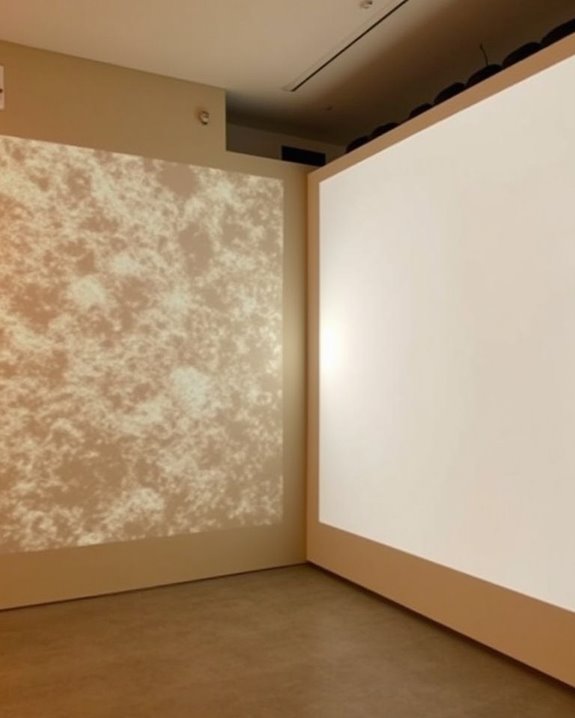
Your projector’s lens and focus settings aren’t the only culprits behind blurry images, as the surface you’re projecting onto plays a crucial role in determining overall clarity. A textured or uneven projection surface can distort pixels, especially with high-resolution 4K projectors, resulting in a frustrating “fuzz effect” that diminishes sharpness.
For ideal image clarity, consider the material composition of your screen. Smooth-surfaced screens, particularly those made from PVC, prevent pixel distortion and maintain geometric precision. If your room has ambient light, an ALR (Ambient Light Rejecting) screen can considerably reduce glare while enhancing contrast. In darker environments, matte white screens deliver excellent color accuracy, while high contrast gray screens improve dark areas. Remember that even microscopic variations in surface texture can affect how well your projector displays fine details.
Recommended Products

165-Inch Outdoor Motorized Projector Screen: The Elite Screens Yard Master Electric 165-inch motorized outdoor projector screen features a 16:9 aspect ratio with a viewing area of 80.9" H x 143.8" W, delivering a true cinematic experience for movies, sports, and gaming in your backyard, patio, or poolside. Overall dimensions: 94.2" H x 155.2" W x 3.9" D with a durable black case.

Ultimate Darkroom Cinematic Experience: Crafted from premium-grade PVC material, this screen is the ultimate choice for dimly lit environments or dark rooms. AWOL Vision screen achieves an 80% enhancement in picture quality with a 1.3dB Peak Gain, delivering a much more vivid image even for projectors with weaker brightness. * Please note it does NOT resist ambient light. For use with ceiling light, the best choice is our Ambient Light Rejecting (ALR) Motorized Floor Rising Screen.

To avoid purchasing an unsuitable screen size, we recommend projecting an image to determine the appropriate dimensions prior to purchase. Should you have any queries regarding screens, please consult us for optimal screen recommendations
Keystone Correction and Image Alignment Issues
When your projector is creating blurry images, keystone correction might be the hidden culprit behind your frustration. This digital manipulation, while solving one problem, often creates another by reducing the actual number of pixels used to display your image, resulting in noticeable softening and reduced sharpness.
Both vertical and horizontal keystone correction affect image quality, particularly when adjustments are extreme. While this feature helps achieve proper image alignment when your projector isn’t ideally positioned, it sacrifices clarity in the process. The digital scaling required to correct the trapezoid shape essentially compresses parts of the image, degrading overall definition.
For best clarity, try repositioning your projector directly in front of the screen whenever possible, or use lens shift technology instead of keystone correction to maintain image quality while achieving proper alignment.
Recommended Products

TRIPLE LASER: Experience richer, more lifelike color with Pure Triple Laser. With an ultra-wide color range and smooth, accurate tones, everything you watch looks more realistic and consistently true on screen.

VERSATILE PROJECTOR: Advanced visual features ideal for use in professional installations, large venues, business and education environments

4K PRO-UHD (1) – Advanced pixel-shifting technology works in parallel with three individual high-definition LCD chips without sacrificing picture brightness
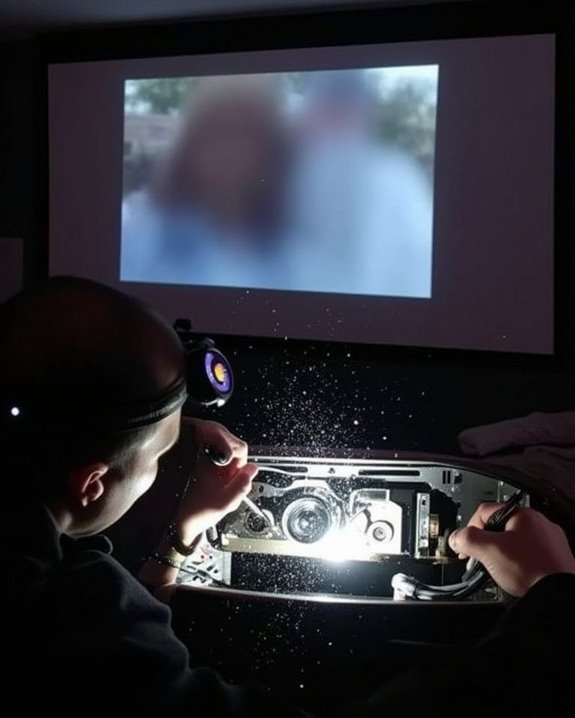
Hardware Malfunctions That Lead to Blurry Projection
Hardware issues within your projector often manifest as persistent blurriness that won’t resolve through simple focus adjustments. Faulty autofocus mechanisms or degraded focus motors can prevent proper image sharpness, while defective imaging chips or LCD panels directly impact projection clarity. Internal hardware components like optical elements may become misaligned through normal wear and tear, causing consistent focus problems.
Firmware issues can also affect hardware performance, with outdated software failing to properly control the focusing system. Heat-related problems frequently contribute to blurriness, as overheating from blocked ventilation or fan failures causes optical elements to shift slightly. If you’re experiencing persistent blur, check that cooling vents remain unobstructed and listen for unusual fan noises, which often indicate impending hardware problems. Sometimes, a firmware update or factory reset resolves these hardware-related image quality issues.
Recommended Products
![VLAND LED Headlights For Ford F250 F350 Super Duty [Halogen Type Only] 2020–2022 Pickup Truck 4th Gen (Not For Factory LED Model)](https://m.media-amazon.com/images/I/51Fiv3KyMqL._SL500_.jpg)
Direct Fitment - LED headlight assembly for 2020 2021 2022 Ford F250 F350 F450 F550 Superduty XL,XLT, Lariat,King Ranch [Halogen Type Only]. Not For Factory LED Model.

Fitness: These projector headlights fit for IS250/ IS250C IS350 IS350C IS220d 2006 2007 2008 2009 2010 2011 2012, ISF 2008 2009 2010 2011 2012 2013 2014. One-year warranty from date of delivery. Please keep all user manuals, barcode on box or on the lights. If you have issues with our lights, please just contact us.

🚗【Compatibility】Headlights assembly compatible with 2009-2014 Ford F150 FX2/FX4/King Ranch/Lariat/Limited/Platinum/STX/SVT Raptor/XL/XLT/Lariat Limited.
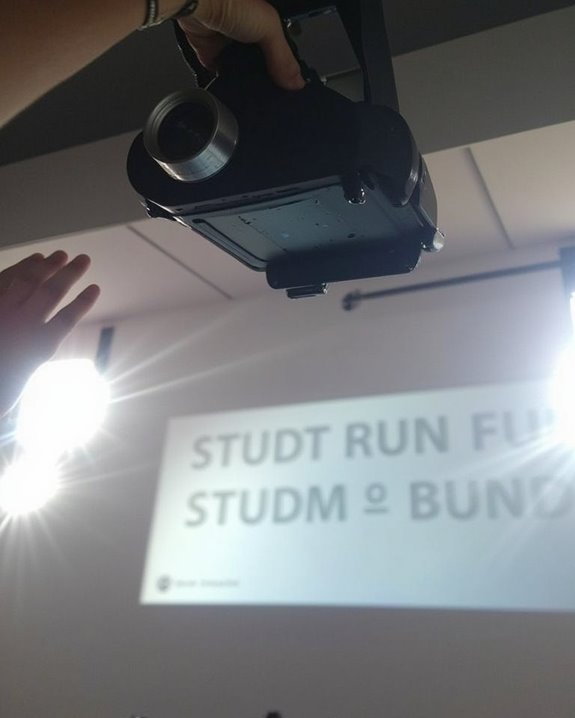
Resolution and Input Source Problems
While hardware issues often cause blurry projections, resolution and input source problems represent another common culprit behind unclear images. Resolution mismatch occurs when your projector’s native resolution doesn’t align with your input device, resulting in scaled images that appear fuzzy or distorted. You’ll need to adjust your computer’s display settings to match your projector’s capabilities for suitable clarity.
Input source problems can also contribute to blurriness through poor-quality cables, loose connections, or incompatible signal types. Check that you’re using undamaged HDMI or VGA cables properly secured at both ends. Additionally, verify that your projector and computer have synchronized refresh rates, as mismatched settings can cause flickering or blurred motion. Adjusting the aspect ratio on your projector may also resolve distortion issues that make text and images appear stretched and unclear.
Environmental Factors Affecting Your Projector’s Clarity
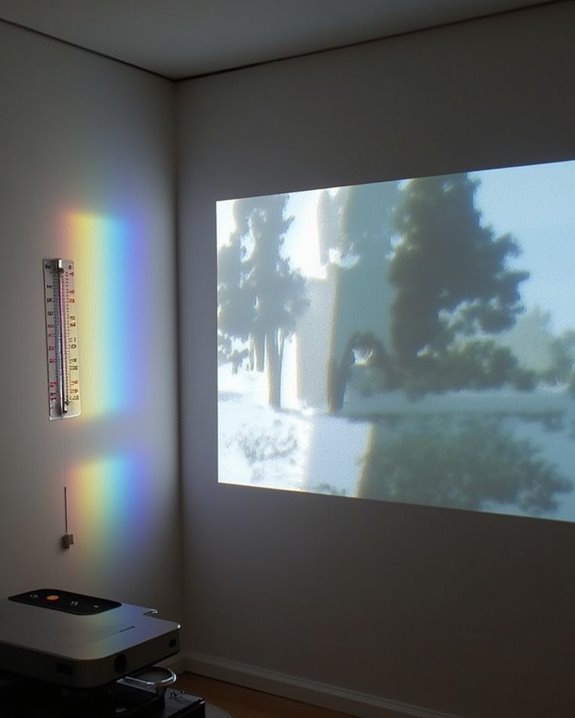
Beyond the projector itself, environmental factors play a crucial role in determining image clarity and can often be the hidden culprit behind persistent blurriness. Ambient light conditions, particularly high levels from windows or overhead lighting, can wash out your image and reduce contrast considerably. UV interference from sunlight not only diminishes visibility but can also cause thermal effects that impact internal components over time.
Dust accumulation represents another major challenge, as particles settling on lenses or optical components reduce brightness and distort colors. Additionally, temperature fluctuations and humidity levels affect your projector’s performance through condensation on optical elements or component stress. In particularly dusty environments, consider a projector with IP5X or higher rating for dust protection, and always position your unit away from direct sunlight to maintain ideal image clarity.
Regular Maintenance Tips to Prevent Blur
Regular maintenance serves as your best defense against projector blur, transforming those environmental challenges into manageable conditions. Start with proper lens cleaning using soft, lint-free microfiber cloths to prevent scratches that lead to image degradation, and avoid harsh chemicals that can damage the delicate lens coating. When not in use, follow responsible storage practices by keeping your projector in a cool, dry environment away from extreme temperatures and humidity that can affect internal components.
Don’t overlook regular focus and alignment checks, ensuring your projector remains level and properly positioned relative to your screen. Match your source device’s resolution to your projector’s native resolution to prevent digital blur, and schedule periodic deep cleaning sessions to remove accumulated dust from both external and internal components.
When to Seek Professional Help for Your Projector
Despite your best maintenance efforts, there are situations when your projector’s blurriness requires professional intervention, particularly if you’ve exhausted all DIY troubleshooting options. Complex issues like cracked lenses, circuit board failures, or persistent blurriness despite adjustments warrant expert attention.
Consider professional diagnostics when you notice unusual noises, burning smells, or visible physical damage to your projector. High-end models especially benefit from specialized repair services that utilize genuine parts and offer warranties on their work. If your projector is still under warranty coverage, contacting authorized service centers is essential to maintain your protection.
When selecting repair services, prioritize technicians with experience handling your specific brand, positive customer reviews, and transparent pricing policies. Professional repair often proves more cost-effective for valuable equipment than repeated DIY attempts that might cause additional damage.
Frequently Asked Questions
Can Screen Burn-In Cause Projector Blurriness?
While screen burn-in doesn’t directly cause blurriness, it creates persistent discoloration and shadows that you might perceive as blur. This image persistence can make details appear less sharp, especially in affected areas of your projection.
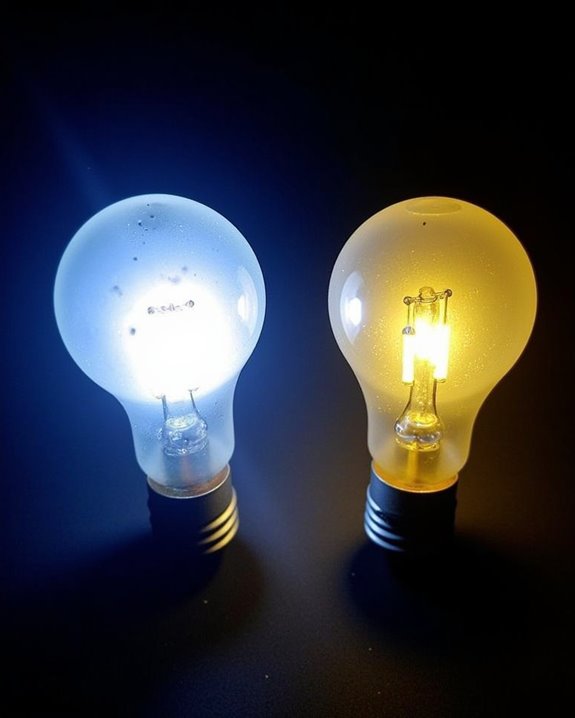
Does Projector Bulb Age Affect Image Clarity?
Yes, as your projector bulb lifespan diminishes, you’ll notice significant image quality degradation. Aging bulbs lose brightness, causing blurry, dull images. You’ll typically see clarity issues after 1500-2000 hours of use.
How Do Color Calibration Settings Impact Perceived Sharpness?
Studies show 60% of users mistake color issues for blurriness. You’ll notice improved perceived sharpness with proper color accuracy adjustments. Contrast enhancement between elements makes details pop, creating the illusion of a sharper image overall.
Can Wireless Projection Cause More Blur Than Wired Connections?
Yes, your wireless projection can cause more blur due to wireless interference and compression. You’ll experience better signal stability with wired connections, resulting in sharper images and fewer quality issues overall.
Do Different Projection Technologies (Dlp Vs LCD) Have Different Blur Issues?
Indeed, like night and day, DLP and LCD projection technologies differ in their blur issues. DLP offers better image sharpness with higher contrast, while LCD may show more pixelation but fewer rainbow artifacts that cause blur-like effects.