As an Amazon Associate, we earn from qualifying purchases. Some links on this site are affiliate links at no extra cost to you. Our recommendations are based on thorough research and editorial judgment.
How to Hang a Projector: Step-by-Step Installation Guide

Installing a projector properly requires more precise planning than most people realize. You’ll need to calculate the throw ratio, which determines exactly how large your image will be based on the distance from your screen. While hanging a projector might seem intimidating, especially when dealing with ceiling mounts and electrical connections, breaking the process into methodical steps makes it manageable. The right installation guarantees not only maximum image quality but also prevents potential safety hazards that could result from improper mounting.
Key Takeaways
- Determine the ideal projector position by calculating throw distance and ensuring it’s centered relative to your screen.
- Locate ceiling studs using a stud finder and mark mounting points where the projector base will be secured.
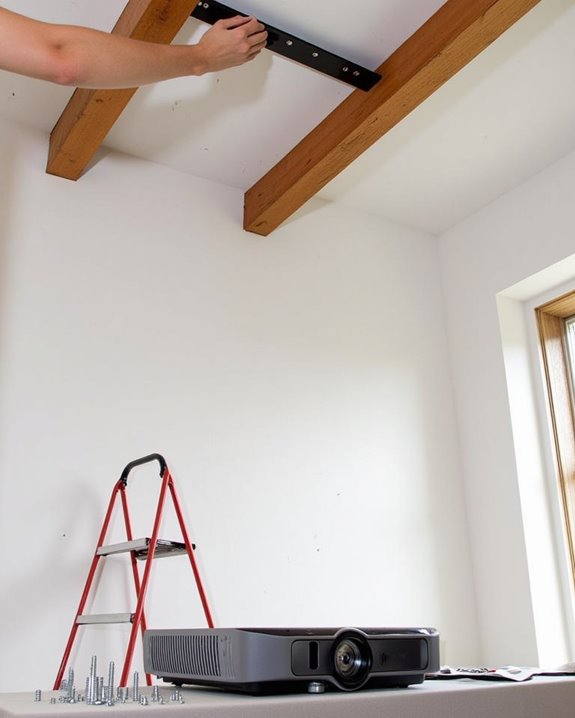
- Attach the mounting bracket to the ceiling with appropriate anchors or screws drilled into ceiling joists.
- Connect the projector to the mounting plate using manufacturer-provided hardware and adjust pitch/roll/yaw for alignment.
- Run cables neatly using cord concealment systems and test the image, making final positioning adjustments as needed.
Planning Your Projector Installation: What You Need to Know
Before beginning your projector installation journey, you’ll need to carefully plan several key aspects to guarantee ideal viewing experience and equipment longevity. Start by identifying all light sources in your viewing area, installing heavy curtains or blinds to control ambient lighting, which considerably impacts image quality. Consider room acoustics by positioning your projector away from areas with excessive noise or vibration, particularly ceiling locations near heating or cooling ducts that might cause unwanted movement.
Assess your room’s layout to determine the best screen placement, calculating the necessary throw distance your projector requires to achieve your desired image size. Don’t overlook comfort factors, ensuring viewers won’t have their sight lines obstructed and that the projector’s position allows for proper image height adjustment without causing neck strain. Keep in mind that projection distance should be approximately 1.5 to 2.5 times the image width to optimize image clarity and size.
Essential Tools and Materials for Hanging a Projector
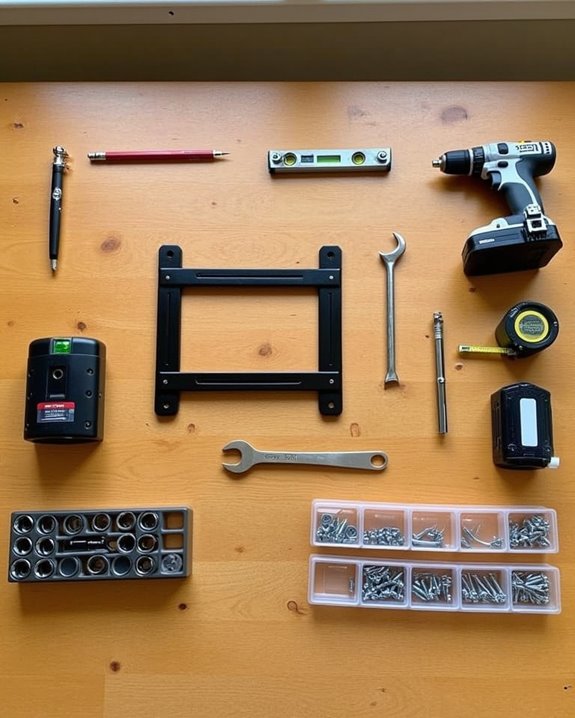
With your projector installation plan finalized, gathering the proper tools and materials becomes your next priority. Your toolkit should include a drill for creating anchor points, a screwdriver for securing hardware, and a wrench for tightening bolts based on your specific ceiling type. Don’t forget a sturdy ladder that safely reaches your desired mounting height and a tape measure to ensure precise placement.
Essential materials include the projector mount with appropriate anchors, HDMI cables, power cords, and possibly a cable management system for a clean installation. You’ll also need a stud finder to locate ceiling joists, a level tool to ensure proper alignment, and a pencil for marking drill points. For higher ceilings or heavier projectors, consider additional safety equipment and stronger mounting hardware to guarantee a secure, professional installation. Additionally, understanding the recommended throw distance for your projector model is crucial for optimal image quality and placement.
Recommended Products

Compatibility: Universal Projector Mount Bracket for Both Ceiling and Wall Installation. Applicable to mounting holes distance between 8.9’’to 12.4’’
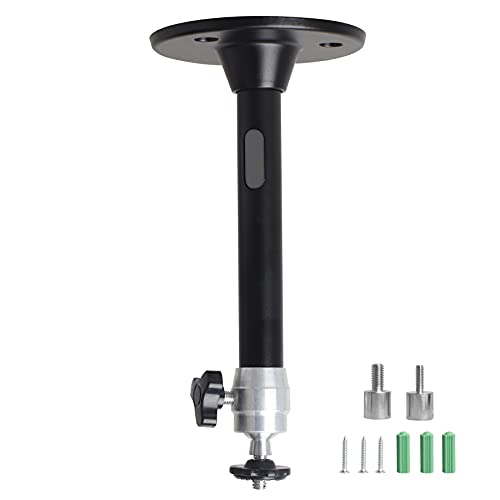
Projector Holder Compatible with QKK,DR.J,DBPOWER,Anker,VANKYO,AAXA,Jinhoo,PVO,TMY,AuKing and Most Other Mini Projector

Universal projector mount — offers a low-profile, aesthetic design
Finding the Optimal Projector Location and Throw Distance
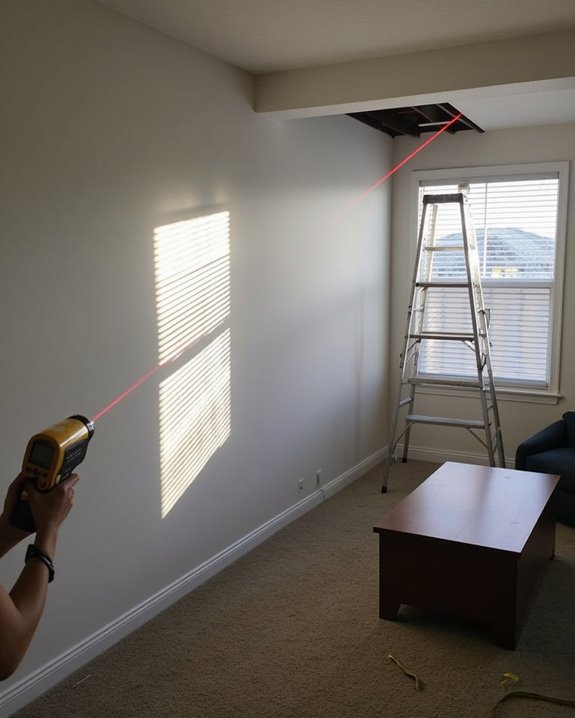
Determining the suitable location for your projector requires understanding the essential concept of throw ratio, which governs the relationship between your projector’s distance from the screen and the resulting image size. To calculate the ideal placement, use the formula D = Throw Ratio × W, where D represents the distance and W equals your desired screen width.
When optimizing placement, consider both ambient light control and audience viewing angles, ensuring the projector isn’t obstructed by furniture or other room elements. For example, a projector with a 2.0 throw ratio needs to be positioned 10 feet away to create a 5-foot wide image. Remember to center the projector relative to your screen to avoid keystoning. Adjusting throw ratio through zoom features offers flexibility, allowing you to fine-tune the image size without physically moving the projector. Additionally, ceiling mounting capabilities enable you to install the projector upside down securely, following manufacturer guidelines to maintain proper ventilation and image orientation.
Recommended Products

Universal Compatibility: Fits most projectors (Note: Length <13.7'', Width <8.6'') with standard mounting interfaces. Projector Wall Mount supports a maximum load of 10kg/22LBS, suitable for home, office, cinema and other scenarios, and is compatible with mainstream device sizes, no compatibility concerns

【Note】The projector mount used in this projector mount should have the following conditions: 1. The wall where the mount is installed should be a hard solid wall, not a hollow and weak wall; 2. The projector has 3-4 screws holes to install screws; 3. The diameter of screw holes is 3 mm or 4 mm.

Fits projectors with 1/4 inch thread (or M4 or M6), and weight under 30lbs (13.6kg). Note: Only for single-hole installation. Not suitable for three-hole or four-hole installations.
Selecting the Right Mount for Your Projector and Space
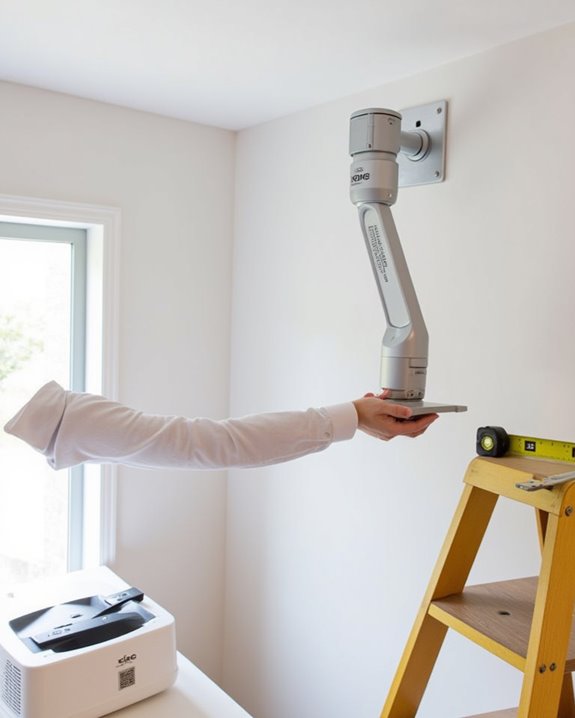
Once you’ve determined your projector’s essential placement, selecting the right mount becomes crucial for achieving a secure, properly aligned viewing experience. Consider mount compatibility with your specific projector model and weight capacity, as most quality mounts support between 30-50 pounds using durable, high-grade steel construction.
Your installation environment dictates the ideal mount type: flush mounts offer superior mount aesthetics with their low profile for home theaters, while articulating mounts provide 15-degree tilt and swivel adjustments perfect for classrooms or conference rooms. Universal mounts accommodate various projector brands with adjustable arms, saving you time researching exact fit requirements. For public spaces, security-focused options like projector cages protect your investment from tampering. Always verify the mounting hardware suits your ceiling material, whether drywall, wood, or concrete.
Recommended Products

Versatile Application: PUTORSEN projector ceiling mount is compatible with most manual or spectrum projector screens, Also can be used to hold a video camera, laptop, or other electronic device. The metal 13.77” x 8.66” tray holds up to 22 lbs of weight
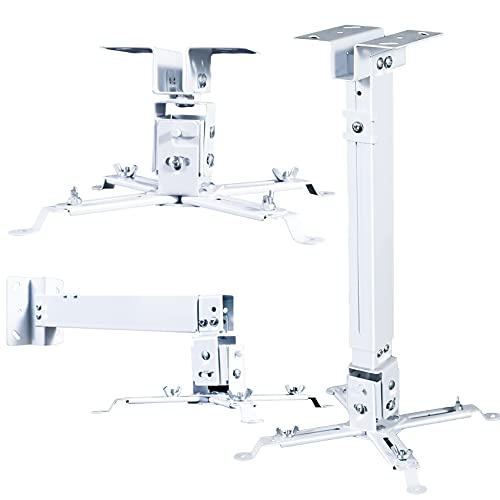
🎬【Upgraded cable management, safely contained】 The projector mounts adopt a large square tube design which helps keep HDMI, audio, and video cables concealed and organized, power cords and cables safely contained, keeps everything clean and organized, eliminate hazards due to tangled or stray electrical cables.

📽️UNIVERSAL: Compatible with majority of projectors on the market whose mounting holes are from 2.83'' to 11.42" and weight under 30lbs (13.6kg)
Step-by-Step Ceiling or Wall Mount Installation Process
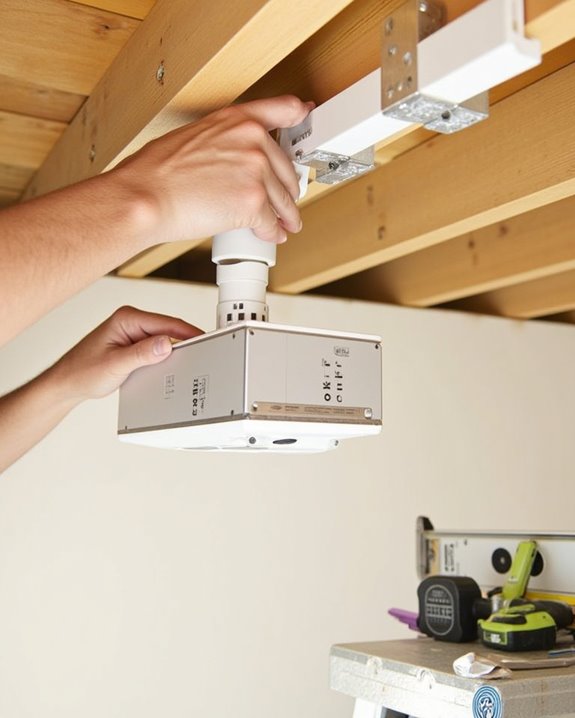
Installing your projector mount requires careful planning and precise execution to achieve ideal viewing quality. Begin by determining optimal projector position and using calculation tools to ensure proper throw distance, then mark mounting points where your ceiling studs or wall anchors will secure the hardware.
When comparing ceiling vs. wall mounting options, consider that ceiling mounts typically provide better clearance but require more complex installation, while wall mounts offer easier access for maintenance. After drilling pilot holes, secure the base plate with appropriate screws, then attach your projector using the manufacturer-provided hardware. Most adjustable mount options allow for fine-tuning pitch, roll, and yaw to perfectly align your image with the screen. Finally, neatly run cables to your projector, test the image quality, and make any necessary adjustments to complete your installation.
Recommended Products
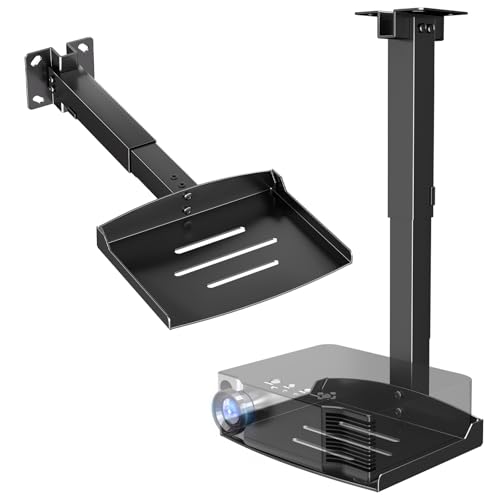
Versatile Application: PUTORSEN projector ceiling mount is compatible with most manual or spectrum projector screens, Also can be used to hold a video camera, laptop, or other electronic device. The metal 11.02” x 8.27” tray holds up to 22 lbs of weight
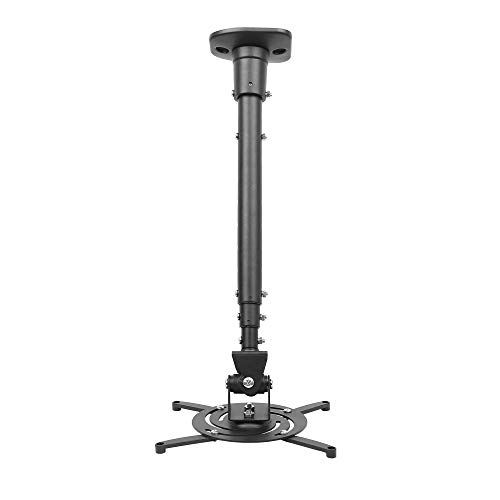
Universally Compatible: This projector ceiling mount supports most projector brands with distance between the mounting holes on back 12.1 inches or less. This mount can be used on flat ceiling.
Connecting and Managing Cables for a Clean Setup
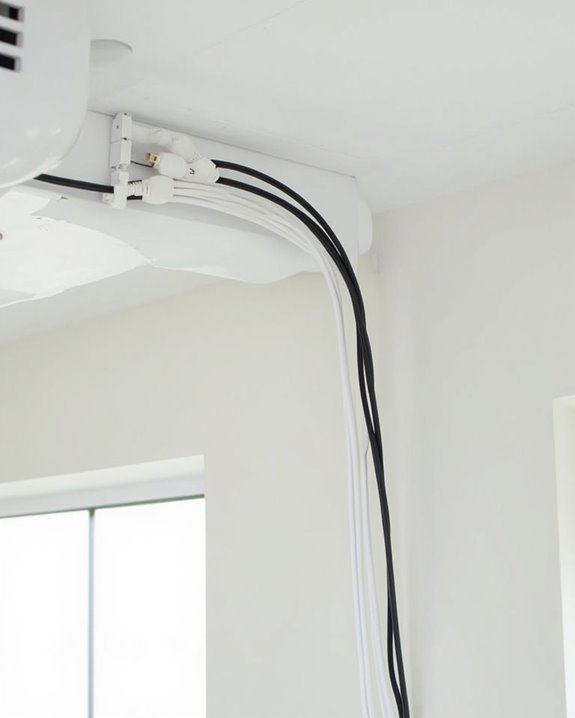
Proper cable management forms the backbone of a clean, professional-looking projector installation, ensuring both aesthetic appeal and ideal performance. When connecting your projector, separate power supply cables from signal cables to prevent interference, and use high-speed HDMI cables rated for at least 18 Gbps transmission. Bundle similar cables together using Velcro ties or cable clips, being careful not to over-tighten which could damage the insulation.
For a truly polished look, route cables along walls or ceiling edges using adhesive clips or raceways, and consider cable protectors where cords might experience foot traffic. Color-code or label each connection for easier maintenance, and install brush-type wall plates where cables need to pass through walls. Remember to leave enough slack for equipment adjustments while maintaining a tidy appearance that won’t distract from your viewing experience.
Recommended Products
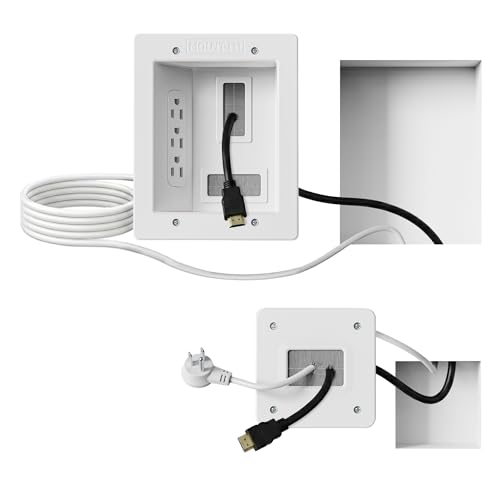
Organized home theater setup – Eliminate messy wires and give your entertainment area a clean, modern look. This in-wall cable management kit provides an easy way to power your TV and hide cables for a polished setup in living rooms, bedrooms, or home theaters.

Cable Management Kit:4pcs Cable Sleeves( 20 in L x 0.4 in w), 20pcs reusable wire ties,53Cable Clips 12Cord Holders, 2 Self Adhesive Cable Tie Rolls(The length of each roll is 118 in), 20Pcs Cable Zip Tie Mounts(3.54L x1.1 inW),200Cable Fastening Ties:100pcs (8 in*0.12 in ),100pcs(6 in*0.12 in)

COMPACT BLACK DESIGN FOR A CLEAN LOOK: Ideal for wall-mounted TVs, soundbars, and projectors; upgraded to a smaller, low-profile black finish to minimize wall damage while keeping a sleek appearance
Fine-Tuning Your Projector for the Perfect Image
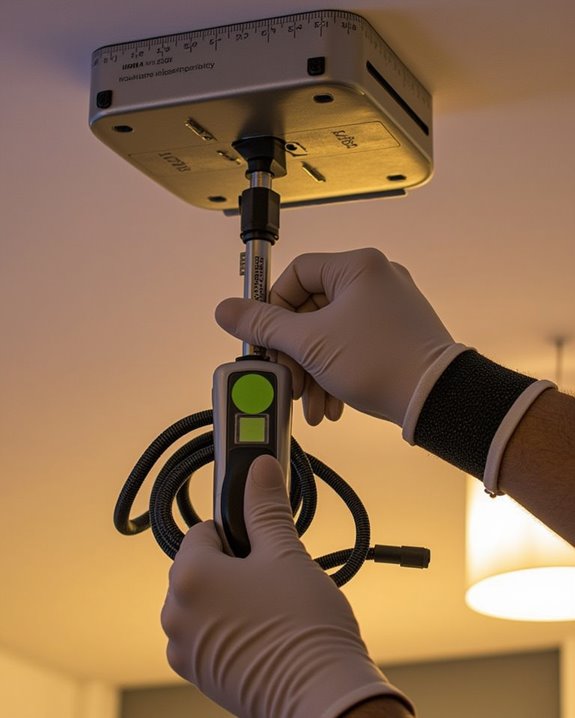
After your projector is securely mounted and all cables are properly managed, achieving the perfect image quality requires methodical fine-tuning of multiple settings. Begin by ensuring your projector is perfectly perpendicular to the screen, then use keystone correction to adjust any geometric distortions that occur when the projector isn’t perfectly aligned. Project a grid pattern to verify alignment and squareness of the image.
Next, calibrate brightness and contrast levels to match your room’s lighting conditions, adjusting black levels for ideal depth. Color calibration is essential for realistic image reproduction; adjust saturation, tint, and color temperature based on content type. For sharpness, avoid excessive settings that create unnatural edge enhancement. Finally, select the appropriate aspect ratio that matches your content and screen dimensions, using zoom features to fill the screen without stretching the image.
Frequently Asked Questions
How Do I Hang a Projector Without Drilling Holes?
Perfect projector placement proves possible without drilling! You can use alternative mounting methods like adhesive ceiling mounts, tripod stands, projector carts, or furniture pieces. Command strips or IKEA furniture hacks work well for lighter projectors.
Can I Mount a Projector on Drywall Without Studs?
Yes, you can mount projectors on drywall without studs using drywall anchors like toggle bolts. For heavier projectors, consider ceiling reinforcement. Choose anchors rated for your projector’s weight to guarantee safety and stability.
Will Projector Vibrations Affect Image Quality Over Time?
Absolutely, vibrations can affect your image! Over time, subtle shaking compromises projector stability, potentially causing blurring and mechanical wear. You’ll want to invest in vibration damping materials to preserve your picture quality long-term.
How Often Should the Ceiling Mount Be Checked for Stability?
You should check your ceiling mount’s stability every 6-12 months. Don’t skip regular stability inspections and ceiling mount maintenance, especially after environmental changes. A quick visual check and gentle pull test guarantees continued safety.
Can Temperature Fluctuations Damage a Ceiling-Mounted Projector?
Like a delicate flower in changing seasons, your projector’s lifespan wilts with temperature swings. Yes, fluctuations can damage it—poor climate control and inadequate insulation quality contribute to condensation and component strain. Monitor conditions carefully.