As an Amazon Associate, we earn from qualifying purchases. Some links on this site are affiliate links at no extra cost to you. Our recommendations are based on thorough research and editorial judgment.

How to Clean Lint From Your Happrun Projector Safely
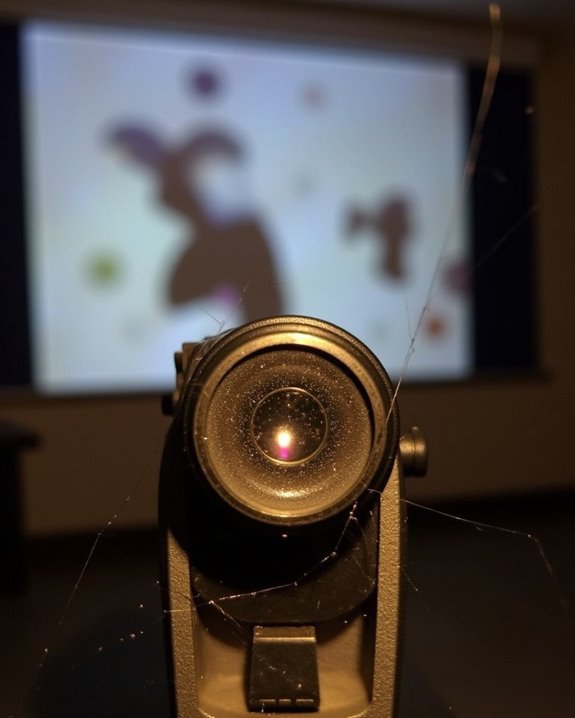
Lint buildup inside your Happrun projector isn’t just annoying—it’s potentially damaging to your investment. You’ll notice performance issues like overheating, diminished brightness, or unusual fan noises when lint accumulates in critical areas. While cleaning your projector might seem intimidating, you can safely remove lint with the right approach and tools. The procedure requires attention to detail and careful handling of sensitive components, but following proper techniques will extend your projector’s lifespan and maintain peak image quality.
Key Takeaways
- Always power off and unplug the projector, then allow it to cool for 15 minutes before cleaning.
- Use compressed air held 15.2 cm away in short bursts to remove lint from vents and internal components.
- Clean fan assemblies and filters gently with a camel hair brush or microfiber cloth to maintain proper airflow.
- Avoid harsh chemicals and liquids; instead use specialized electronic cleaners applied sparingly if necessary.
- Reassemble carefully, ensuring all panels are properly sealed, then test functionality after cleaning is complete.
Common Lint Issues in Happrun Projectors
Why do Happrun projectors encounter lint issues so frequently? Your Happrun projector creates an ideal environment for lint accumulation due to several factors that affect its performance. Dust and lint naturally gather in the ventilation system, particularly when the projector sits in poorly ventilated areas, causing the troubleshooting software to trigger overheating warnings. Environmental conditions, such as high humidity and temperature, make lint adhere more stubbornly to internal components, potentially interfering with adjusting focus capabilities. Over time, component wear allows more dust to enter the system, creating a cycle of accumulation that’s difficult to break. Regular maintenance becomes essential as neglected cleaning routines lead to significant lint buildup, affecting both the projector’s efficiency and lifespan, while increasing operational noise from struggling fans. Maintaining optimal brightness levels can also help reduce overheating, minimizing the risk of lint-related performance issues.
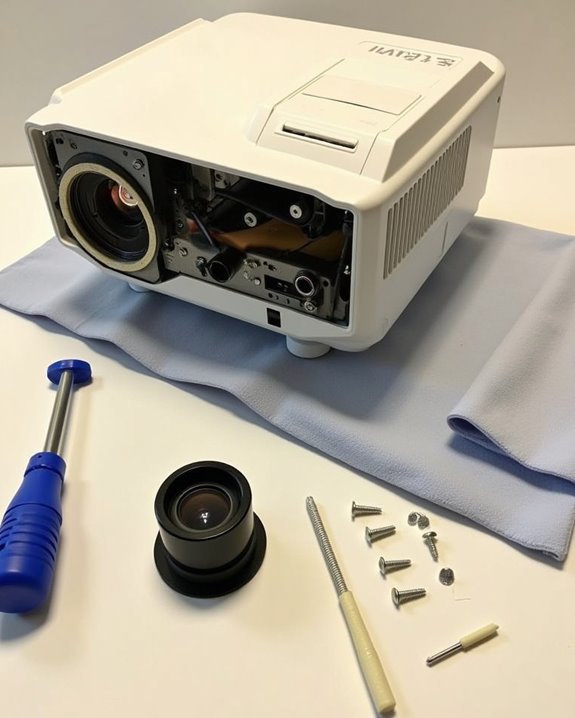
Tools and Materials Needed for Safe Cleaning
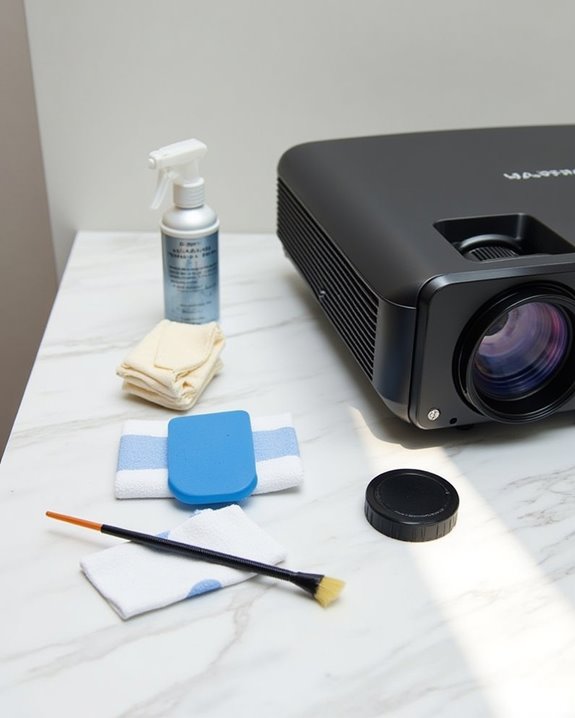
Before you begin tackling lint issues in your Happrun projector, gathering the right tools and materials isn’t just helpful, it’s essential for preventing damage to your device’s delicate components. For effective lens cleaning, you’ll need dry cotton swabs, a soft lens brush, specialized lens cleaning paper, and alcohol-based optical lens cleaner applied sparingly to avoid streaks.
For dust prevention, keep a lens cap, microfiber cloth, and anti-static blower handy. Avoid common mistakes by steering clear of wet cloths, regular tissues, harsh chemicals, and direct liquid application. Instead, work on a stable surface with adequate lighting, using gloves to prevent fingerprints, and always disconnect your projector from power before beginning. Remember that dry cleaning methods should be your first approach, only using liquid cleaners when absolutely necessary. Additionally, ensure your cleaning practices support proper cooling and ventilation to maintain the projector’s performance and longevity.
Preparing Your Workspace for Projector Maintenance
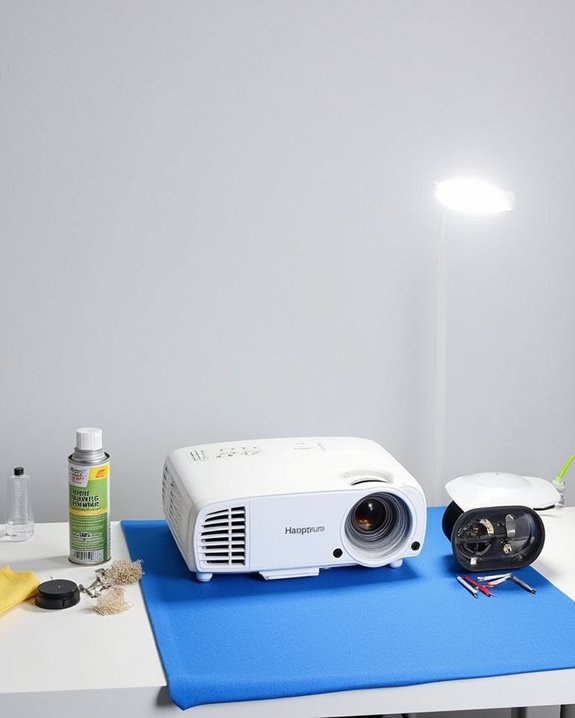
Creating a proper workspace isn’t just recommended for projector maintenance, it’s absolutely essential for guaranteeing both your safety and the longevity of your Happrun projector. Begin by selecting a level, stable surface in a well-lit area with natural or diffused artificial light to properly see lint and dust particles. When choosing cleaning products, avoid harsh chemicals that can damage delicate components, opting instead for specialized electronic cleaners.
Before handling delicate electronics, always turn off and unplug your projector to prevent electrical shock. Ensure your workspace has good ventilation and minimal dust to prevent recontamination during the cleaning process. Keep all tools organized and within reach, maintaining a clutter-free environment that reduces the risk of accidents and allows for efficient maintenance of your valuable equipment. Additionally, maintaining the projector’s lens protection features, such as automatic lens caps, can help reduce the frequency of cleaning by preventing dust buildup.
Powering Down and Disconnecting Your Projector
With your workspace properly prepared, the next key step in lint removal involves safely shutting down your Happrun projector. Press the power button on your projector or remote control to initiate shutdown, then confirm by pressing it again when prompted. If you’re experiencing remote control troubleshooting issues, the manual power button works equally well for this process. Wait until the power indicator light turns orange, signifying it’s safe to disconnect all cables.
Never unplug your Happrun while the indicator light shows green or flashes orange, as this may damage internal components or reduce lamp life. When disconnecting cables, take note of their arrangement, especially if you have a complex projector mounting setup with multiple connections. Proper shutdown ensures your projector remains in optimal condition throughout the cleaning process while preserving its operational lifespan.
Accessing the Internal Components Safely

Although many people assume cleaning a projector requires full disassembly, your Happrun projector features accessible components that don’t necessitate complete internal exposure. When accessing these areas, remember that internal voltage remains dangerous even after powering down, making proper safety precautions essential for your protection.
Always place your projector on a stable, flat surface before attempting any maintenance, and ensure it’s completely unplugged from power sources to avoid electrical hazards. Use only manufacturer-recommended tools, such as soft brushes or low-pressure air blowers, when working near vents or accessible panels. Never insert metal objects into openings, spray liquids inside the unit, or work in humid conditions that could damage sensitive electronics. Prepare your workspace with adequate lighting and an anti-static surface to prevent accidental damage to components during the cleaning process.
Lint Removal Techniques for Delicate Components
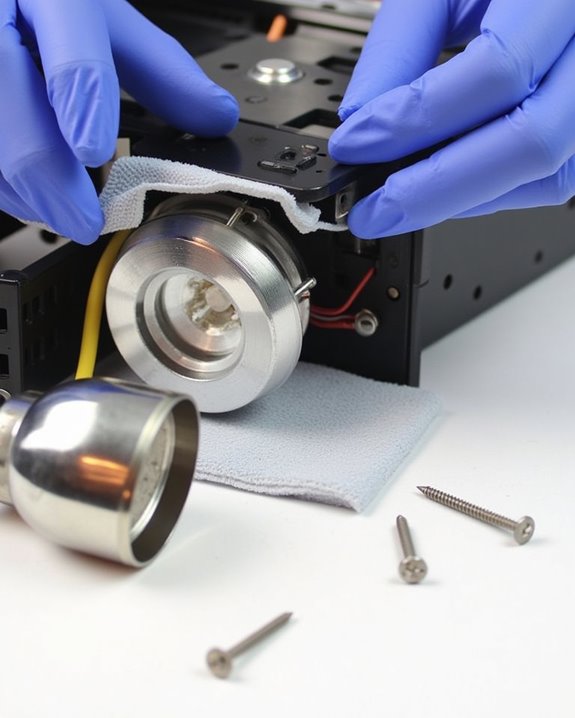
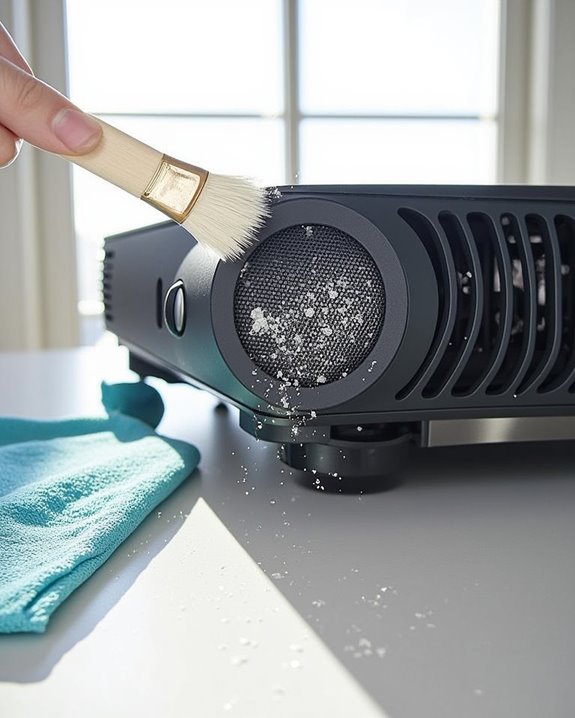
When your Happrun projector accumulates lint and dust on its delicate components, you’ll need specialized techniques to clean it without causing damage. Static discharge during cleaning can harm sensitive electronics, so confirm the projector has been powered off and cooled for at least 15 minutes before beginning.
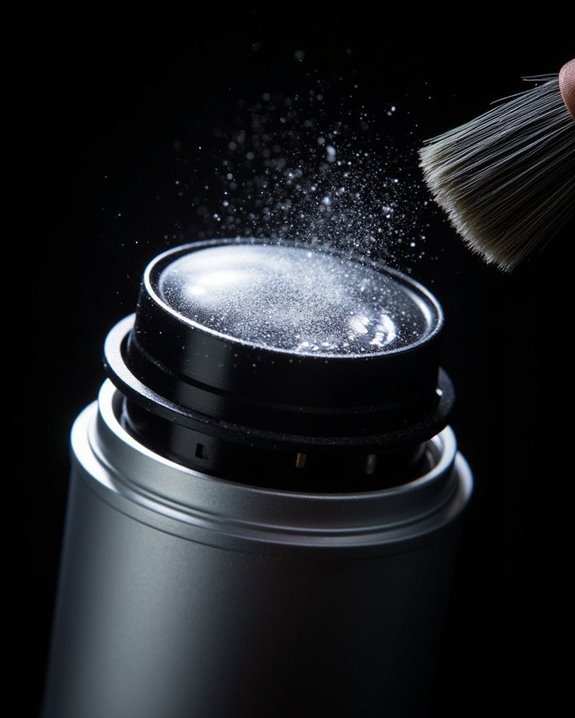
For gentle dust removal, use a camel hair brush to sweep particles in one direction, avoiding random scrubbing that might scratch surfaces. Alternatively, employ an air bulb for controlled airflow that won’t disturb internal components. For stubborn lint, compressed air canisters work effectively when held vertically at least 15.2 cm away, using short bursts to prevent moisture buildup. Always clear the nozzle first by triggering it three times away from your device, and never point directly at lenses or sensors to avoid damage from excessive pressure.
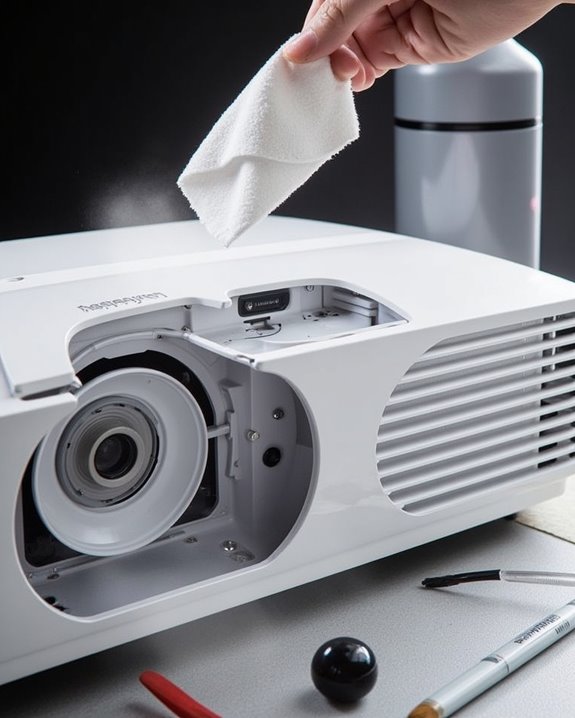
Cleaning Exterior Vents and Surfaces
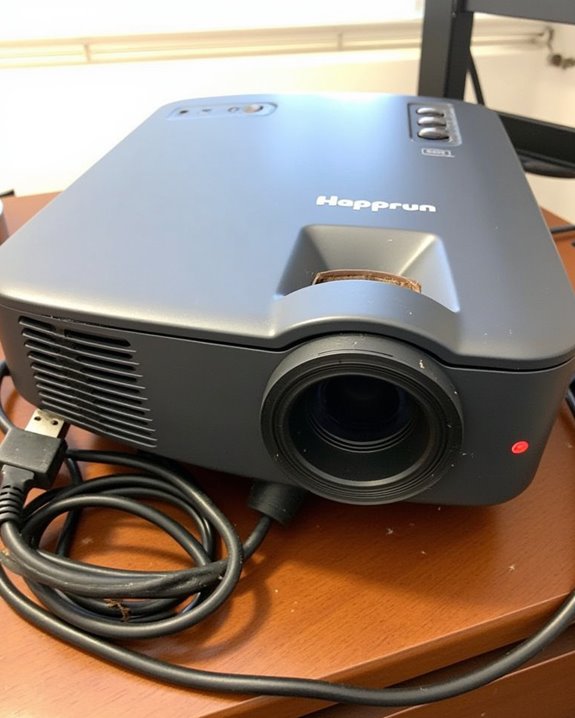
The exterior of your Happrun projector requires regular cleaning to prevent dust and lint from affecting performance and airflow. Using a soft, lint-free cloth, gently wipe down all external surfaces, paying special attention to the casing where dust accumulates near cables. For proper cable management, disconnect all cables before cleaning, which prevents lint buildup at connection points and improves dust prevention long-term.
When tackling the intake vents, use a small vacuum designed for electronics rather than compressed air, as the latter can force particles deeper into the projector. For stubborn lint, lightly dampen your cloth with water and mild detergent, followed by a dry cloth to remove any moisture. Remember to clean these vents every 3-6 months, depending on your environment, ensuring optimal airflow and preventing potential overheating issues.
Reassembling Your Projector Correctly
After you’ve thoroughly cleaned the lint from your Happrun projector, proper reassembly becomes critical to guarantee ideal performance and prevent damage. Begin by carefully replacing the lens cover and faceplate, ensuring all wire connectors are securely attached. During external inspection, verify that ventilation grills are properly seated to maintain airflow and prevent future lint accumulation.
When securing internal components, pay special attention to the motherboard, optical components, and fan assembly connections. The lens cleaning process you’ve completed will be wasted if dust enters through improperly sealed panels. Tighten all screws with the appropriate screwdriver, taking care not to strip them. Finally, check that the projector sits level on its base, route cables neatly to prevent interference, and perform a brief power test to confirm everything functions correctly before regular use.
Testing Your Projector After Cleaning
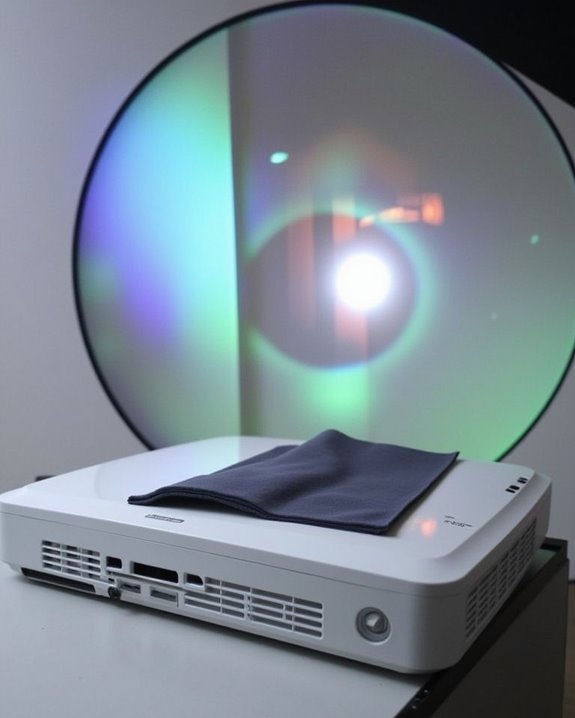
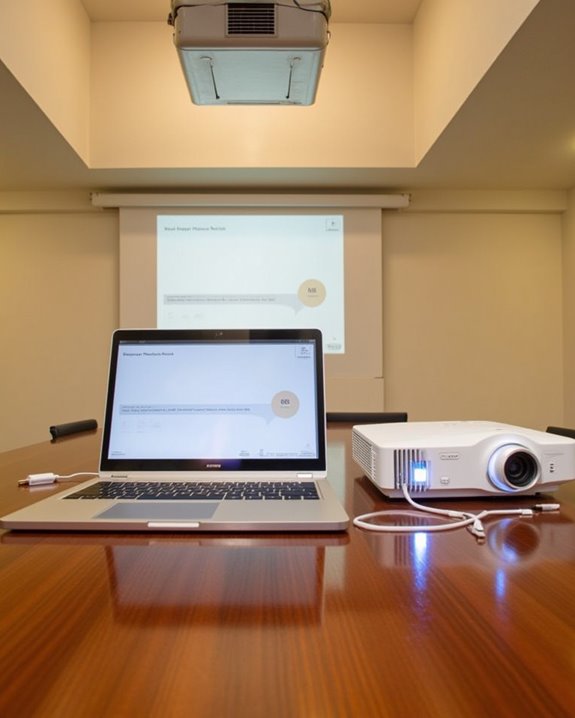
Testing your freshly cleaned Happrun projector represents a crucial final step to guarantee your maintenance efforts have been successful. Begin by conducting a thorough power-up sequence, confirming all components are properly connected and the device powers on correctly. Connect your video source through various inputs (HDMI, VGA) to verify signal reception, then use your remote control calibration features to fine-tune the image quality.
Check for ideal focus, keystone correction, and zoom settings while confirming the absence of any dust particles on the lens. Test the audio output to ensure proper synchronization with your video content. If you encounter any issues, consult your user manual for firmware update procedures, which may resolve software-related problems. Watch for unusual noises or overheating that might indicate incomplete cleaning or improper reassembly of internal components.
Frequently Asked Questions
How Often Should I Clean Lint From My Happrun Projector?
Like a car’s oil change schedule, your projector filter maintenance needs attention: clean external dust weekly, filters monthly, and intake vents every 3-6 months to prevent dust accumulation that could choke your Happrun’s performance.
Can I Use Alcohol-Based Cleaning Solutions on Projector Components?
You shouldn’t use alcohol on projector lenses as it damages optical coatings. It’s only safe for external casings at 70% concentration. For better alcohol compatibility and cleaning solution safety, use specialized lens cleaners instead.
Will Lint Cleaning Affect My Projector’s Warranty?
Like Theseus steering the labyrinth, you’ll find warranty implications aren’t typically negative if you follow manufacturer’s cleaning guidelines. Regular maintenance using approved methods won’t void your warranty, but invasive techniques might cross that line.
How Can I Differentiate Between Lens Dust and Internal Lint?
To differentiate, look for small sharp specks (lens dust) versus larger blurry blobs (internal lint). Lens dust is easily wiped away, while internal lint creates focused issues and requires professional cleaning to access.
Is Professional Cleaning Necessary for Persistent Lint Problems?
When your device is feeling under the weather, DIY lint removal may not be enough. If persistent issues continue despite your efforts, professional cleaning considerations become necessary to protect your investment and guarantee peak performance.