As an Amazon Associate, we earn from qualifying purchases. Some links on this site are affiliate links at no extra cost to you. Our recommendations are based on thorough research and editorial judgment.
Will a Projector Work on a White Wall?
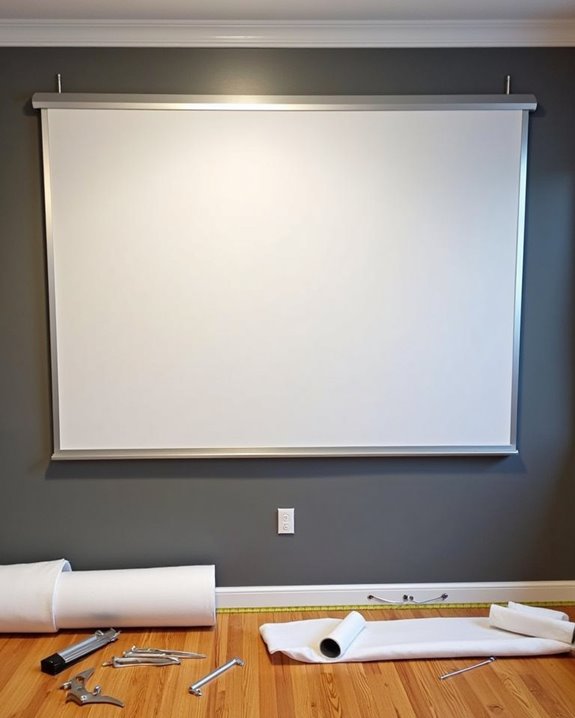
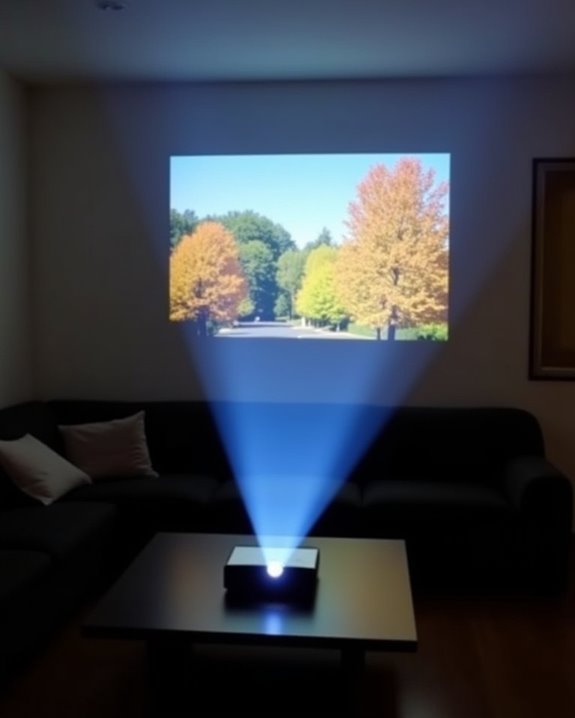
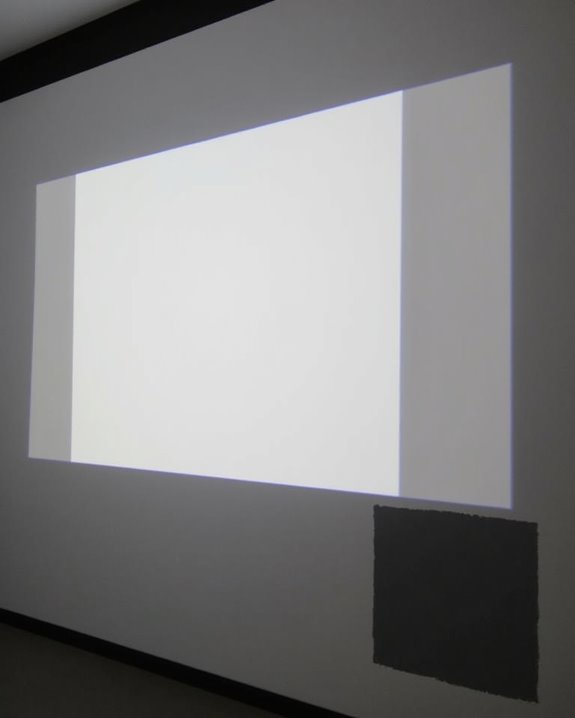
You might think only the most advanced screens can handle a projector’s image, but a simple white wall can actually perform quite well if it’s smooth, flat, and free from blemishes that might distort the picture. While dedicated projection screens optimize for color accuracy, brightness, and sharp contrast, a white wall with a matte finish offers a neutral, cost-effective surface that supports vibrant visuals for most casual uses. Before you decide if this option truly suits your needs, consider several key technical factors.
Key Takeaways
- Yes, a projector will work on a white wall, especially if the surface is smooth, clean, and matte.
- Surface imperfections like cracks or texture can reduce image sharpness, contrast, and overall clarity.
- Matte white paint minimizes color distortion and glare, providing a more accurate and vibrant image than glossy or colored walls.
- Image brightness and vibrancy may be lower than with a specialized projector screen, especially in bright rooms.
- Preparing and maintaining the wall’s surface and controlling ambient light will maximize projection quality.
Image Quality: What to Expect on a White Wall
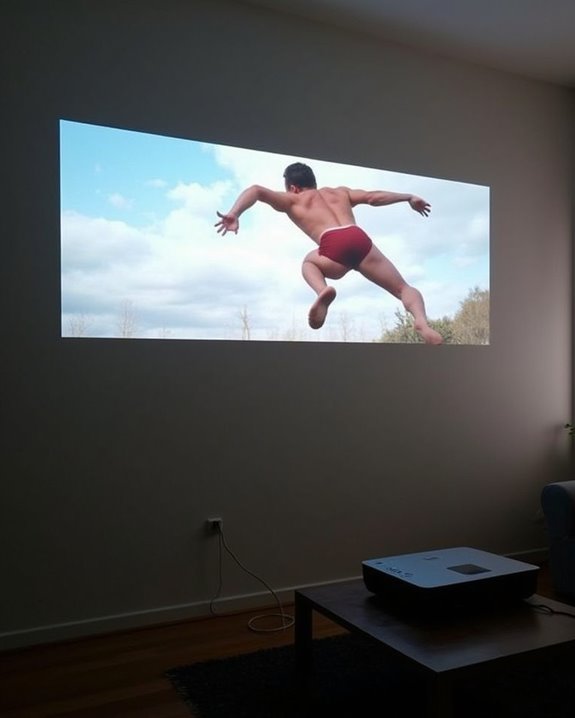
When you project an image onto a white wall, what should you expect regarding visual quality? The surface texture of a typical wall plays a significant role in determining projection clarity. Unlike projector screens, which are engineered to be exceptionally smooth and highly reflective, most walls have varying degrees of roughness and may contain minor imperfections or uneven patches. These surface inconsistencies can scatter light unevenly, resulting in reduced sharpness and detail in the projected image. Additionally, while a white wall does provide a neutral background that minimizes color distortion, it lacks the specialized coatings found on projector screens that enhance color accuracy and reflection. As a result, you’ll notice that the image might appear softer and less vibrant, particularly when compared to professional projection surfaces. Projector screens are made from materials designed for optimal image quality, which means they deliver more vibrant colors and sharper images than what a standard white wall can provide. For best viewing results, it is important to consider the brightness levels of your projector, especially in rooms with ambient light.
Recommended Products

Bright Room Ready, no Curtains Needed: 3,300 ISO Lumens of RGB triple-laser brightness delivers a vivid, color-accurate image in living rooms with ambient light, open-plan spaces, and soft daytime light — without blackout curtains or a dark room. 110% Rec.2020 color gamut produces lifelike greens, accurate skin tones, and saturated colors that LED TVs and lamp projectors cannot physically reproduce. Whether it's a family movie afternoon, a daytime sports match, or everyday streaming — the Aetherion Max laser tv performs in your room, as it is.
【Dimension Size】: 140" Motorized Projector Screen (Diagonal) with a 16:9 HD Format Aspect Ratio. Viewing Size: 68.8" H x 122.0" W. Includes a 6" black masking drop housed in a white finished case for a clean, professional installation.

140-inch Diagonal, 68.8-inch H x 166.0-inch W Viewing Size, 16:9 HD Format Aspect Ratio with a 6-inch Black Masking Drop in a White Finish Case/Housing.
Brightness and Contrast Considerations
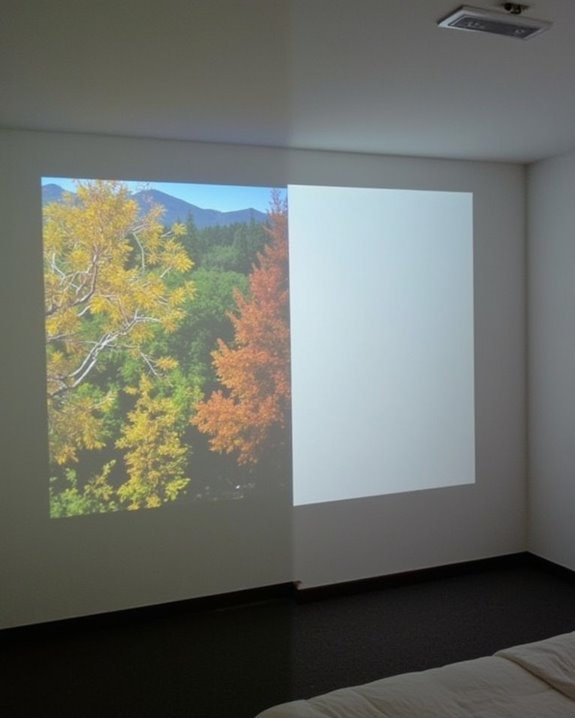
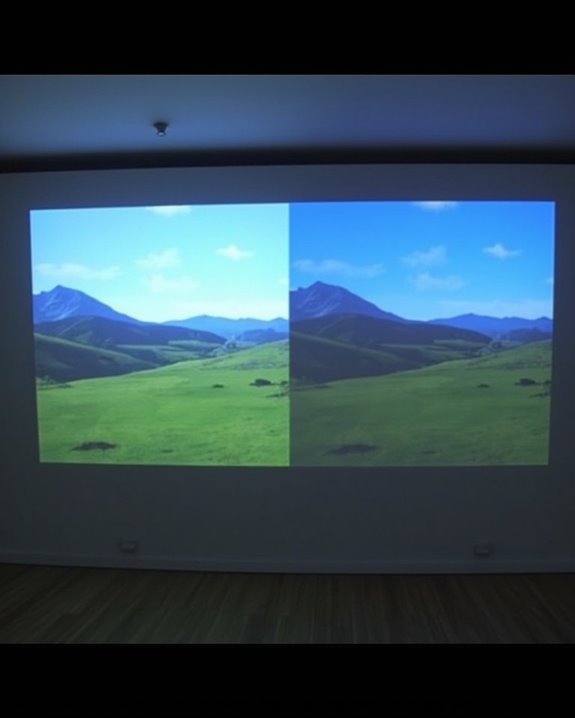
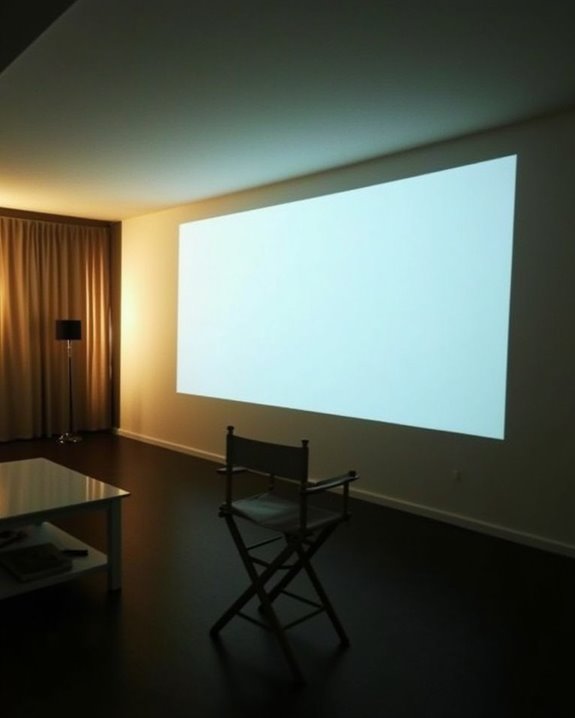
Although a white wall can serve as a practical projection surface, you’ll notice distinct differences in brightness and contrast compared to a dedicated projector screen, largely due to how each material handles light reflection. Screen material is engineered to reflect light efficiently, resulting in a noticeably brighter image, while a typical wall may absorb or scatter light, reducing overall brightness. Surface texture further impacts performance—projector screens offer a uniform, smooth finish to prevent distortion, but walls often have imperfections or slight color variations that can affect both brightness and contrast. Ambient light plays a significant role; it’s more likely to wash out images on a wall since projector screens better manage light control. Optimizing projector settings and minimizing ambient light can help, but limitations remain. For even better image quality and less distortion, tensioned or stretched screens provide a flatter, more stable surface than non-tensioned screens or walls. Additionally, projectors with higher lumens are recommended to compensate for the lower reflectivity of walls versus screens.
Recommended Products

Up to 3,400 lumens of brightness, generated by a long-lasting laser light source, for vibrant images even on a large screen.

POWERFUL 8K HDR PROJECTOR FOR HI-RES CONTENT: With (3) 0.69-inch native 4K D-ILA devices and a premium 18-element, 16-group 100 mm all-glass lens, the JVC DLA-NZ9 D-ILA home theater projector delivers optical brightness of 3,000 lumens and longevity of 20,000 hours.

Up to 2,700 lumens of brightness, generated by a long-lasting laser light source, for vibrant images even on a large screen.
Color Accuracy and Fidelity
If you’re aiming for accurate color reproduction and high image fidelity with your projector, the surface you choose to project onto becomes critically important, since both wall color and texture can markedly influence the final picture quality. A matte white wall generally provides better surface reflectivity, helping preserve the projector’s intended color palette by reflecting light evenly, whereas colored or darker walls absorb or alter colors, leading to color distortion and diminished vibrancy. Smoothness of the wall is also essential, as uneven surfaces can scatter light, distorting both image clarity and color fidelity. Using an Ambient Light Rejection screen can further improve image clarity in rooms with ambient light by reducing reflection. Specialized projector screens often incorporate coatings or materials designed to enhance vividness and contrast, further minimizing color distortion beyond what a white wall can achieve. Although a white wall offers more neutral color rendering than colored walls, it still may not match the precision and vibrancy of a dedicated projector screen, which is engineered specifically to enhance color accuracy and minimize any unwanted color distortion.
Recommended Products
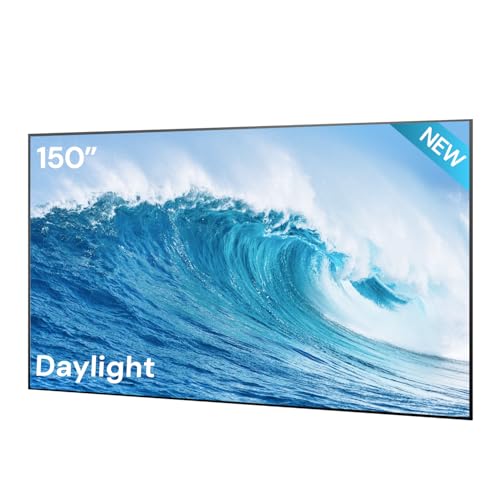
Seamless 150" One-Piece Fresnel Screen: AWOL VISION releases the world’s first seamless one-piece 150" Fresnel daylight ALR screen. The picture stays continuous with no seams, no gaps, and no visible breaks across the viewing area for a cleaner, more immersive large-screen home cinema presentation.

【150" Premium ALR Projector Screen】: 150" Fixed Frame Projection Screen, Diagonal with a 16:9 Aspect Ratio for an Immersive Home Theater Experience. Viewing size: 73.6" H x 130.8" W. Overall size: 74.4" H x 131.6" W. Designed for High-quality Projection and Enhanced Visual Performance in Any Setting.

【GET THE RIGHT SCREEN】: Size 126-inch diagonal, 16: 9 Aspect Ratio.
Cost and Convenience Factors
How do cost and convenience compare when using a white wall as your projector surface versus investing in a dedicated screen? Projecting onto a plain white wall is the most cost-effective choice if your wall surface is already smooth, clean, and bright, which means you’ll avoid expenses for purchasing screens, hardware, or installation. Surface preparation, such as sanding or repainting with special projection paint, may only be necessary if your wall displays imperfections or texture that could distort the image, otherwise, no extra investment is needed. Convenience is high, since you eliminate setup time, storage requirements, and maintenance associated with screens. However, hidden costs can arise if you need to upgrade your projector’s brightness to compensate for the wall’s lower reflectivity or maintain the wall over time. Dedicated projector screens, on the other hand, offer a smoother, more reflective surface that enhances both image brightness and sharpness compared to a typical painted wall.
Recommended Products

【Premium Home Theater Screen】200-inch projector screen wall mounted fixed frame with a 16:9 aspect ratio. Viewing size: 98.0" H x 174.0" W. Overall dimensions: 102.8" H x 179.1" W x 1.6" D. ISF Certified for accurate color reproduction delivering vibrant, true-to-life visuals ideal for immersive home theaters or professional venues.

Wall Mounted Fixed Frame Projection Screen (Overall Size 87.25" Tall x 150.125" Wide) (Viewing Area 165" Diagonal x 81" Tall x 143.875" Wide) No option for Legs or Stands with this product. Recommended for projectors with Native 16:9 Resolution

The Perfect Combo with LTV-2500: Our matte white screen can not only solve the problem of wavy lines that may exist when projecting onto the wall, but also the perfect combo with LTV-2500, effectively improving the picture quality by 80%.
Versatility and Adaptability in Different Spaces
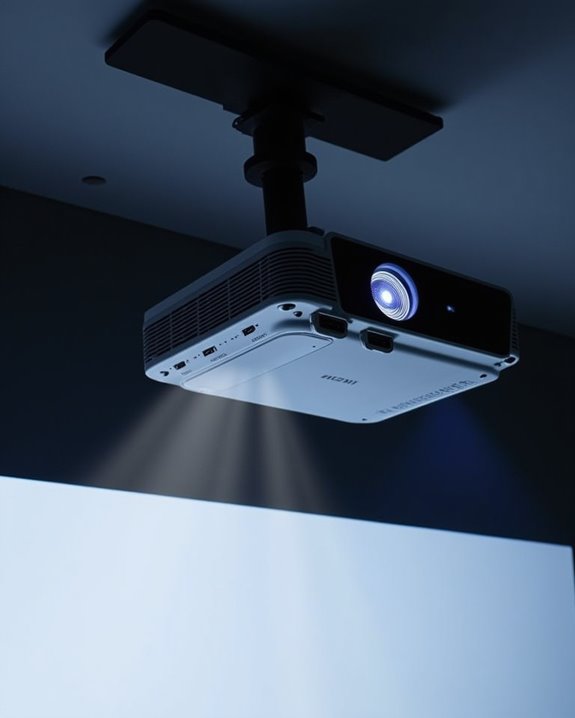
Because projectors are designed to operate in a wide range of environments, they offer significant versatility and adaptability for different spaces, whether you’re setting up in a compact living room, a large conference hall, or an outdoor area. You can use a projector on many surfaces—white walls, garage doors, or even kitchen walls—though wall texture and surface color affect image clarity and color accuracy. Matte, smooth, and neutral-colored walls provide the best results, while textured or colored surfaces may reduce contrast and sharpness. Portable projectors further increase flexibility, allowing you to move easily between rooms or locations for various activities, from business presentations to movie nights. Adjustable placement—on ceilings, tables, or walls—lets you optimize projection size and viewing comfort. Modern projectors are also capable of projecting images over greater distances with high quality, making them suitable for both intimate settings and expansive venues.
- Movie night on a living room wall
- Business presentation on a conference wall
- Outdoor gaming on a garage door
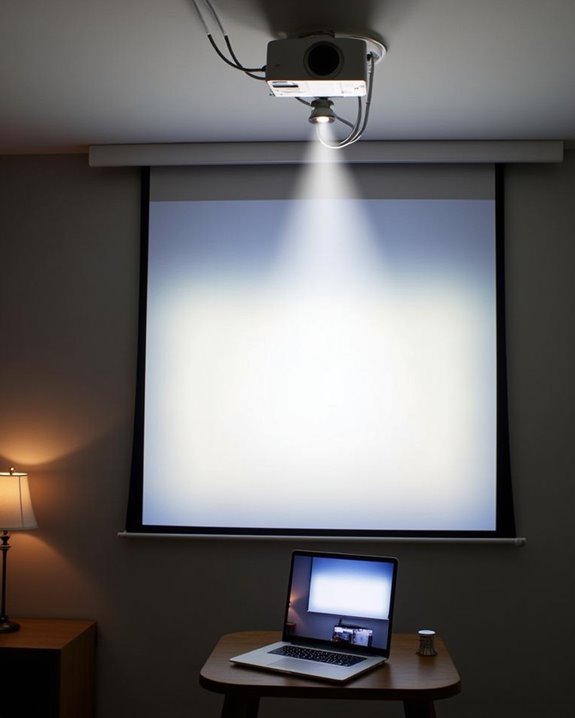
Managing Ambient Light and Room Conditions
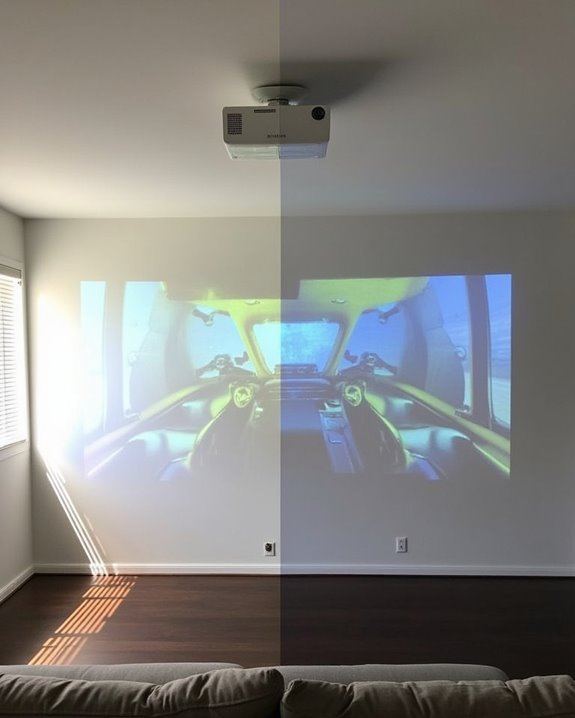
While projectors offer impressive flexibility for different rooms and activities, achieving the best image quality depends heavily on how you manage ambient light and the surrounding room conditions. Controlling your lighting setup is essential, as ambient light reduces image contrast and saturation, leading to washed-out visuals, especially on standard white walls that lack light-rejecting coatings. To minimize these issues, it’s important to reduce or block external light sources with blackout curtains or blinds, and to use dimmable, directional lighting to avoid glare and hotspots. Wall texture also plays a significant role—matte white walls reflect projected light more evenly, preserving color fidelity, while glossy or uneven textures cause light scatter and hotspots. Additionally, treating ceilings and adjacent walls helps prevent halos and maintains overall image clarity. Using a matte white wall is preferable for projection because it reflects light evenly and avoids the contrast and color fidelity loss that occurs with light-colored surfaces that reflect ambient light from the ceiling and walls.
Practical Tips for Optimizing Wall Projection
If you’re aiming for the sharpest and most vibrant image when projecting onto a wall, it’s important to first focus on the quality and preparation of the surface itself, as these factors directly affect clarity and color accuracy. You’ll want to choose a smooth wall texture, since rough or uneven surfaces can cause distortions, light diffusion, and inconsistent brightness. Address any surface damage, such as cracks or holes, by patching and sanding the wall until it’s flat and blemish-free, which ensures even reflection of light. Use a high-quality matte white or light gray paint for ideal color fidelity and minimal glare, and always keep the wall clean to prevent dust or smudges from interfering with the image. For the best results, ambient lighting control is just as crucial as wall preparation, since excess light can wash out your projected image and reduce contrast.
- Smooth, sanded wall free of imperfections
- Matte finish paint to reduce glare
- Routine cleaning for consistent image quality
Recommended Products

Wall Mounted Fixed Frame Projection Screen (Overall Size 58.75" Tall x 100.75" Wide) (Viewing Area 110" Diagonal x 54" Tall x 96" Wide) No option for Legs or Stands with this product. Recommended for projectors with Native 16:9 Resolution

HIGH-PERFORMANCE PROJECTOR SCREEN PAINT - Transform any surface into a high-quality projector screen surface with our advanced projector screen paint. This paint for projector screen offers a cost-effective solution without size limitations. Ideal for classrooms, meeting rooms, and office use, it performs better than traditional screens. Whether you're after projector wall paint or screen projector paint, this product is your go-to for professional results.

【Modern Farmhouse Design】Crafted from premium matte black metal, this kitchen pendant light showcases a unique semi-circular shade that contributes to its durability. The internal gold finish adds a chic and contemporary feel. The dome design effectively channels light downward, creating a warm atmosphere with gentle, glare-free illumination.
Frequently Asked Questions
Can Any Type of Projector Be Used on a White Wall?
You can use any type of projector on a white wall as your projection surface, but you’ll get better results if you focus on wall preparation—ensuring it’s smooth, clean, and properly painted to enhance image quality.
Will Projecting on Textured Walls Damage My Projector?
Think of your projector as a storyteller casting images onto the landscape of your wall. Wall texture won’t cause projector damage—it’s only the tale that suffers, with clarity and sharpness lost amid the textured terrain.
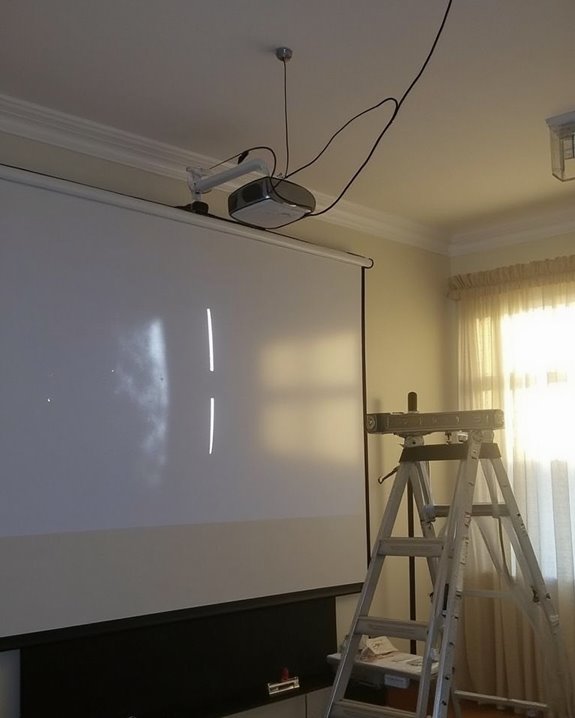
Is It Safe to Mount Projectors Directly Above a White Wall?
You’ll find it’s generally safe to mount projectors directly above a white wall if you follow mounting safety guidelines. Just make sure you’re securing the mount properly to avoid wall damage and guarantee stable, hazard-free installation.
How Does Wall Color Temperature Affect Projector Performance?
Over 90% of projected light reflects off a neutral white wall, maximizing brightness and color accuracy. If your wall color temperature’s off, you’ll notice color shifts—light reflection suffers, and your images won’t look as sharp or vibrant.
Does Projecting on a Wall Void My Projector’S Warranty?
Projecting on a wall won’t void your projector’s warranty, as long as you follow general projector maintenance and wall preparation guidelines. Warranties focus on proper usage and environment, not the projection surface, unless damage results directly from misuse.